Updated information about this project
This article belongs to a series that consist on making a first person game about finding objects inside a maze. It’s one of my very first series from the channel. Now I reworked this project and you can download it to import in your own Unity project. Some day I will make a new series about this project, subscribe to my channel to see all the fresh content about Blender, Unity and programming.
Follow me on itch.io and download the source code of this project
YOU CAN TRY THIS GAME HERE, IT MAY TAKE A LITTLE WHILE TO LOAD
🔻
MOVEMENT: WASD CAMERA LOOK: MOUSE
Introduction of the old article
In this article we are going to import assets, i.e. 3D models and textures, add them to the Unity engine and configure them so that they are ready to start working on stage. We are going to create GameObjects prefabricated that we can then reuse and we are going to modify the sky that comes by default, replacing it with a Skybox where we will apply the textures that were downloaded from Asset Store in the previous video.
Go to the project’s Main Page
Video related to this article
Before we begin, I invite you to watch video 2 of the series My First Game on Unity.
Import files
The first thing we are going to do is to download the necessary files for the project. You can do it in the following link.
3D Models and Textures
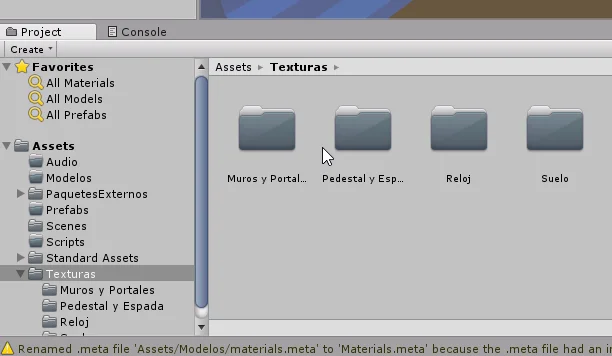
Within these files we will find 3D models for the labyrinth walls, a pedestal, a sword and a clock. Each model has its own textures.
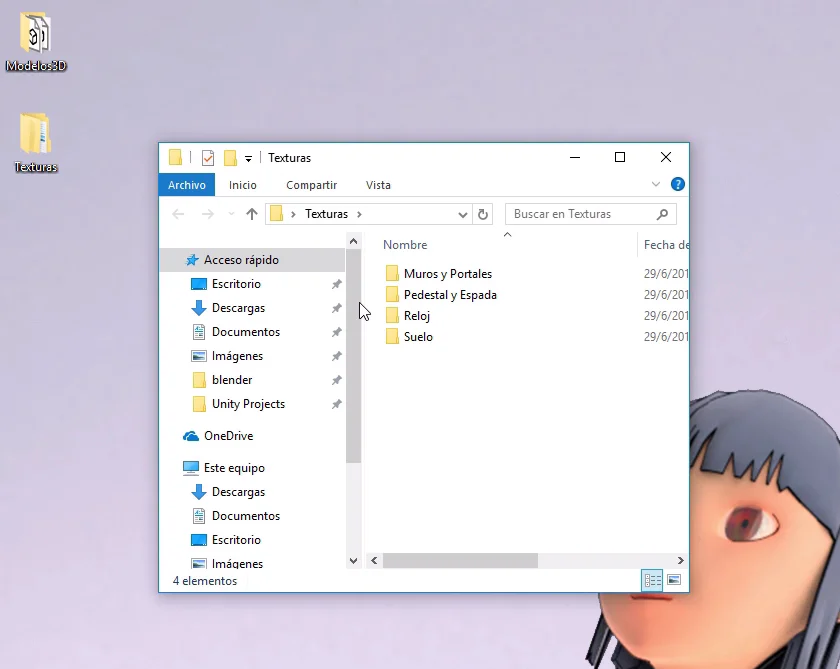
Select the folders and drag them to the appropriate folder in Unity.
I do this first by selecting the files, then clicking to drag them (a ghost icon appears indicating the amount of files being dragged) and then pressing the ALT-TAB combination to change the window, this does not make the selection lose, that’s why we can drop the files into the Unity folder.
If there are problems to do this you can minimize the Unity window or use the Unity import options.
Then we do the same with 3D models. You have to take into account the folders we created in the previous video in order to organize ourselves.

Modify scenario
Now let’s put all the 3D models on the stage to start shaping the labyrinth.
First we remove all the elements of the scenario except the floor. In the previous video we had placed them all as children of an Empty GameObject called Scenario.
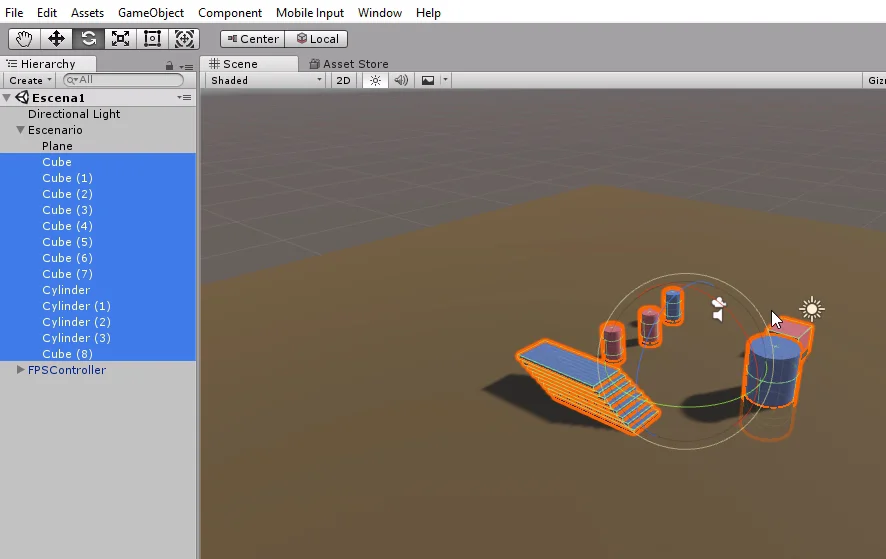
The next step is to take the 3D model called ScenarioElements that we import and drag it into the scene or hierarchy. This will place all the pieces of the labyrinth on the stage.

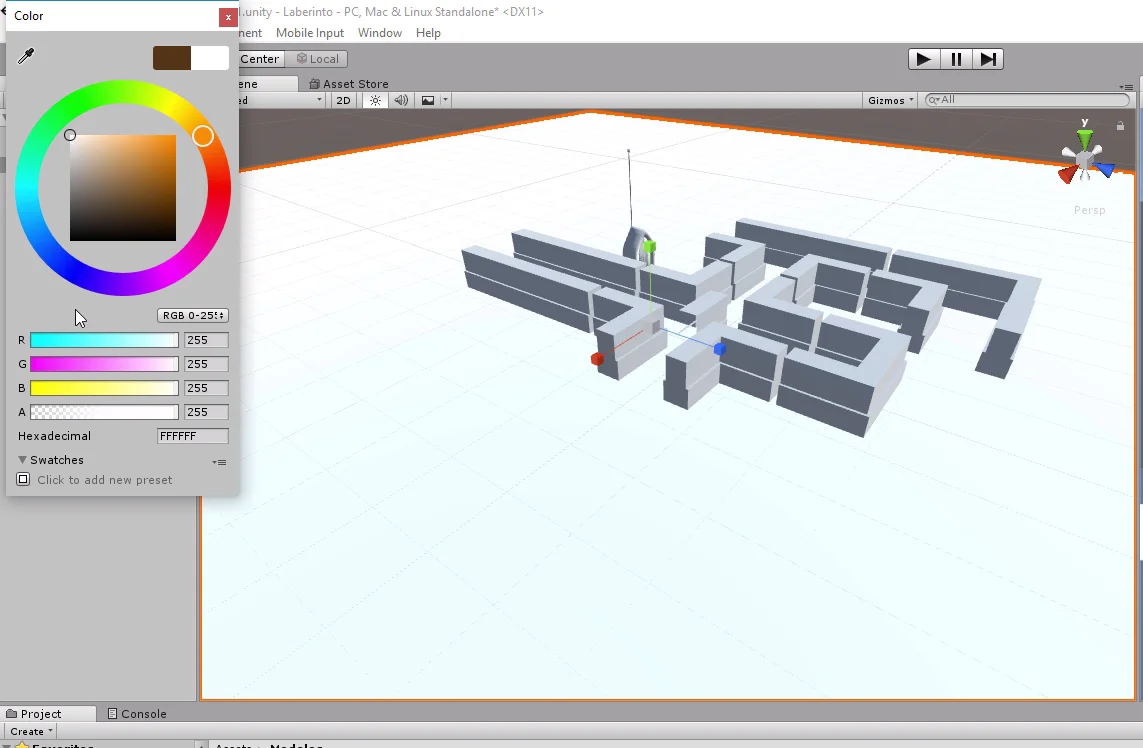
In the previous video we had made the floor brown. Now we are going to apply textures so we make it white again, otherwise our texture will have a brown tint.
Apply textures to the floor
Now we are going to use the textures that come inside the zip that can be downloaded at the beginning of the article.
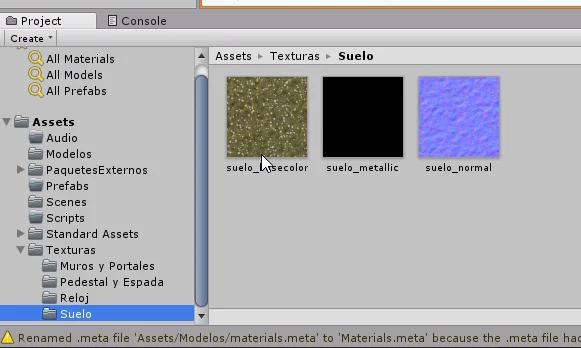
We start with the floor, inside the folder we have three textures.
The Base Color texture is used to give color to the material. Metallic determines the behavior of the material in front of light and the normal texture also determines how the light bounces off the material, but it is used to add geometric details that appear to have a high density of polygons in 3D models.
Place textures in the slots of the material
We add the textures in the inspector, to see the material in the inspector we have two options: we can select the material directly from the project folder or selecting a 3D model of the world that has it assigned.

Figure 8 shows that the textures are assigned in the slots of the material.
Albedo slot determines the color of the material, there we place the texture Base Color. The metallic texture in the slot metallic and the normal texture in the slot Normal map. For the latter we must define that texture as a normal map, there are two ways to do this, but Unity gives us the option in the same place, as shown in Figure 8 appears a sign that says that this texture is not defined as a normal map and we have a button to fix it. We click on Fix Now.
Tiling of textures
The upper left corner of Figure 8 shows a portion of the soil. Notice that the floor looks blurry unlike what it should look like (a lawn floor with daisies).
This happens because the texture is expanded to occupy the entire plane, to change this we must make it repeat more times in the geometry. This is done with the Tiling parameter of the material, in my case (because of the size of the plane) the values 100 for X and 100 for Y work.

What is going to happen is that the same texture is made smaller and placed one after the other. In figure 10 you can see the lawn with daisies. Notice how in the lower part of the image the ground looks good, but as we move away the pattern of the texture becomes more evident, it is obvious that it is the same texture that repeats itself.
We are using a “Seamless” texture, that is to say a texture that when you put it one after the other (in the four sides) fit perfectly and you don’t notice a line of rupture. Even though the texture is very good, we can’t avoid the repetition pattern from a distance. To avoid this we have to use more textures, place objects that interrupt the pattern and so on.
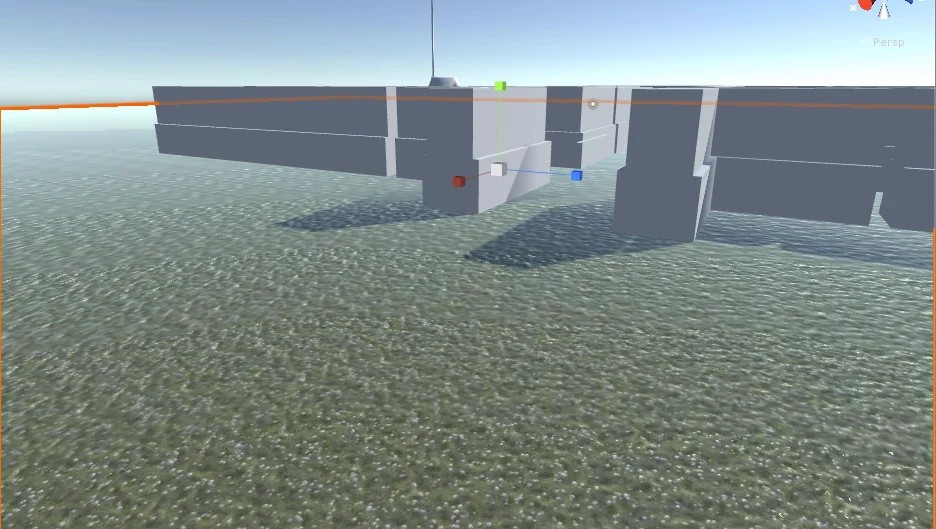
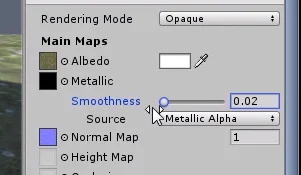
Figure 10 also shows that the floor reflects a lot of light, as if it were made of glass or something similar. To correct this we decrease the Smoothness value, making the material reflect less light.

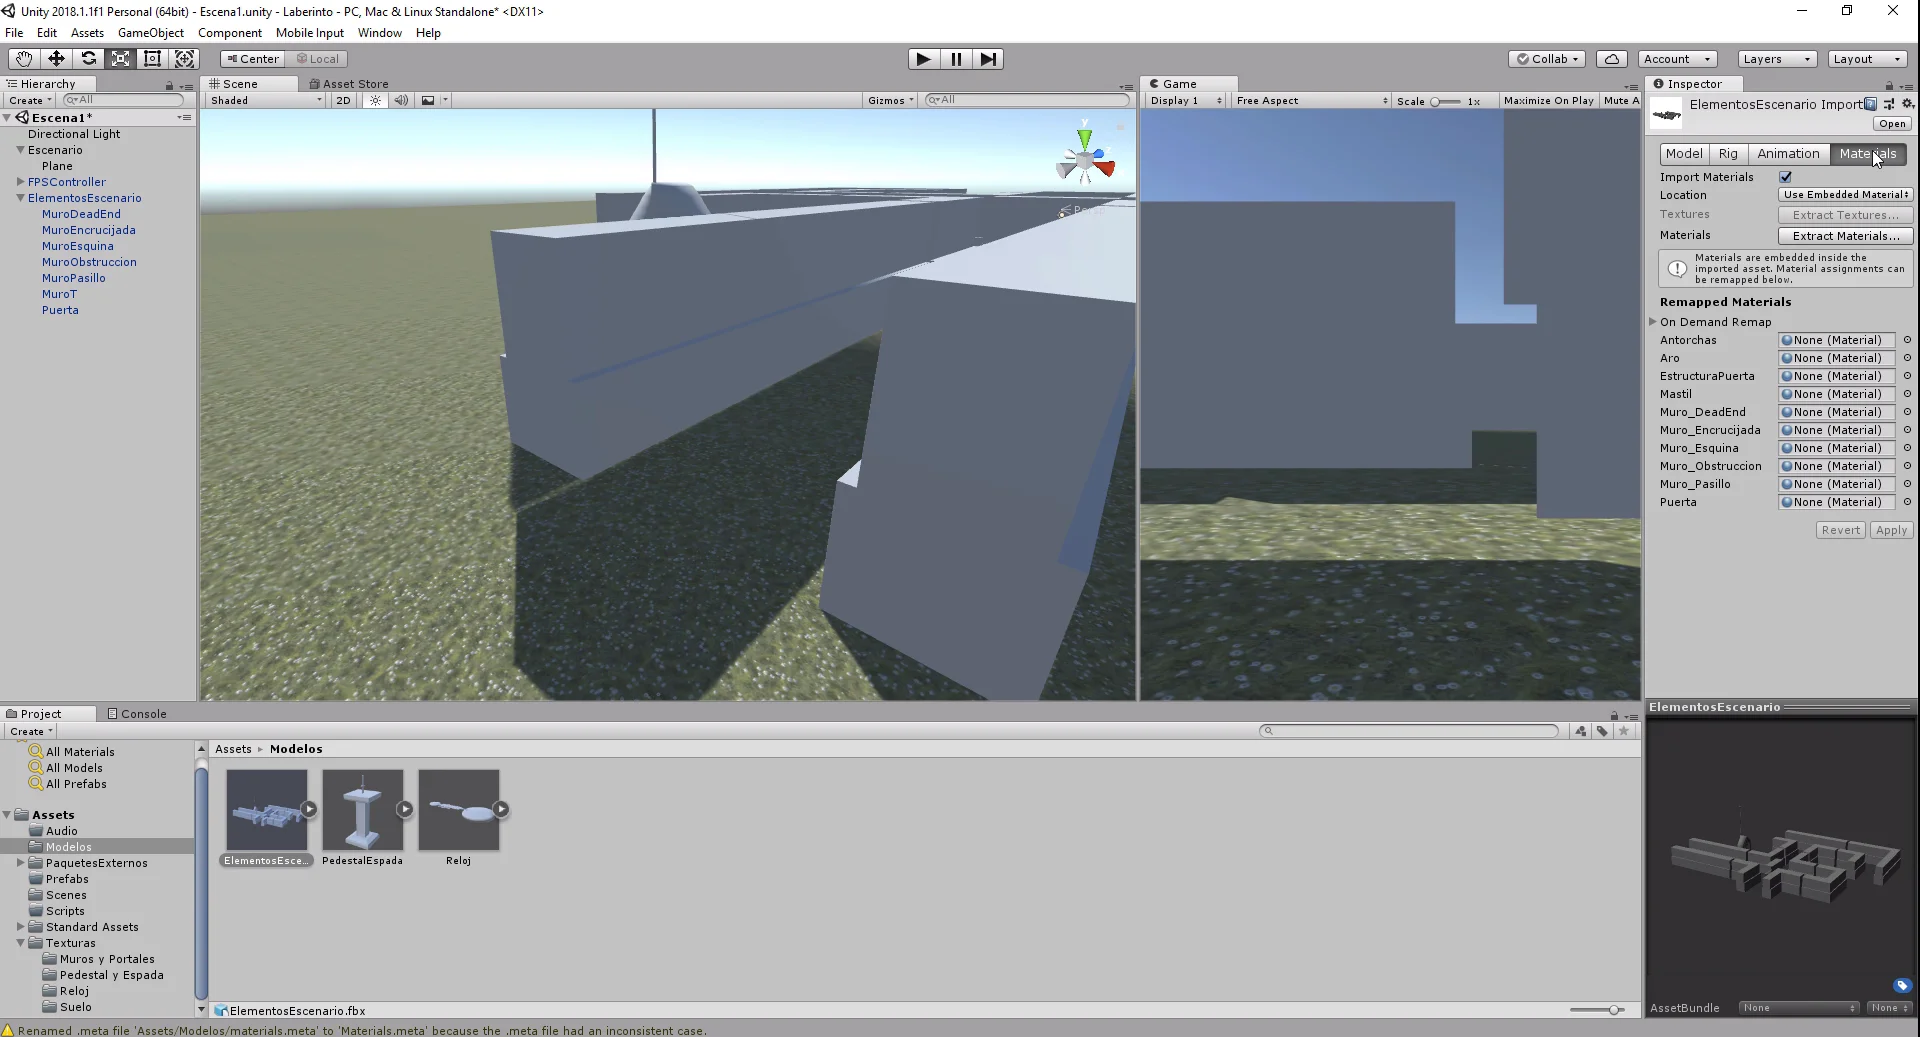
Extract materials from 3D models
In previous versions, when we imported a file with an FBX extension, the materials that could be defined automatically appeared along with the models. This has changed and I think it makes sense that we have to manually extract the materials, so we can have better control and avoid having many copies of the same material.
There are two ways to extract the material, at least in the version at the time of recording the video.
In this case we click on the imported model and in the inspector we go to the materials tab and click on: “Extract from prefab”.
A window appears to select the location of the extracted materials, if you want we can create a folder for the new materials.
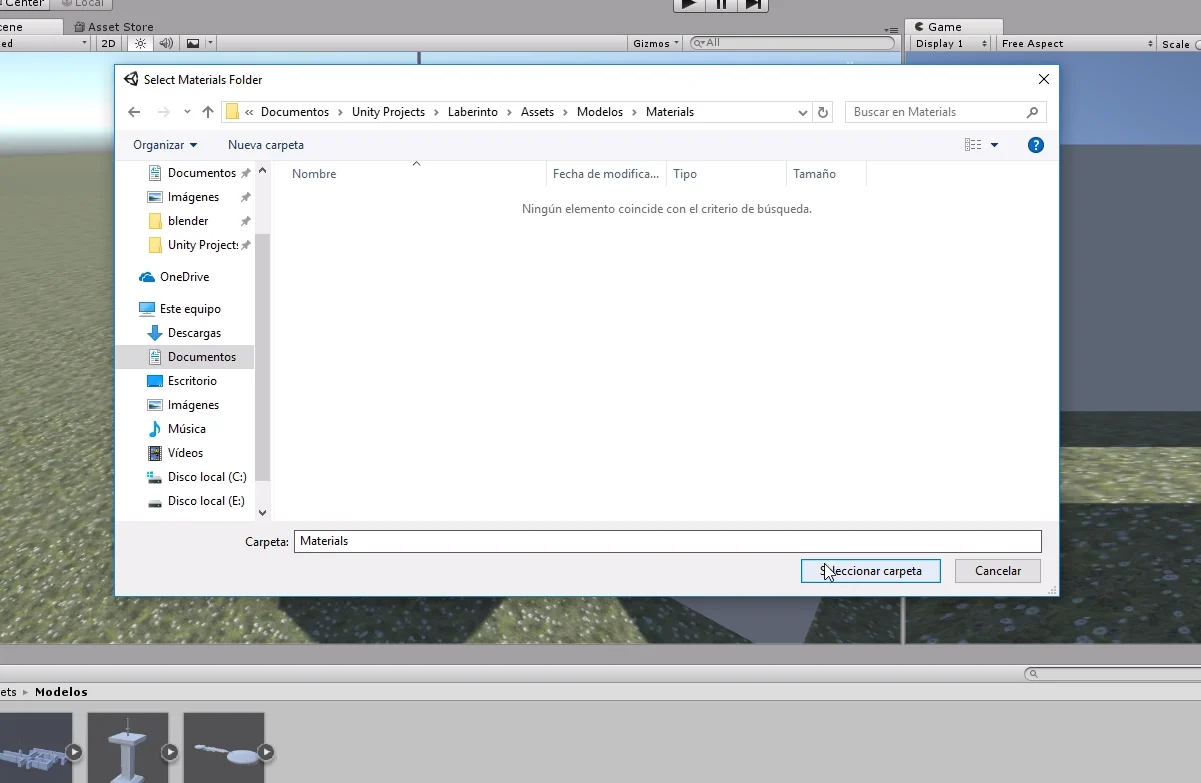
The new materials appear in the selected folder.
Apply textures to new 3D models
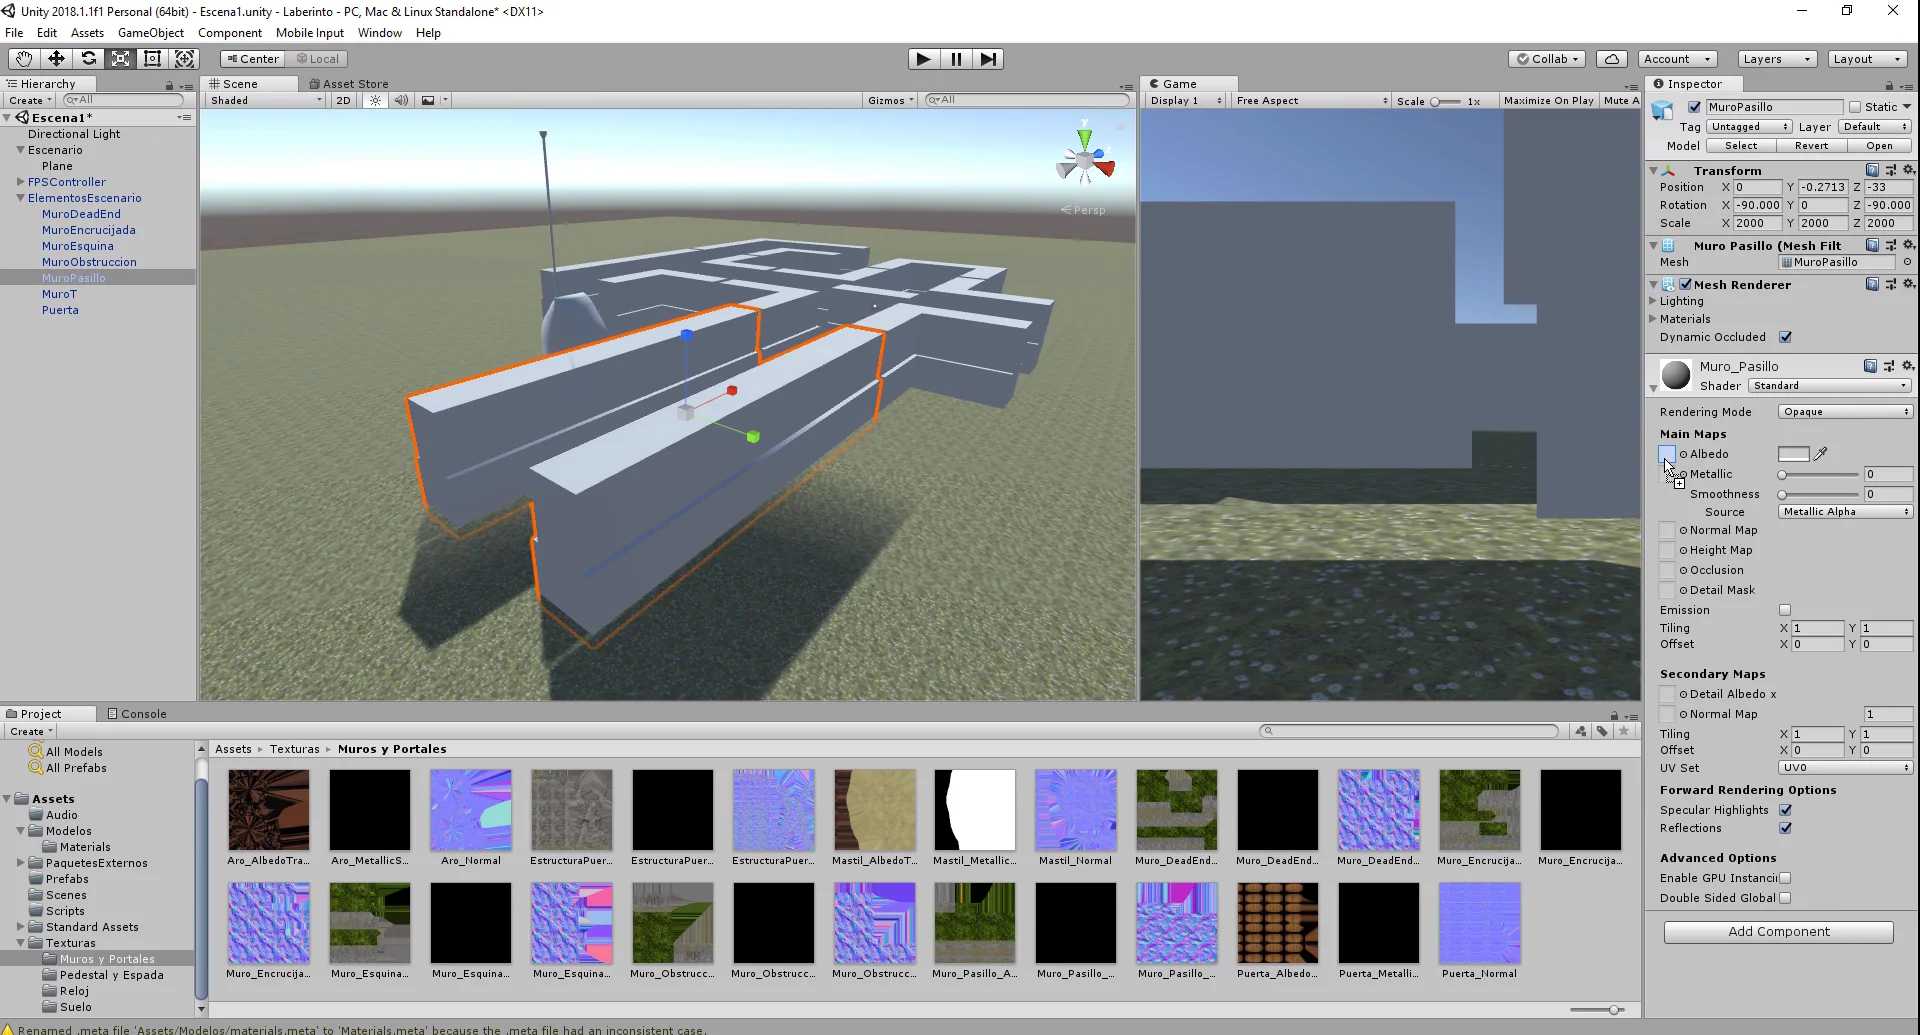
The next step is to do the same thing we did with the floor material, we are going to go material by material adding the textures to the respective slots.
There is a problem that arises when we have to do this type of tasks and is that when we select something in the hierarchy or folder of the project, the inspector shows us information about that selection. In our case it would be good that the inspector is blocked showing the material we are configuring.
For this there is the small padlock that you can see in the upper right corner of the inspector tab. Clicking on it blocks what the inspector shows and we can navigate freely through the project folders without losing sight of our material. Beware that this can also be a problem, sometimes we forget the locked inspector and we don’t know why we can’t see information about what we select.
Another alternative for this type of tasks is to modify the Unity layout for our benefit, that is to say to open more tabs of the project and to lock them so that each one shows a thing.
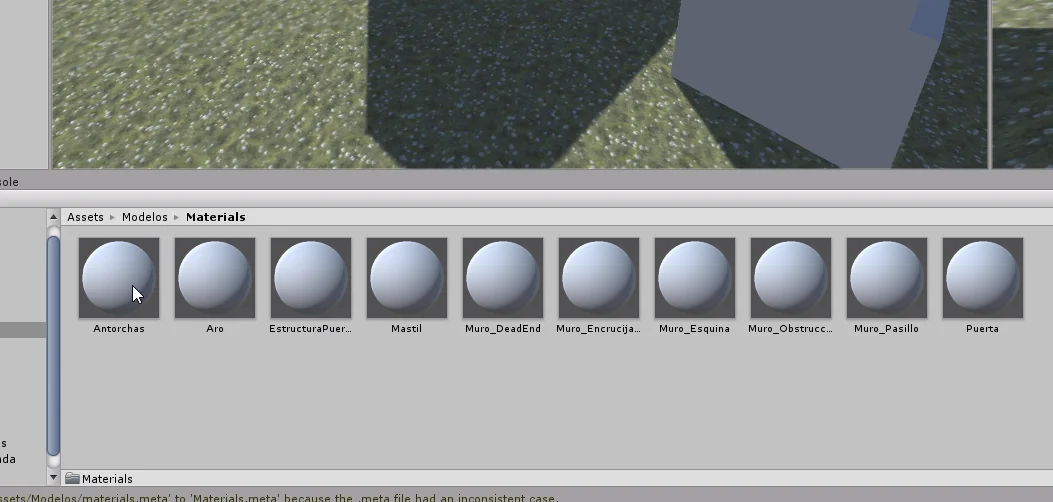
Figure 16 shows that one of my project windows shows the materials, the other shows the textures and the inspector shows the selected material. This makes the process of adding many textures to the materials faster.

Creation of Prefabs
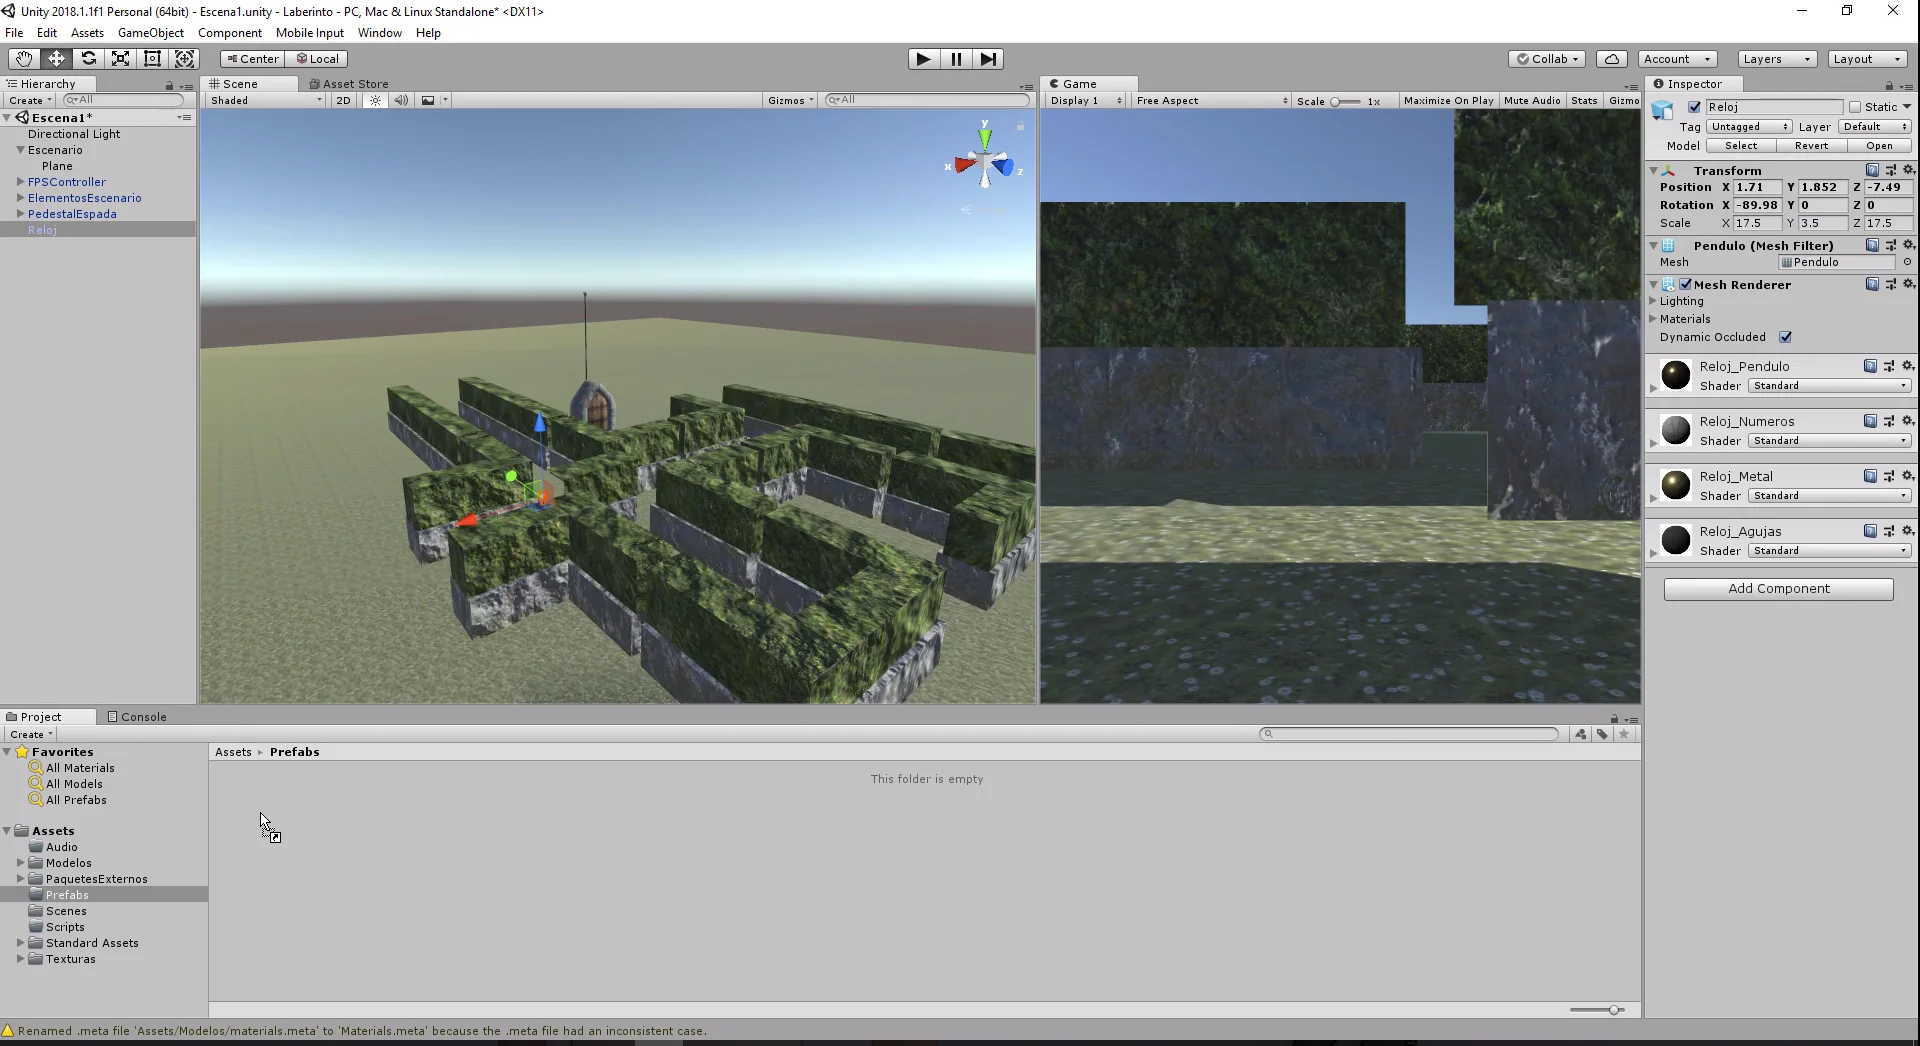
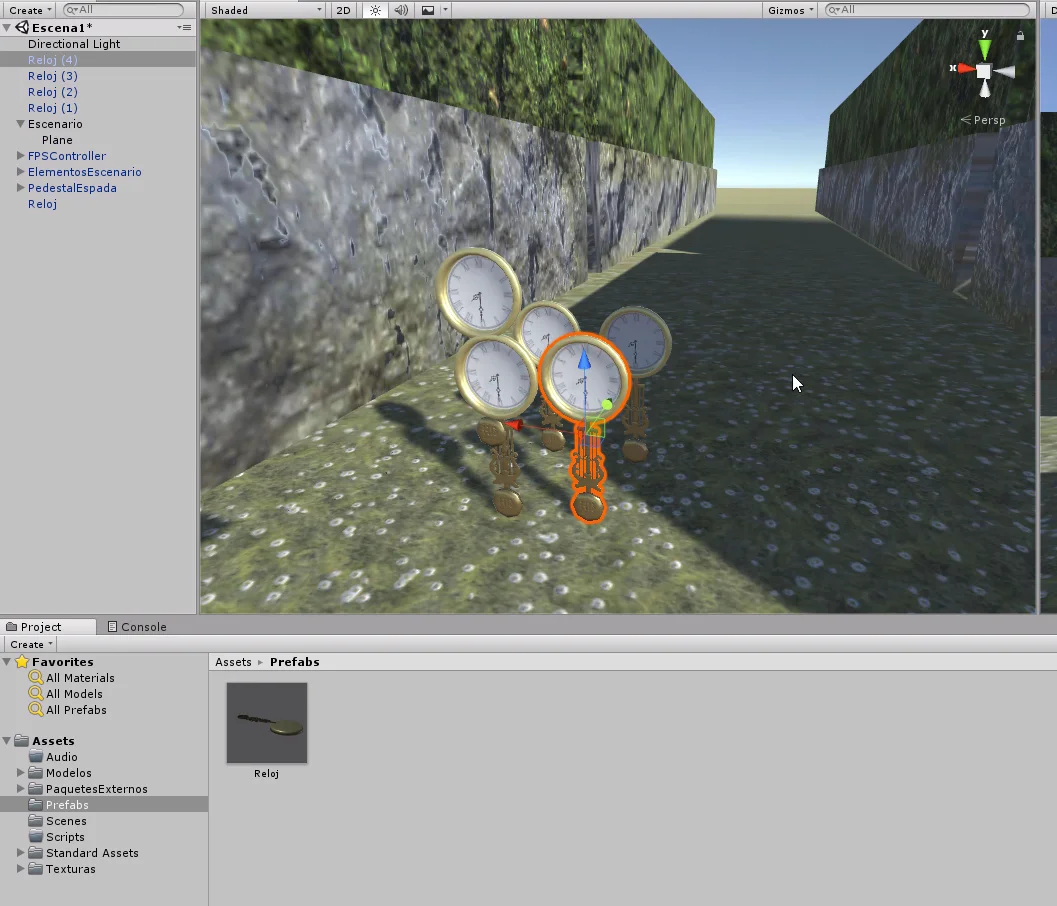
Once we have configured all the materials, the next step is to create the “Prefabs” that is to say GameObjects prefabricated that later we will be able to instantiate during the design or in time of execution of the game. For example, later on we will make the clocks appear randomly on the stage. In order to achieve that we need to have a GameObject prefabricated from which clones will be created.
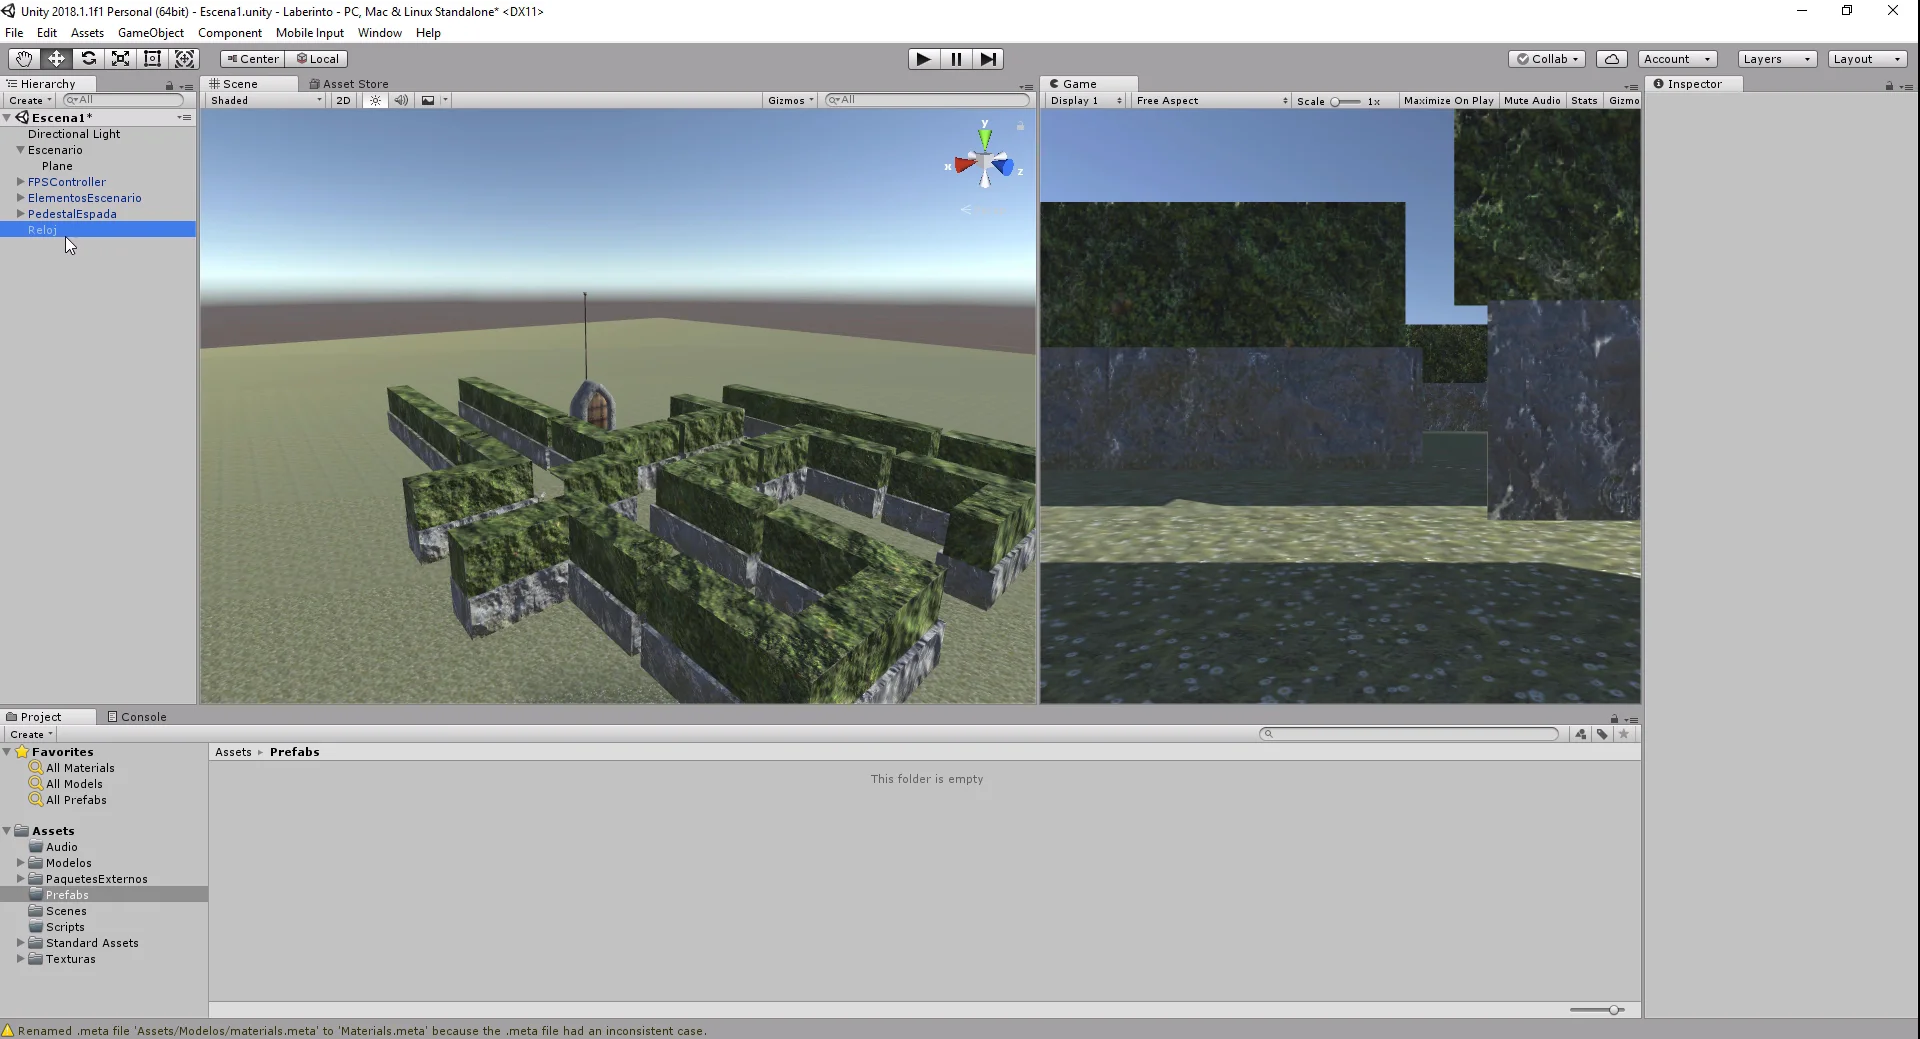
To create a prefabricated GameObject we simply take it from the hierarchy and drag it to any folder in our project, as shown in figures 18 and 19.
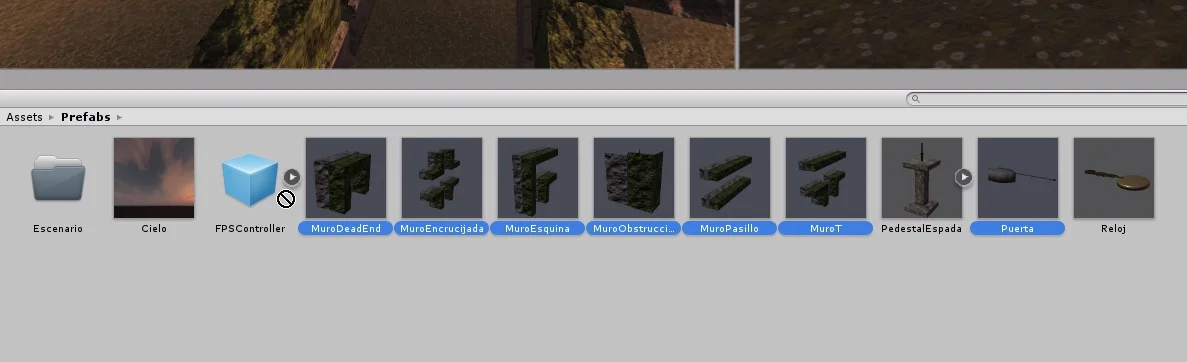
After that the Prefab appears in the folder, as a thumbnail that shows its appearance and name. From there we can take it and drag it to the scene to create all the copies we need, as can be seen in figure 20.
We repeat this process for each individual piece of the labyrinth, pedestal and portals.

Define a new Skybox
Now let’s modify the standard sky of the scene. We will use the files downloaded from the Asset Store of the previous video, doing this was an optional step, so if you have the files no problem, we can keep moving forward.
First we create a new Material, we call it “Sky” and we select it to visualize its properties in the inspector.
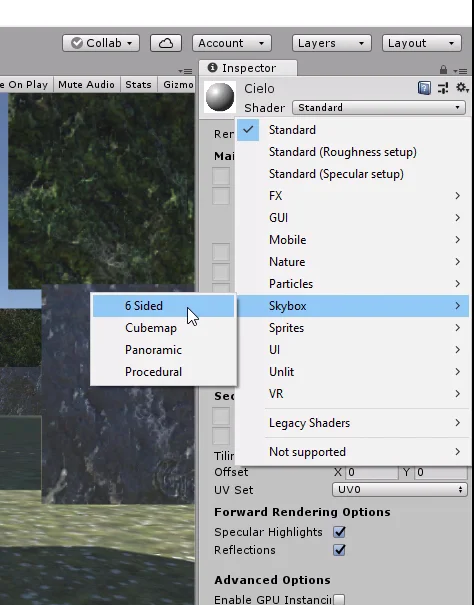
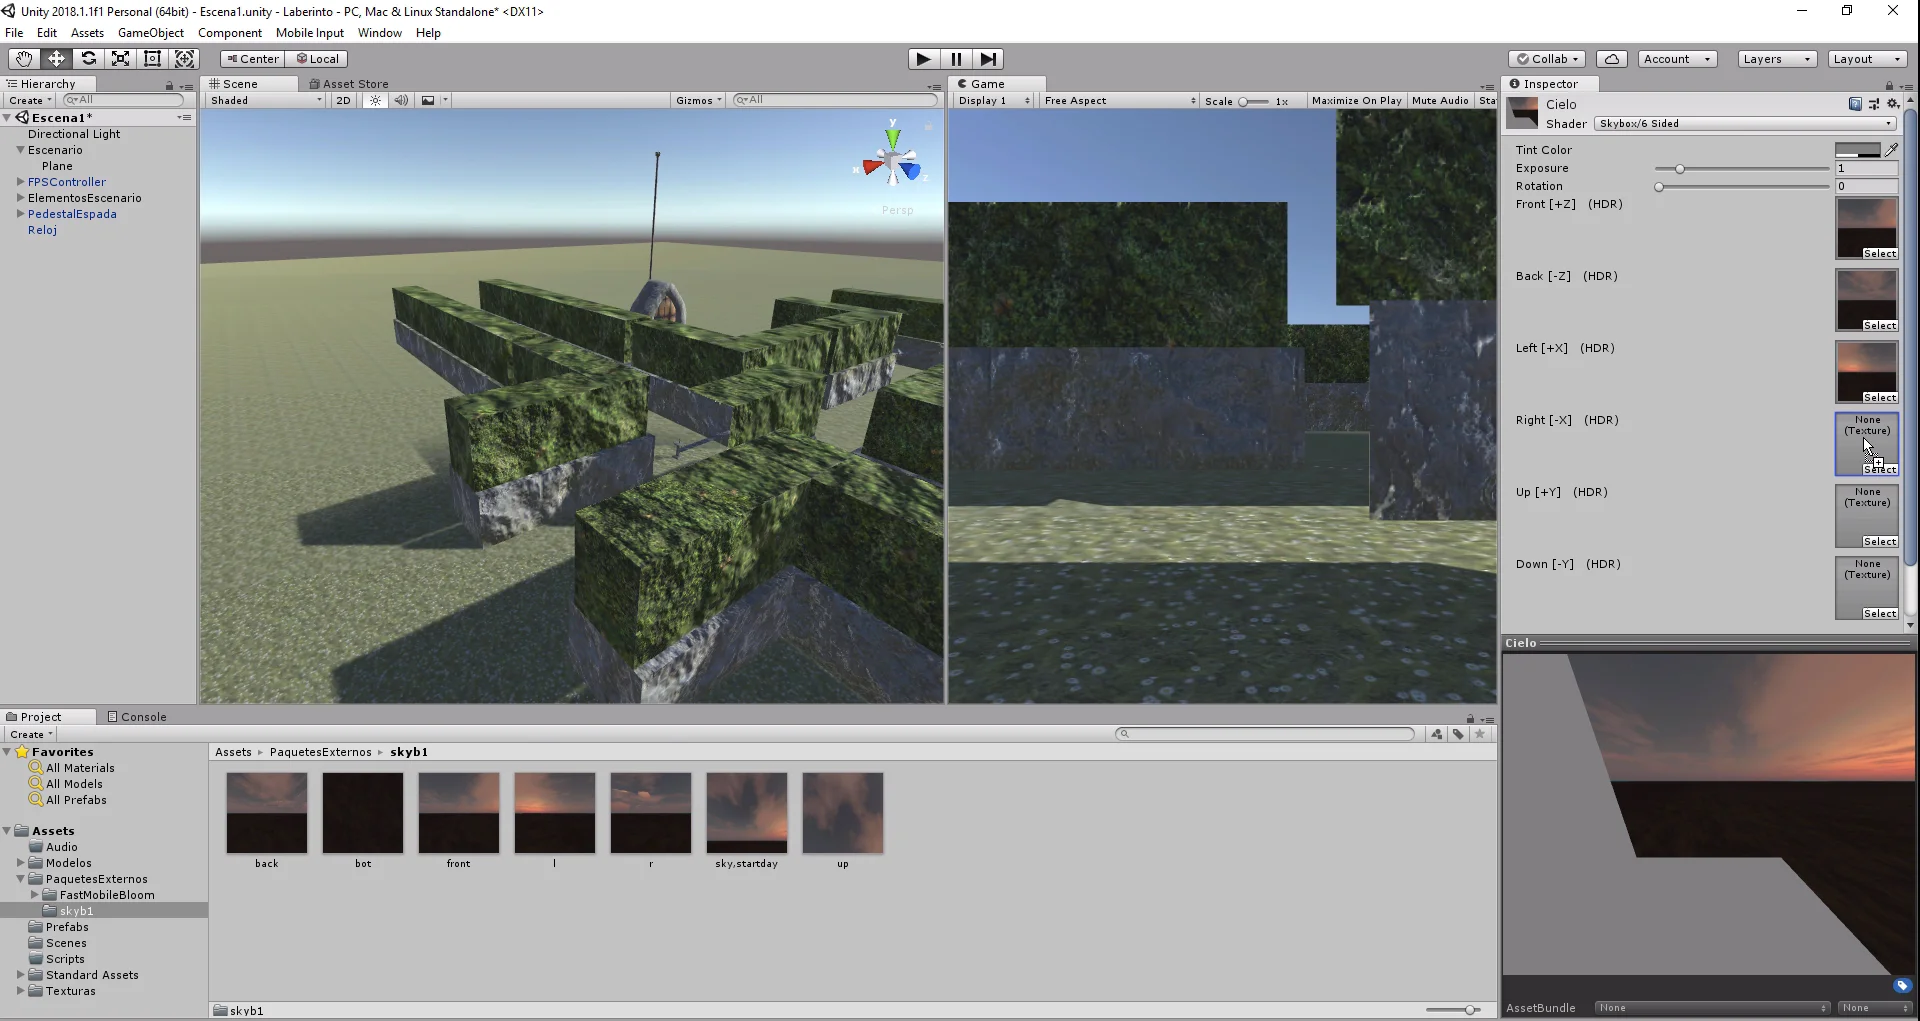
Then we click on the Shader drop-down menu that by default has “Standard Shader” selected, instead we choose the Shader “6 Sided Skybox”. This will completely change the properties of the material in the inspector, now you see an inspector like the one in figure 23.

We will assign the textures of the Skybox package downloaded from the Asset Store to the corresponding Skybox slot.
Then go to the menu Window > Lighting > Settings to open the lighting configuration.
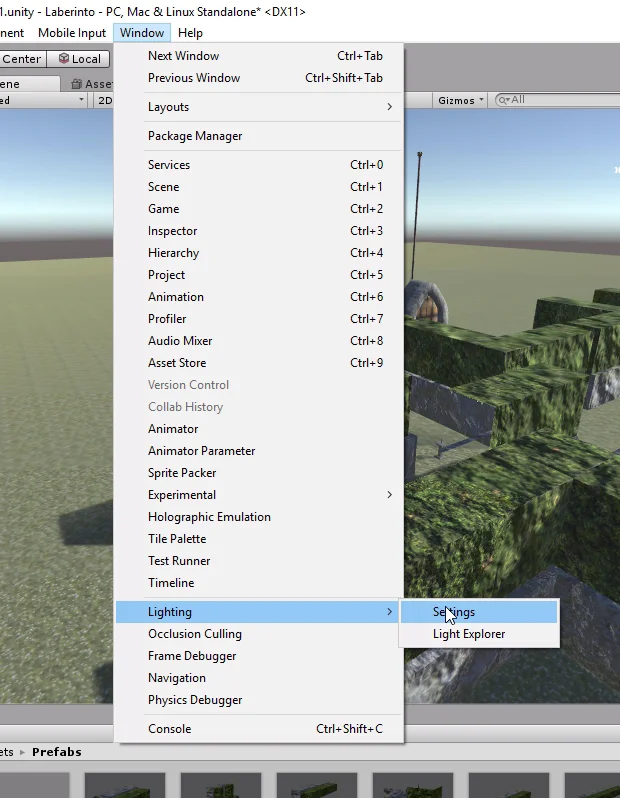
A window opens like the one shown in figure 26, which I place next to the inspector so that he is not floating.

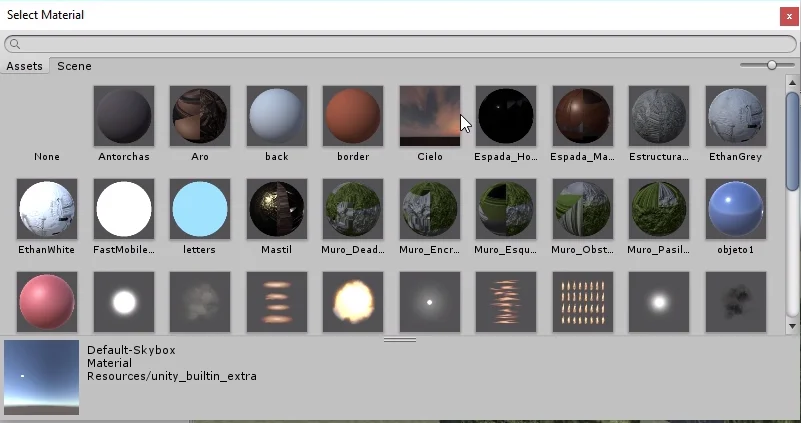
Click on the icon of the circle with the “Skybox Material” point (on which the cursor is in figure 26) and in the window that appears we choose the Skybox that we have just configured (figure 27).
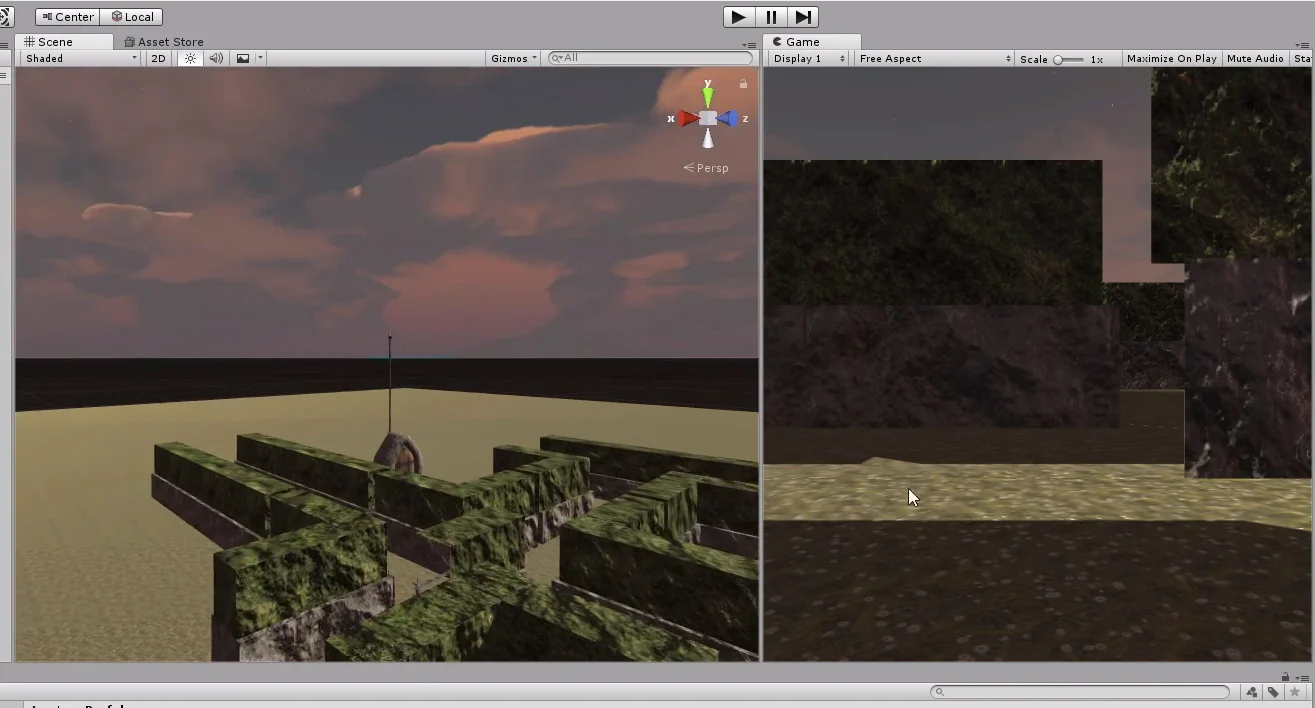
Immediately we see how the default heaven is replaced by a new sky of a cloudy sunset. With the appropriate images we can create a personalized sky for our project.
Adjust lighting
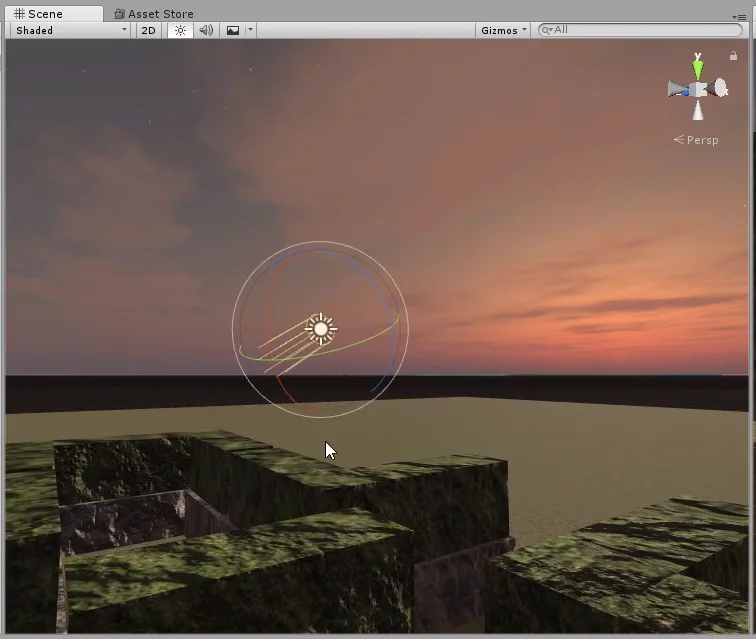
Figure 28 shows that the light is too pale, i.e. it does not look like the light you would see in a sunset. To correct this we select the light source in the hierarchy to see its properties in the inspector (an inspector similar to the one seen in figure 33 is observed).
In the inspector we select a color according to the tone of the sky and we adjust the intensity to taste.
Then we modify the rotation of the light source to match the position of the sun in the Skybox.
At this point of the video I make a folder to place the prefabricated ones belonging to the stage and others for the objects. Again I emphasize the organization of the project.
Finally it occurs to me to add a second light source that points directly down and does not produce shadows, that way the scene does not look so dark.
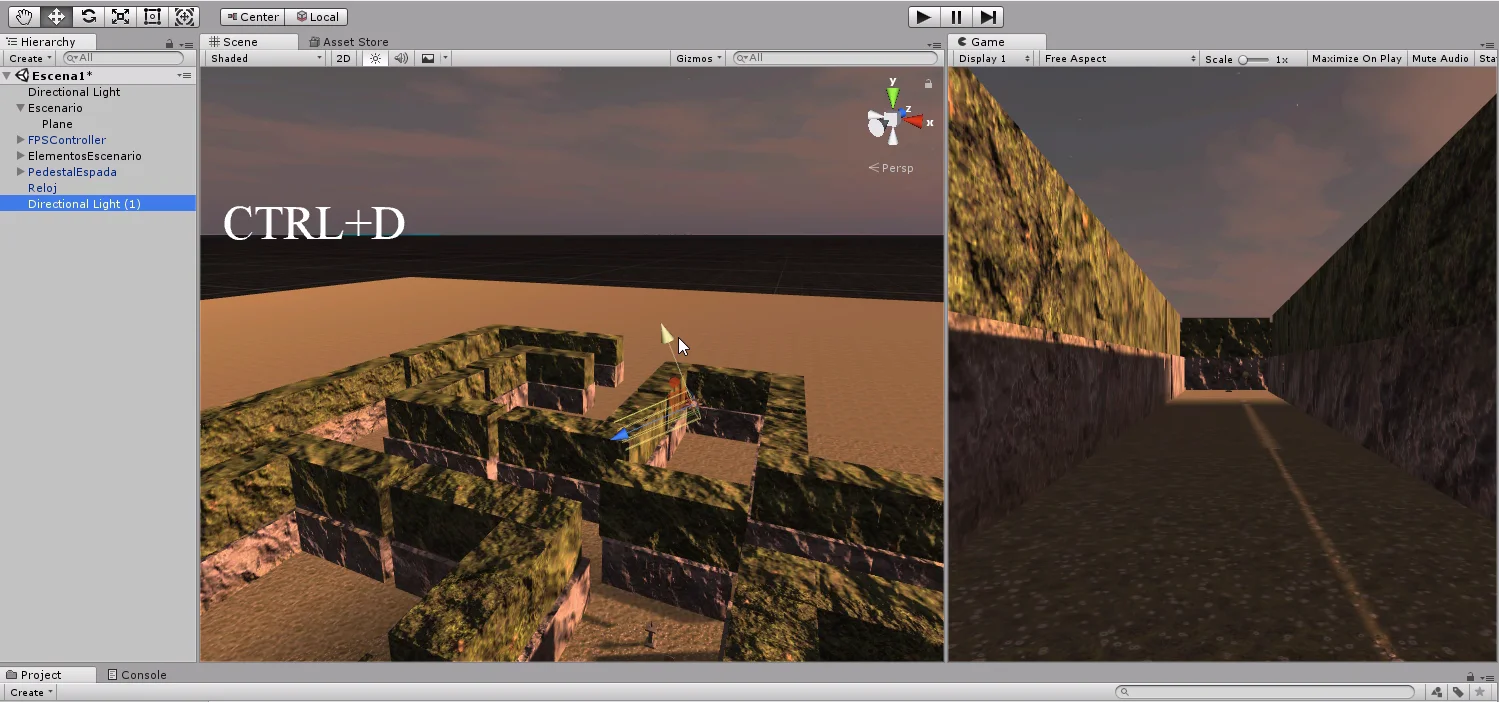
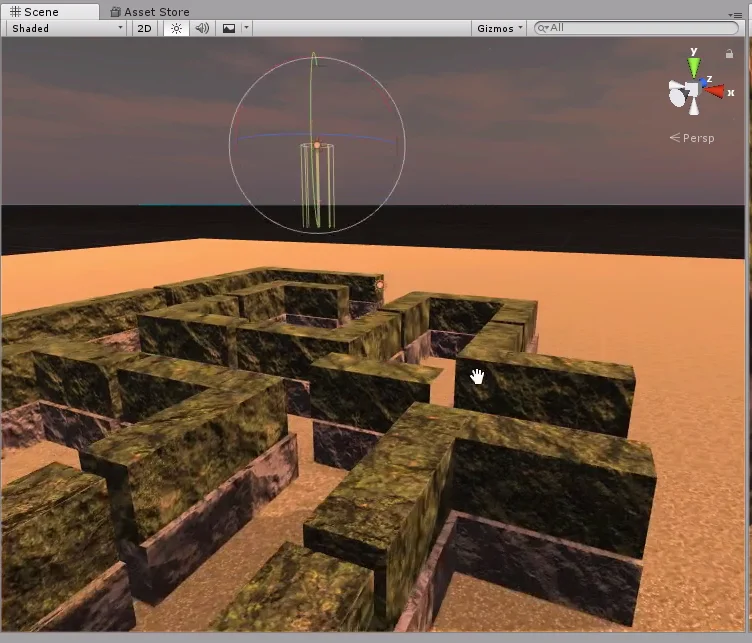
I select the light source from the hierarchy and press CTRL+D to duplicate it, then I orient it perpendicular to the ground.
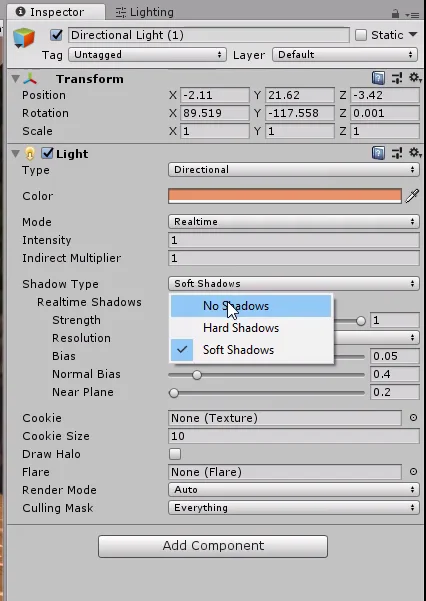
In the inspector I adjust the parameters and in “Shadow Type” I select the option “No Shadows”, as it is observed in the figure 33. With this we finish the video 2 of the series My First Game in Unity.
Conclusion
In this video we have worked quite a bit on the aspect. We added 3D models and textures, so we learned a little more about the materials. In the case of imported 3D models, we must manually extract the materials that can bring or place new materials, this part is very connected with the 3D design of the piece, ie the materials defined in our 3D design software will appear in Unity, we may have the opportunity to delve deeper into this issue later.
We saw that we can create prefabricated GameObjects that are in the hierarchy. These prefabricated can be placed in the world easily, at the time of editing or at the time of running the game.
We modify the sky that comes by default in the scene, instead we create a Skybox type material in which we place textures to represent the six sides of the “sky box”, this behaves as if we were inside a giant cube whose horizon is very far away.
Finally, we improved the illumination of the scene a little, correcting the color and adding another light source that adds intensity but does not produce shadows.