Introduction
In this article we are going to see how to create an ARMATURE in Blender (animation bones) that can be used to animate a 3D model using keyframes. If you already know how to create bones in Blender and want to know how to connect these bones to a 3d model, check this other article instead.
Starting point
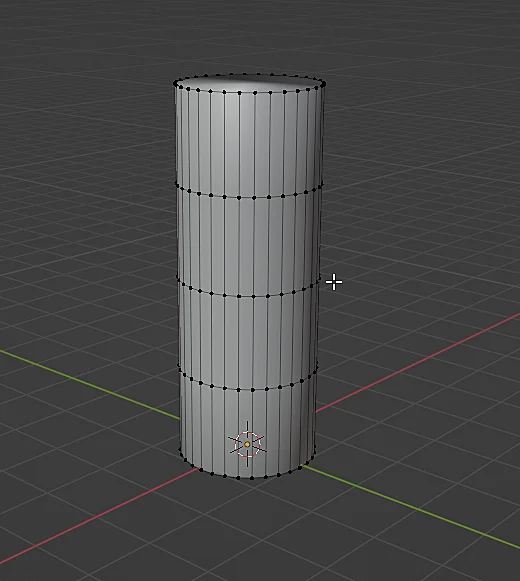
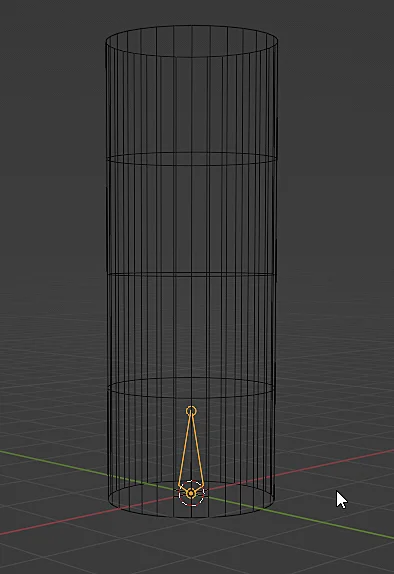
We start from the 3D model shown in figure 1, it is a cylinder to which subdivisions have been added as seen in the article on adding and removing edge loops.
Creating the animation bones
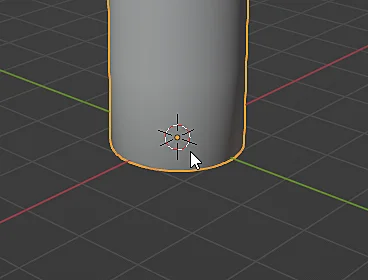
In object mode we will place the 3D cursor over the origin of the object to which we want to add the skeleton.
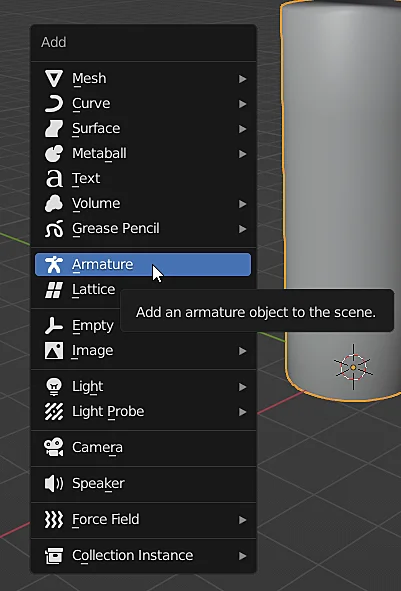
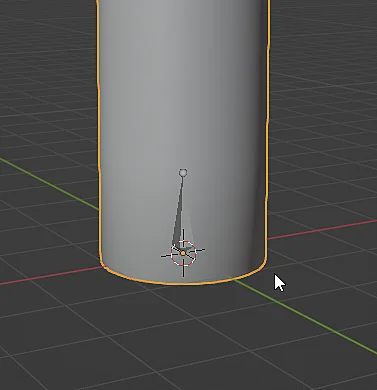
Press SHIFT+A and add the object “Armature” as shown in figure 3, with this we create the skeleton, it is likely that the animation bone is hidden as in this case, to view it you can enter the Wireframe mode as shown in figure 4.
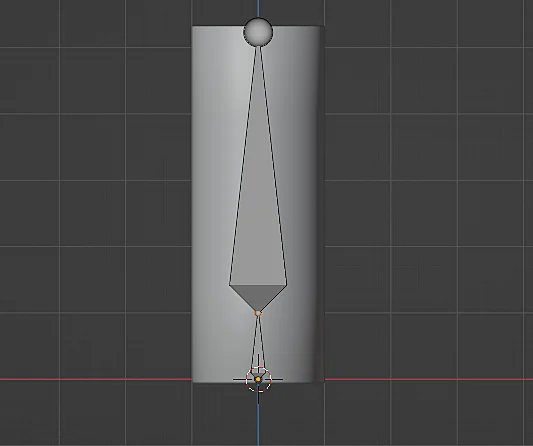
To visualize the animation bones more comfortably I will make the animation bones be displayed in front of the 3D model as shown in figure 5.
Adding animation bones
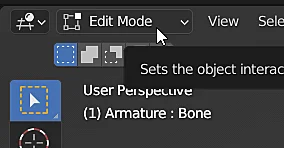
We have created the Armature object, if we select it we can enter the edit mode as shown in figure 6, this allows us to add new animation bones, subdivide them, rotate them, etc.
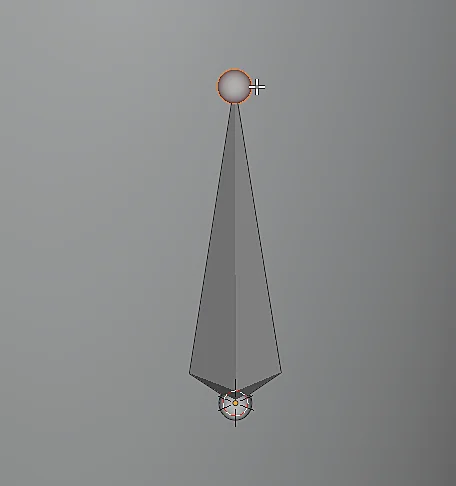
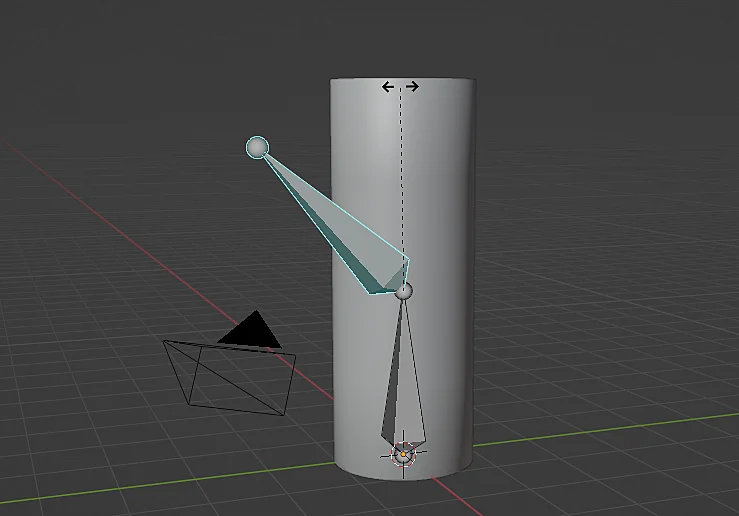
To obtain the two animation bones seen in figure 8 what I do is to select the tip of the first bone as in figure 7 and then press the E key, the new bone that appears is analogous to the extrusion of a face. I will place the tip of the second bone at the top of the 3D model as shown in figure 9.
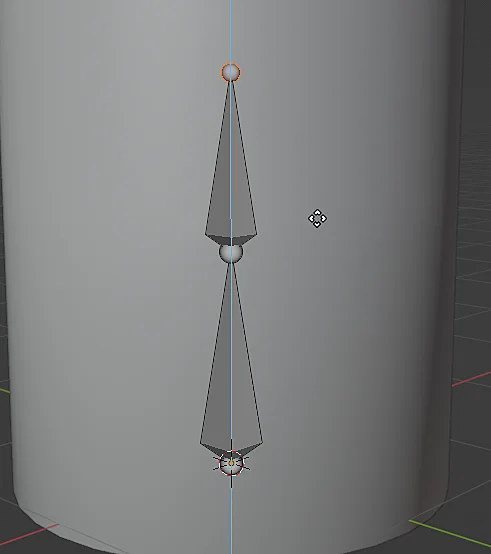
Then I will take the tip of the first bone and place it approximately at the center of the 3D model as shown in Figure 10.

Pose mode to animate bones
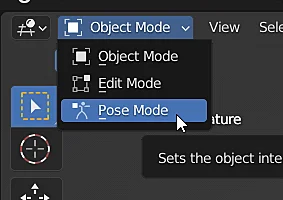
If the Armature object is selected, the “Pose Mode” option will appear when changing the working mode.
In Pose mode we can give the bones the rotation we need and make animations with keyframes and the timeline, the problem is that we have created the animation bones but we have not linked them to the 3D model nor have we established how those bones will deform our 3D model, as shown in figure 12, when we rotate the animation bone in pose mode, the 3D model remains unchanged.