Introduction
Edge loops are essential for adding precision and detail to your 3D models in Blender. In this guide, you’ll learn how to add edge loops to create precise geometry for details like facial creases or mechanical edges—and just as importantly, how to remove them cleanly when optimizing your mesh. Whether you’re preparing a model for subdivision surfaces, rigging, or game engines, these techniques will help you maintain clean, efficient topology.
For a visual breakdown of this subject, you may find my video discussion helpful:
Adding edge loops to a model in Blender
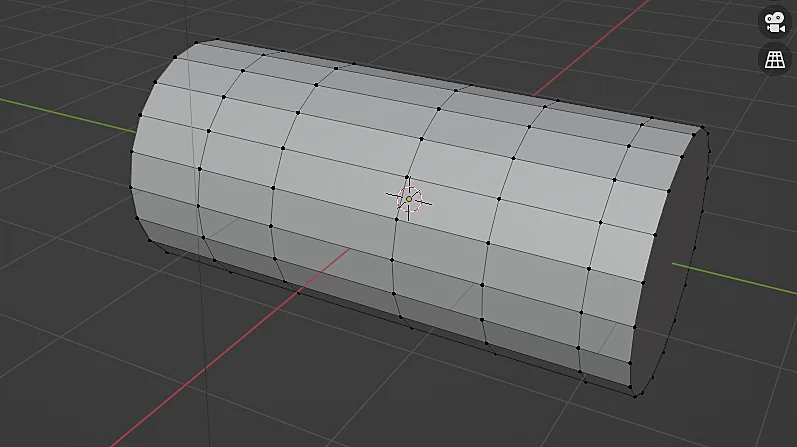
Let’s begin with the base 3D model shown in Figure 1 – a simple cylinder. Our goal is to add evenly distributed edge loops along its length, creating additional geometry that will allow for more detailed shaping while maintaining clean topology.
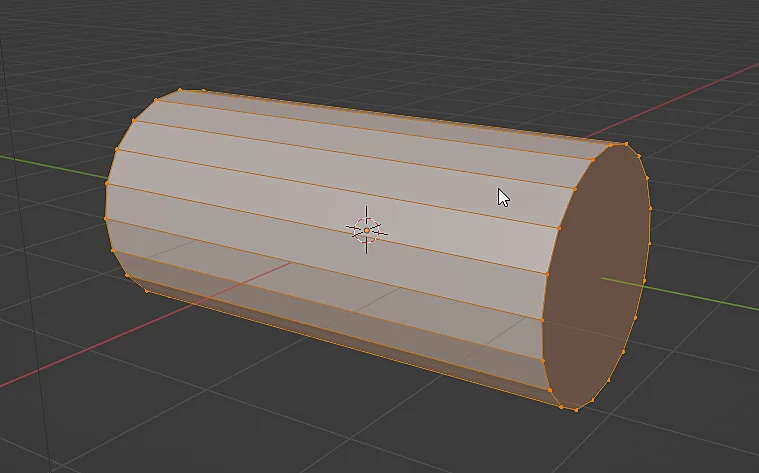
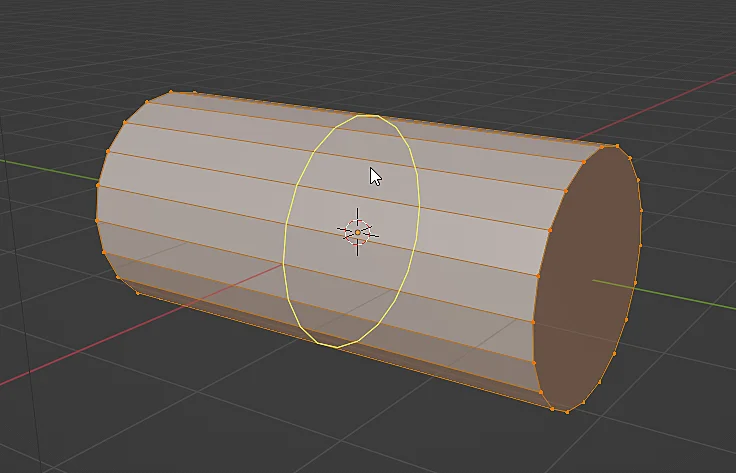
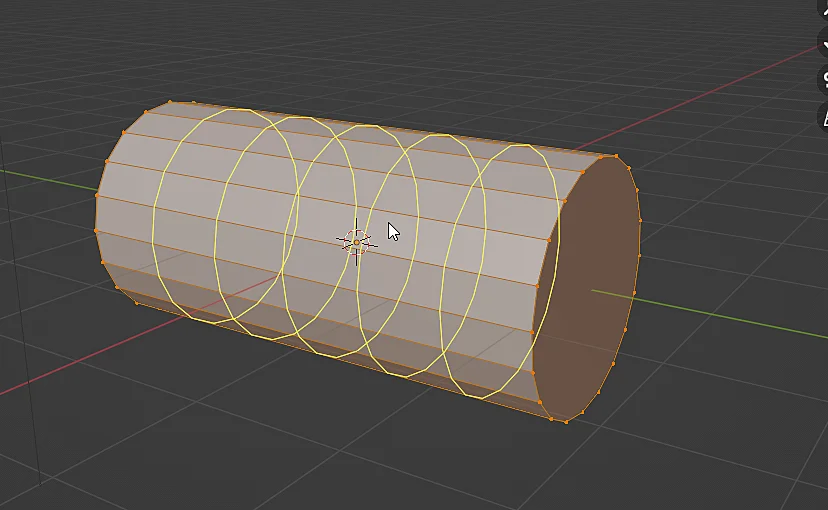
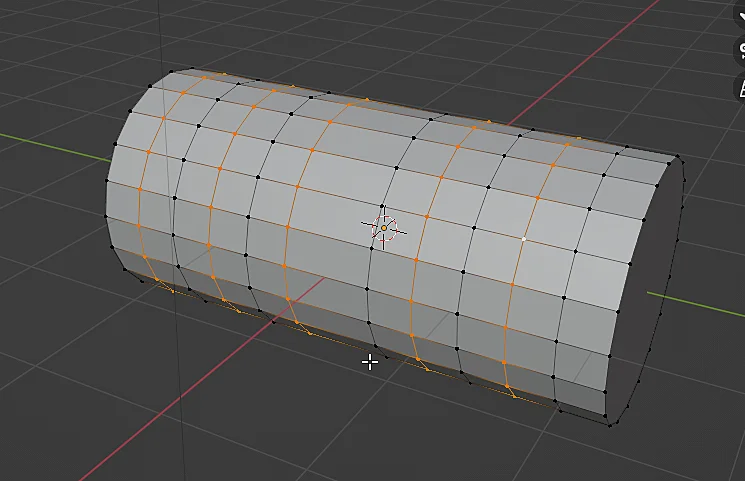
To add edge loops, press Ctrl+R and hover your cursor over the target object. A preview of the new loop will appear (Figure 2). Left-click to confirm placement, or scroll your mouse wheel to add multiple evenly spaced loops simultaneously – as demonstrated in Figure 3. This creates uniform subdivisions along the model’s surface while maintaining its curvature.
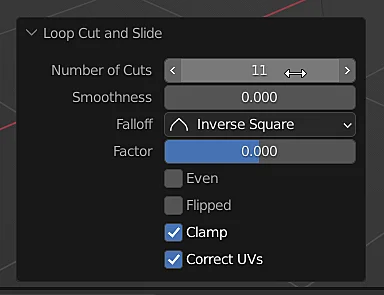
After confirming the edge loops, Blender displays the operator panel (Figure 4) in the bottom-left corner of the viewport. This interactive menu allows for precise adjustments, including the number of cuts, their smoothness, and other loop-specific parameters – all editable even after creation.
How to remove an edge loop in Blender
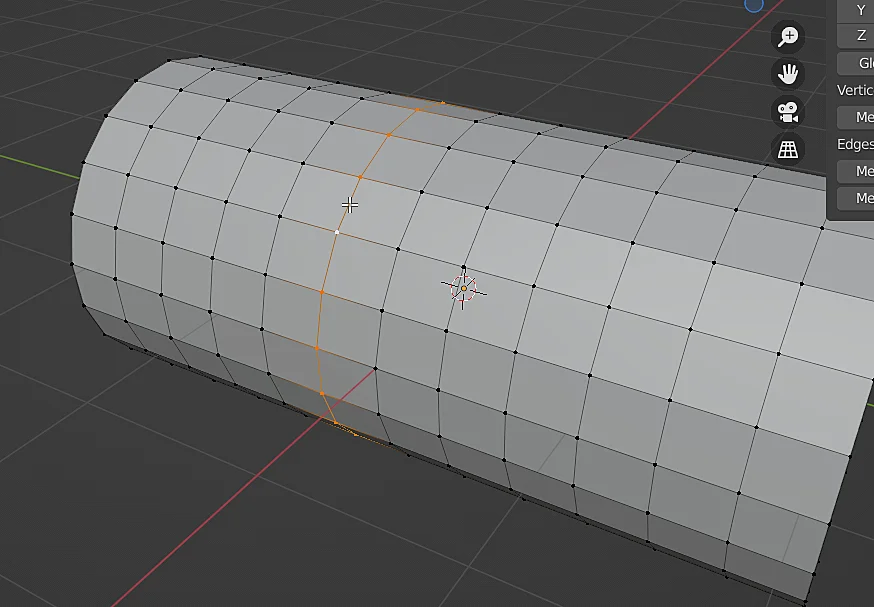
To strategically remove edge loops while preserving the object’s shape, begin by selecting your target loop. The most efficient method is to Alt+Click any edge within the loop (see Figure 5 for selection demonstration).
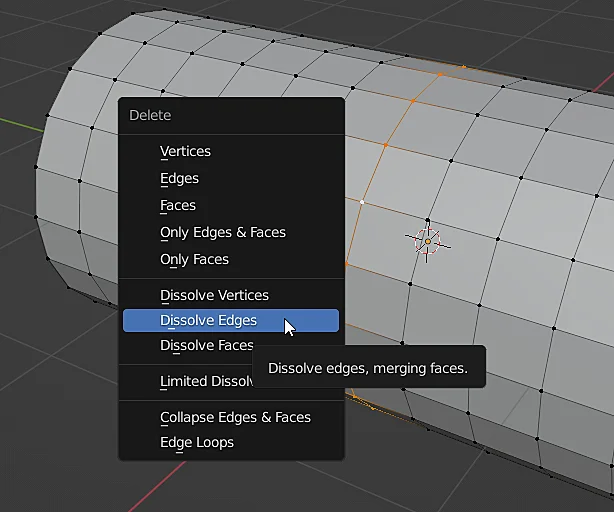
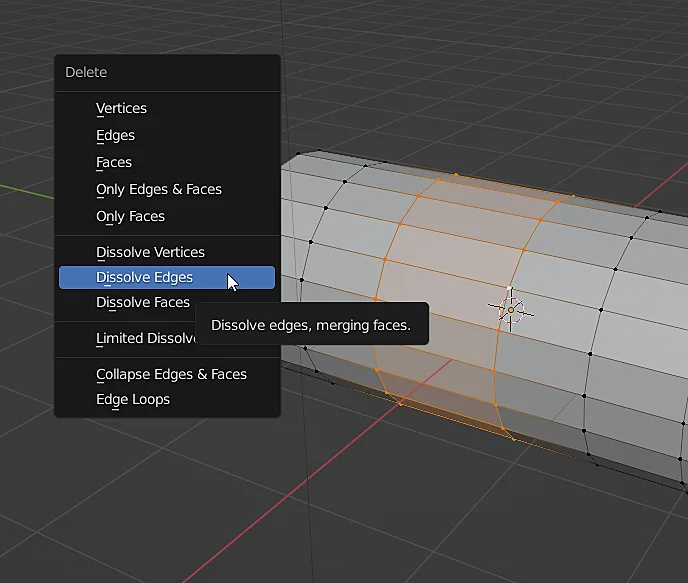
To cleanly remove the selected edge loop while maintaining surface continuity, use the Dissolve Edges function. With your edge loop selected:
- Press X to open the deletion menu
- Select “Dissolve Edges”
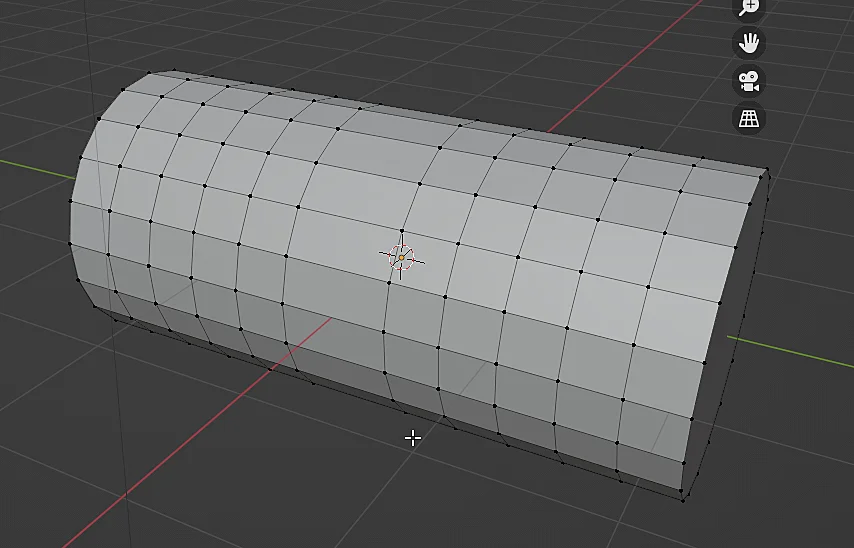
This preserves the mesh structure by merging adjacent faces rather than creating holes, as shown in Figure 7’s optimized topology.
How to remove multiple edge loops in Blender at once
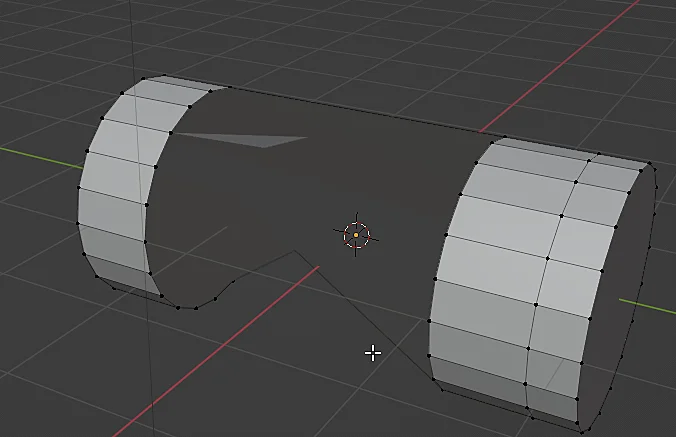
When dissolving multiple adjacent edge loops simultaneously, special consideration is required. As demonstrated in Figure 8, attempting to dissolve contiguous edge loops can produce unexpected topology (Figure 9). This occurs because the dissolve operation merges all selected edges and their connected vertices, potentially creating non-manifold geometry when applied to neighboring loops.
An alternative is to select edge loops leaving an intermediate loop unselected, as shown in Figure 10.

In this way the problem of figure 9 does not occur and the loops can be dissolved correctly, as shown in figure 12.