Updated information about this project
This article belongs to a series that consist on making a first person game about finding objects inside a maze. It’s one of my very first series from the channel. Now I reworked this project and you can download it to import in your own Unity project. Some day I will make a new series about this project, subscribe to my channel to see all the fresh content about Blender, Unity and programming.
Follow me on itch.io and download the source code of this project
YOU CAN TRY THIS GAME HERE, IT MAY TAKE A LITTLE WHILE TO LOAD
🔻
MOVEMENT: WASD CAMERA LOOK: MOUSE
Introduction of the old article
In this article we’ll look at the different types of Colliders and how to apply them to our 3D models, as well as how they interact with the RigidBody component.
Go to the project’s Main Page
Video related to this article – Types of Colliders in Unity. Interaction with RigidBody.
Types of colliders
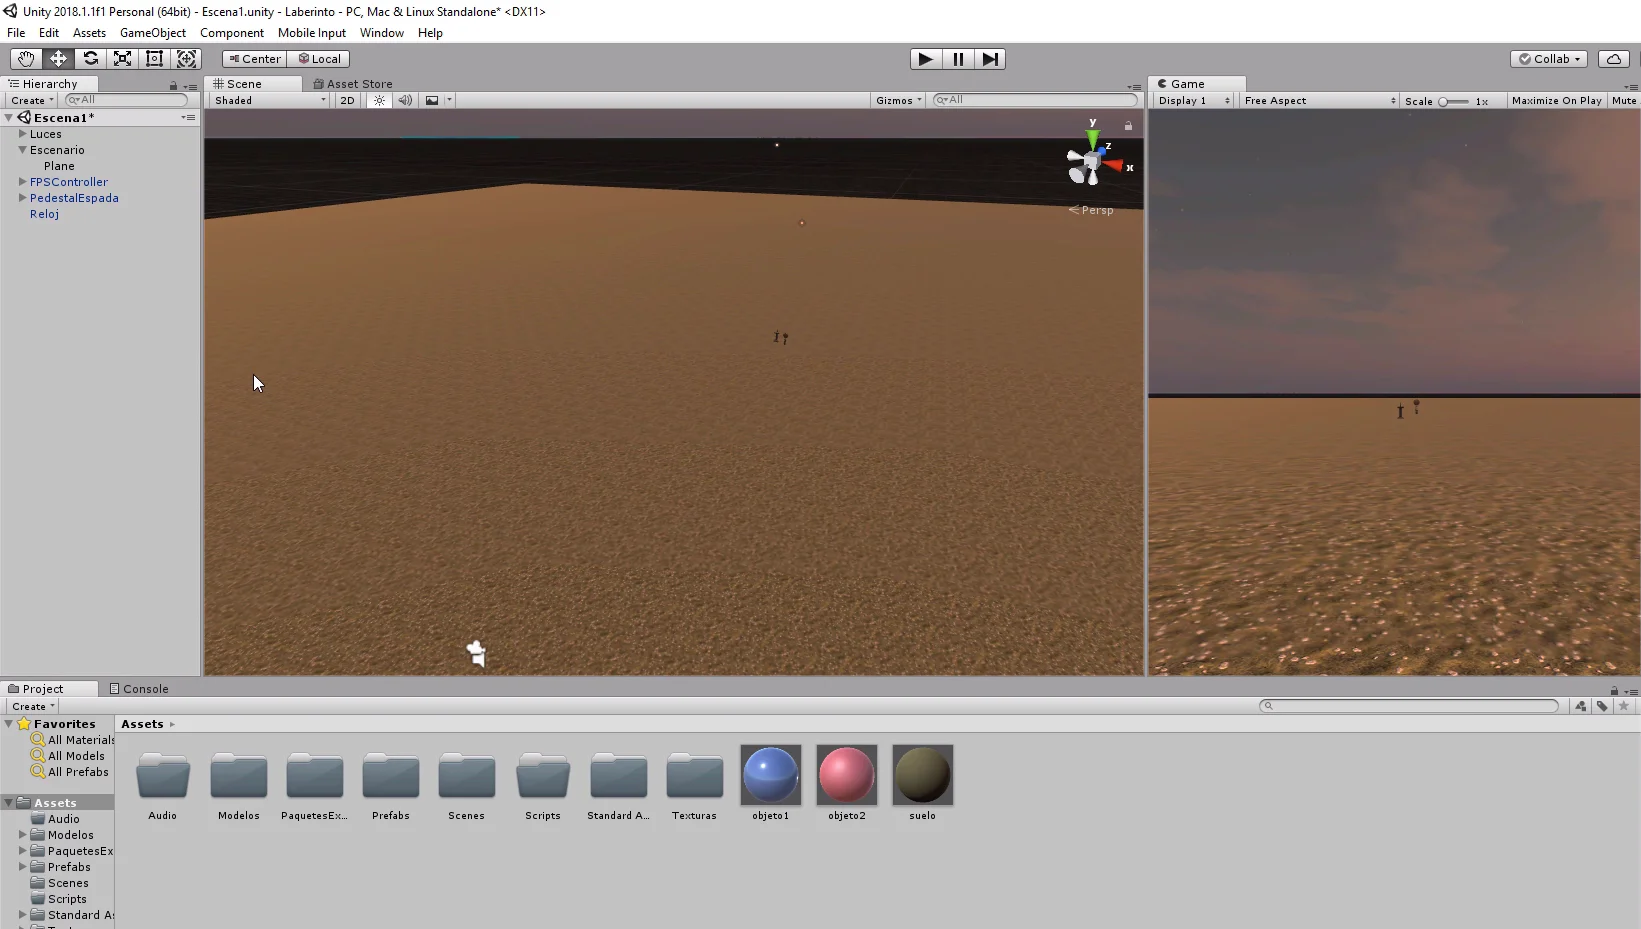
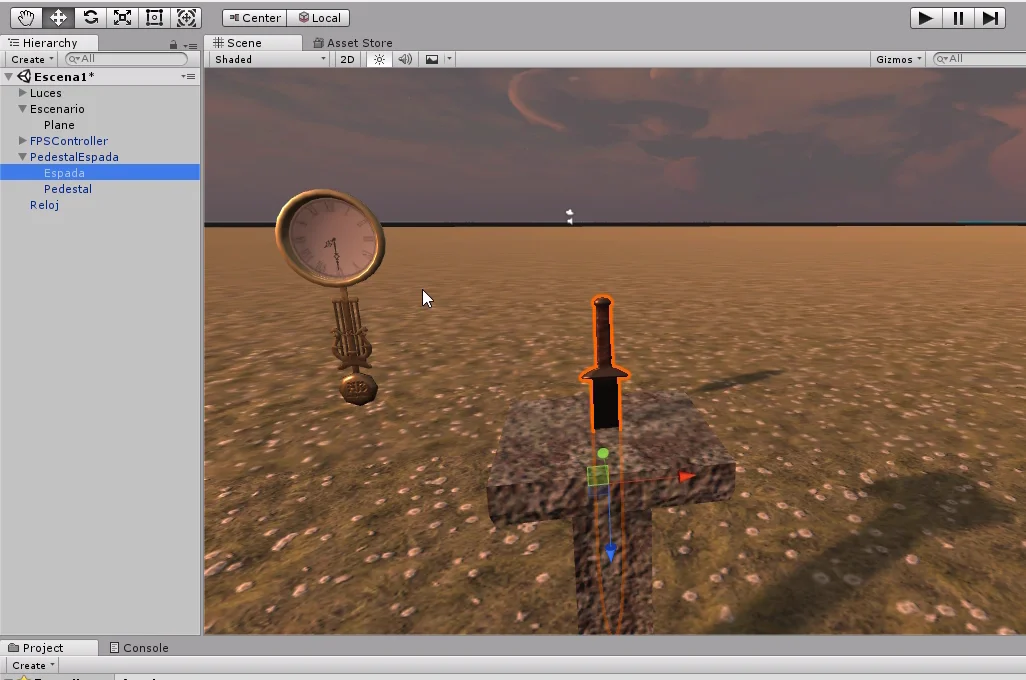
We started by clearing the scene of the GameObjects that were left in the previous video. Let’s leave the pedestal with the sword and the clock, to be able to analyze the different types of Colliders.
The sword and the pedestal are two separate objects grouped under the same father, so we can select the sword and remove it from the pedestal (figures 2 and 3).

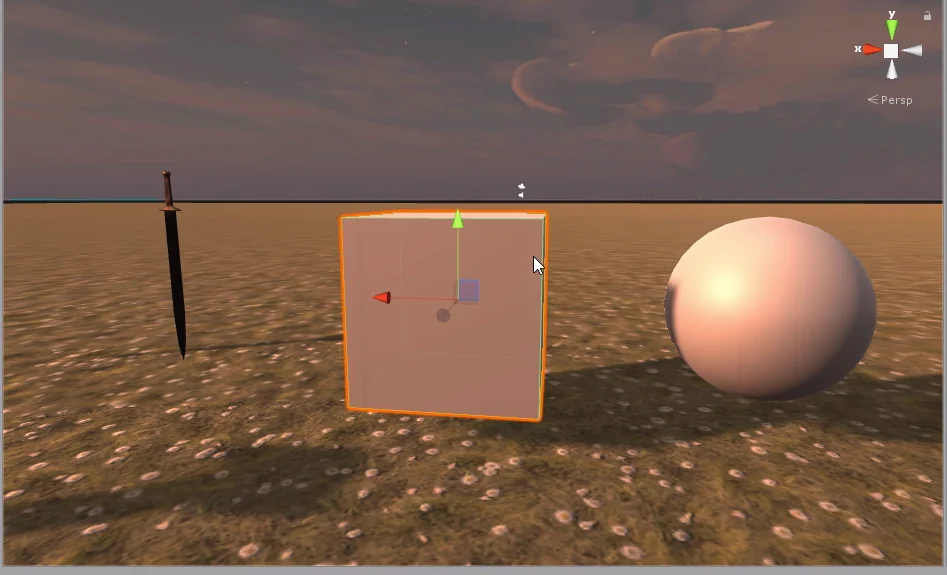
In addition we will create a cube and a sphere by right clicking on the hierarchy and using the 3D Object menu. We arrange the objects so that they look like in figure 4.
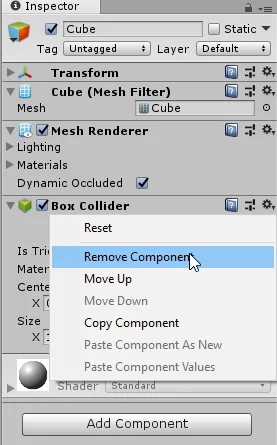
With the cube selected, we observe its properties in the inspector. By default it comes with several properties included, among them there is a Box Collider component.

Components can be removed by using the small gear at the top right of a component and clicking Remove Component, as shown in Figure 6.
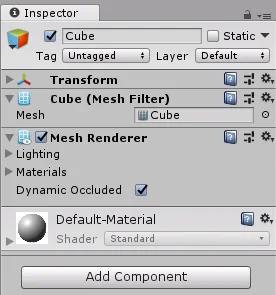
In the following figure we see that the Box Collider component has been removed.
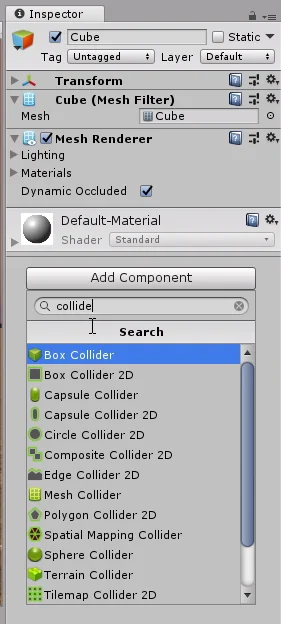
We can add new components to our GameObjects by clicking on the “Add Component” button, when we do so a window is displayed with all the components and has a search bar. If we type “Collider” in the search bar we can see the different types of Collider we can add to our GameObject.
Of course there are Colliders that are more appropriate than others for a particular GameObject, this will depend on the geometry of the GameObject and the use we are going to give it.
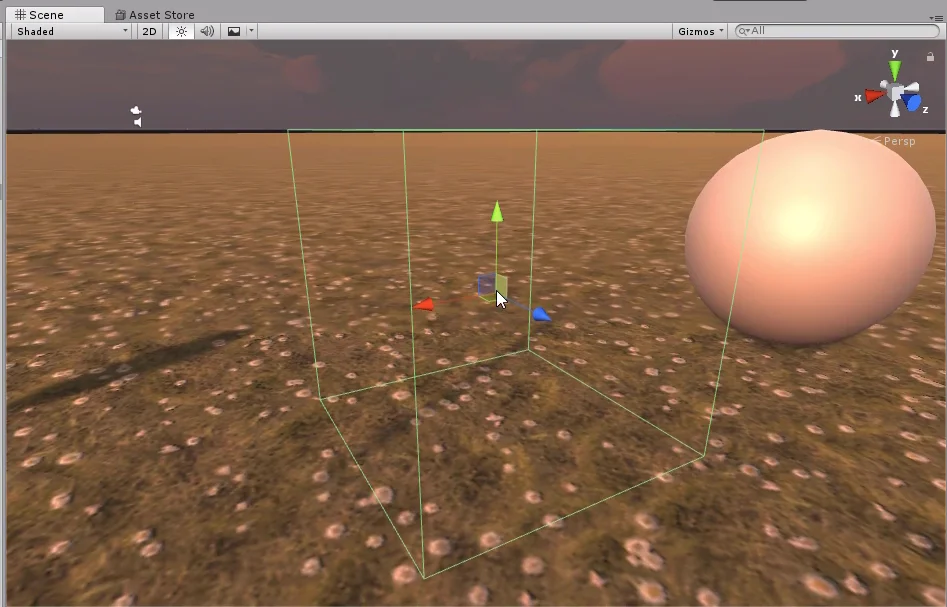
Let’s deactivate the MeshRenderer component of the cube to better observe the Collider, the components usually bring a small box to the left of their name to activate or deactivate them.
In figure 9 we see that the Box Collider is represented as a Cube defined by green edges. Because the GameObject is a cube, this type of Collider fits perfectly into its geometry.
Now let’s select in the hierarchy the GameObject sphere and see its properties in the inspector.
This time he’s assigned a type of spherical Collider.
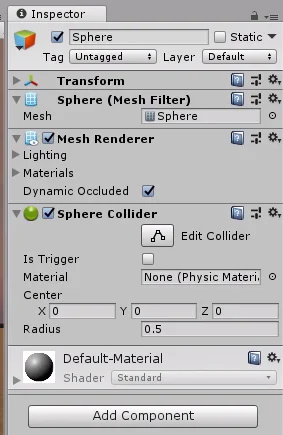
Again we deactivate the Mesh Renderer component to observe the Collider (figure 11). Again, as it is a spherical GameObject the type of spherical Collider fits perfectly to its geometry.
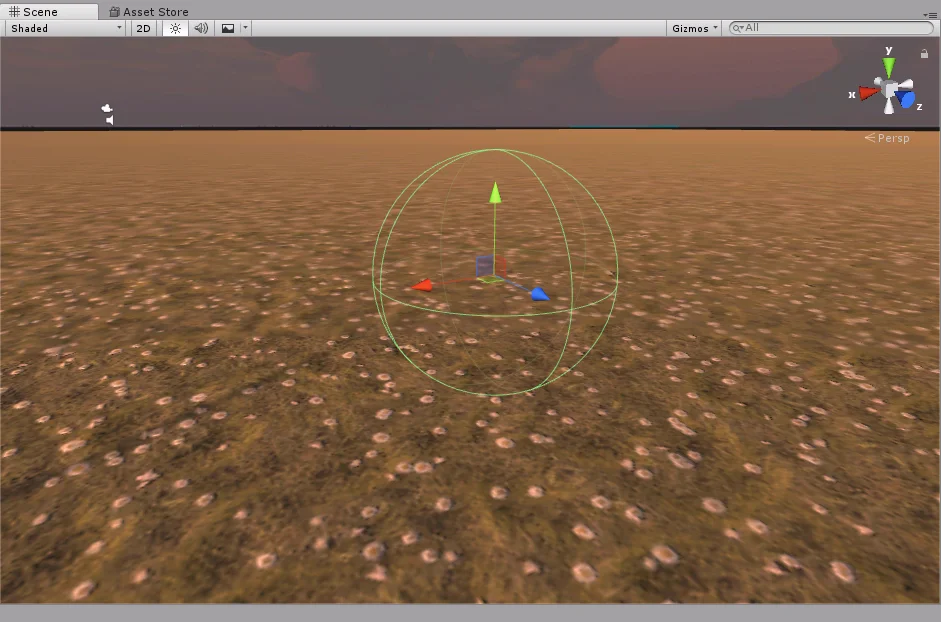
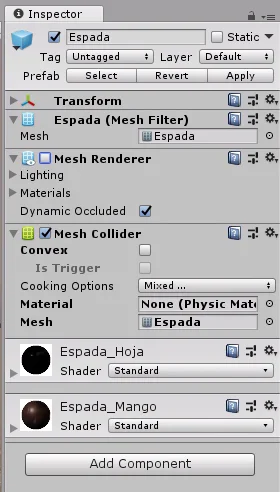
Let’s see what happens with the sword, select it in the hierarchy and observe its properties in the inspector. Unlike the two previous GameObjects, the sword is not assigned a Collider by default, we must assign one manually as shown in Figure 8.
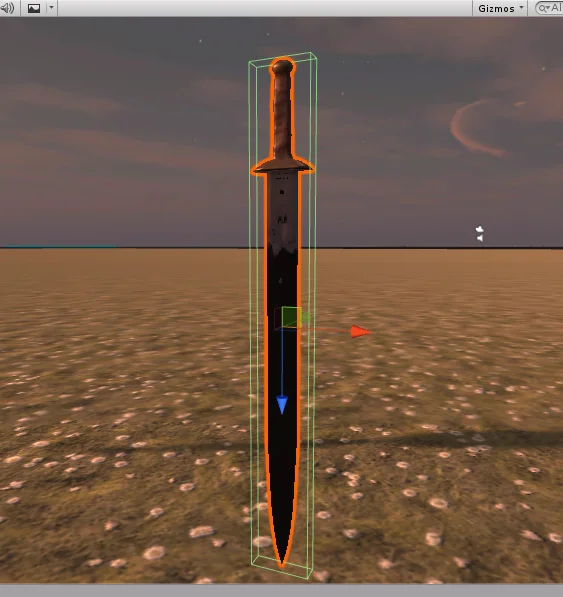
First we assign a Box Collider. In this case as shown in figure 13, we see that a box appears with the minimum volume necessary to fully contain the GameObject sword.
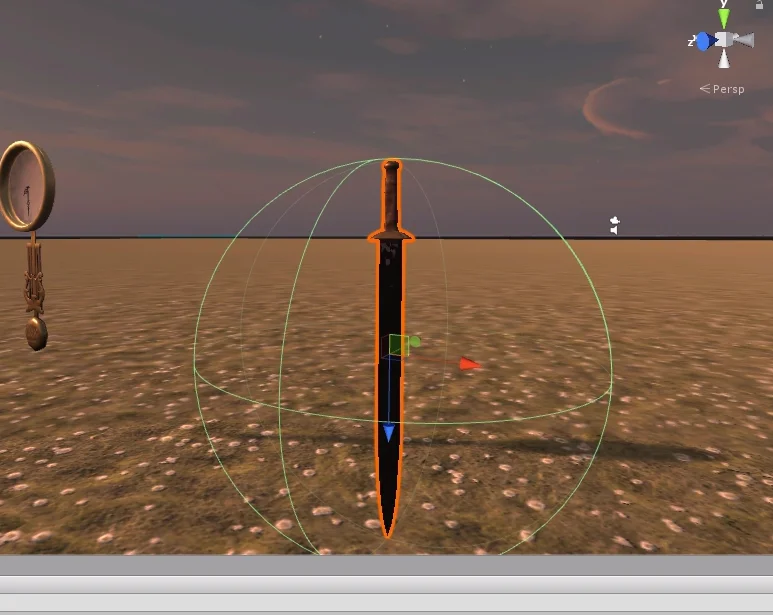
Then we tried a kind of spherical Collider. As shown in Figure 14, the Collider is a sphere with the minimum radius such that the sphere completely contains the GameObject sword.
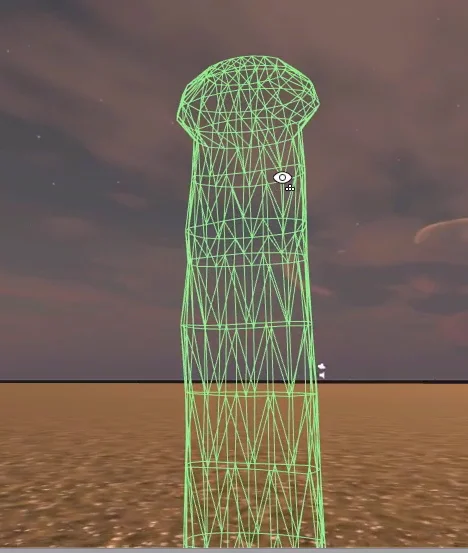
Now let’s add a Mesh Collider, this type of Collider will use the geometry of the object. Figure 15 shows its properties in the inspector.
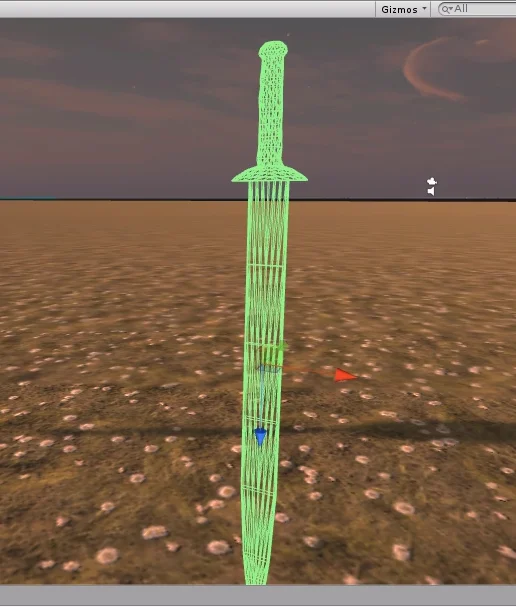
We deactivate the Mesh Renderer to observe the Collider and what we see is that it has the exact shape of the sword, the Collider coincides with the geometric mesh of triangles.
Of course this brings more complexity in the calculations of interactions with this type of Collider, so we have to decide if it is necessary to use it, or with a Box Collider is not enough. Everything will depend on the purpose.
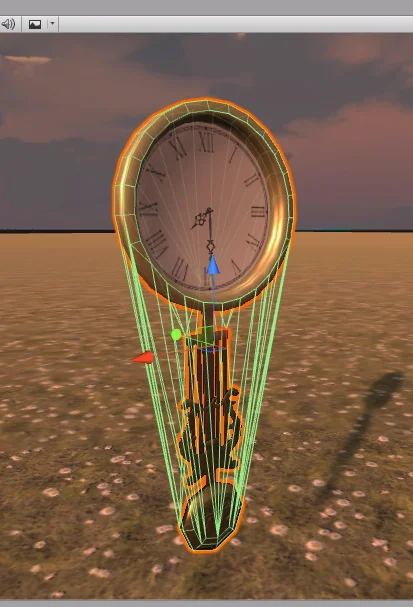
Next we’ll select the GameObject clock in the hierarchy and apply a Mesh Collider but this time we’ll click on the “Convex” box that is seen in the properties of the Collider in Figure 18.

In figure 19 we observe that now the Collider type partially respects the geometry of the object. This type of Collider also involves more calculations, but not as much as it would be in the previous case, is as if we had a low poly model of the GameObject.
It also has other advantages such as being able to use it in Trigger mode.
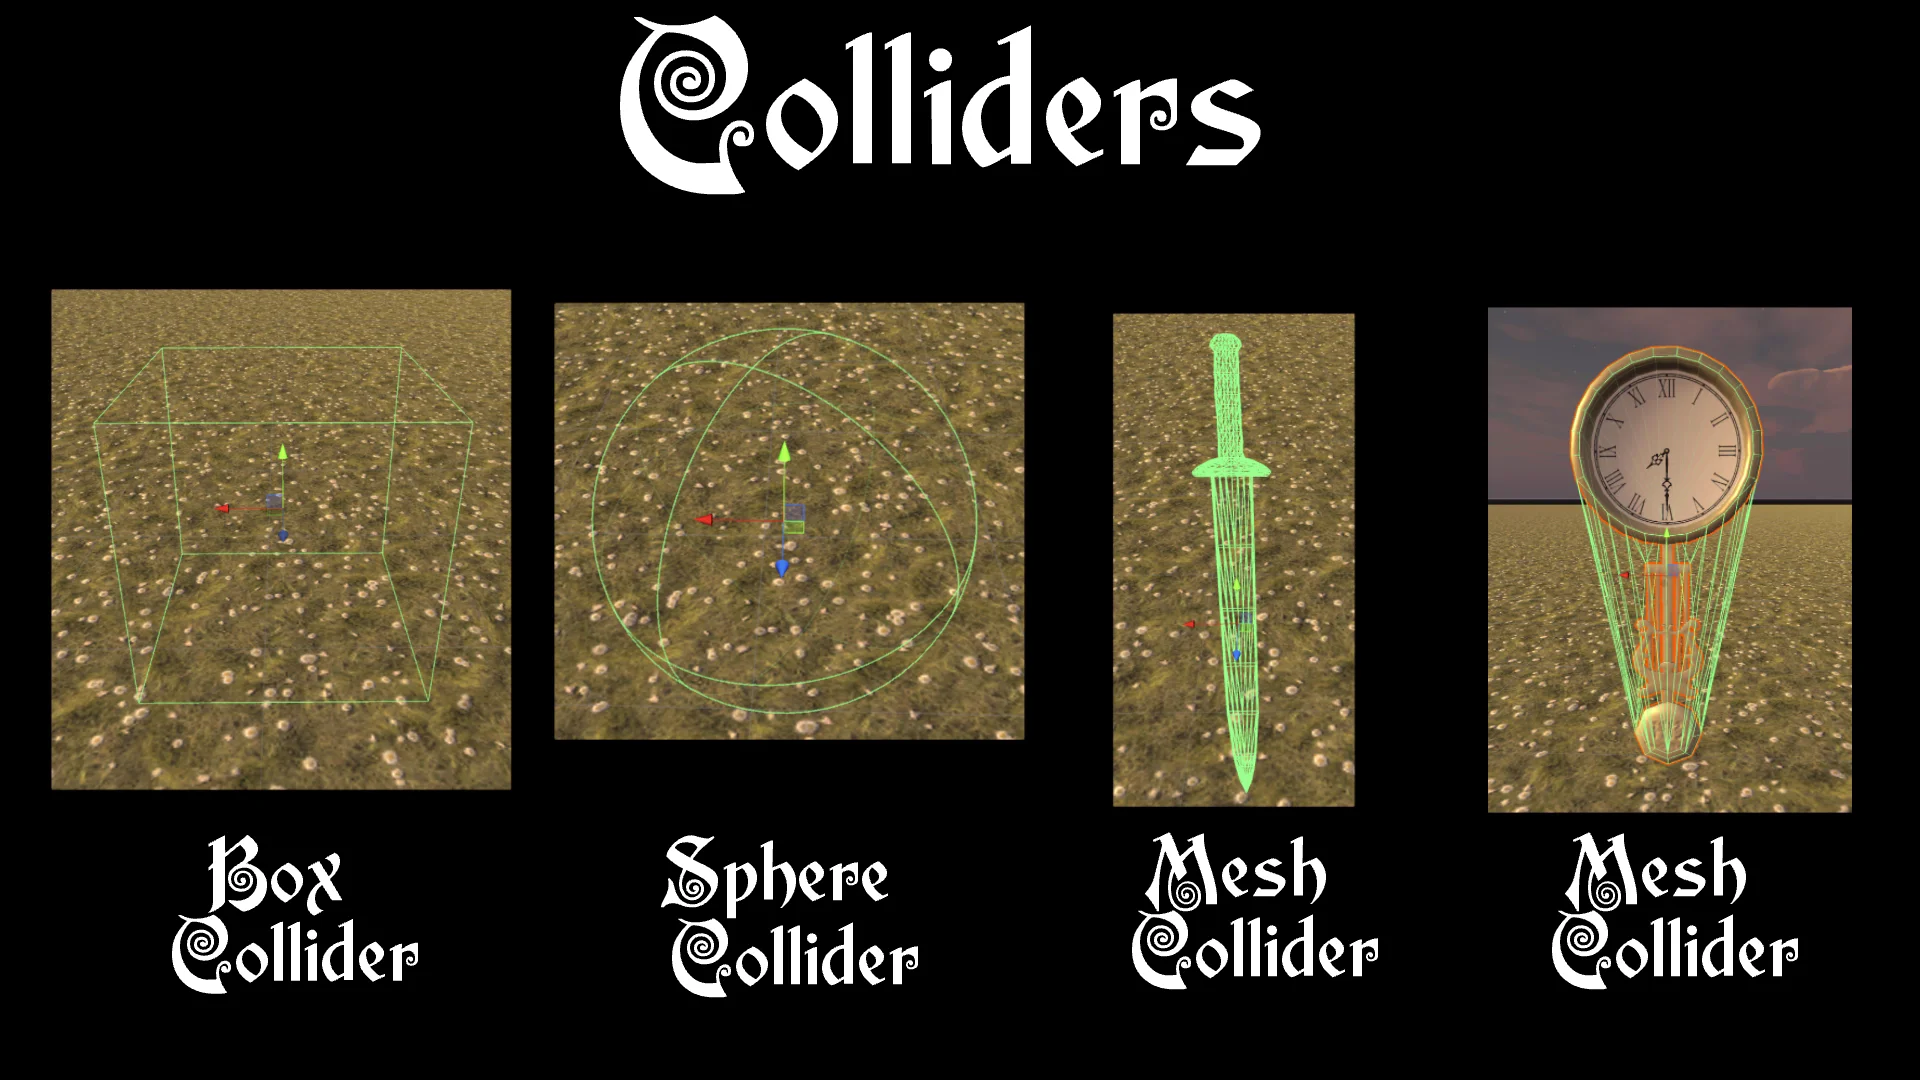
For now we saw three types of Colliders: Box Collider, Sphere Collider and Mesh Collider, the latter can be used in Convex mode, which simplifies the geometry of the Collider.
Physical behavior of the Colliders.
The Colliders behave like barriers that can’t be crossed. In other words, if our character has a Collider and tries to go through a GameObject assigned to a Collider (such as a cube or a clock), he won’t be able to do it. Unless this Collider is in Trigger mode.
Figure 21 shows that the character is standing on the clock, the spherical Collider prevents it from falling.
Now we are going to place the sphere suspended in the air over the cube (the latter was scaled).
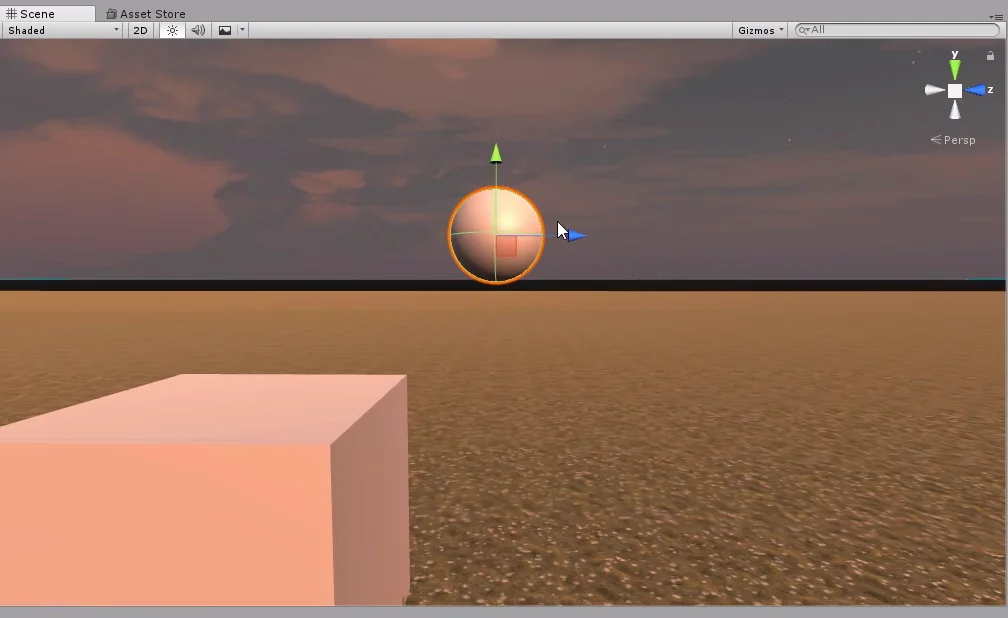
With the sphere selected click on Add Component and within the Physics category select the RigidBody component.
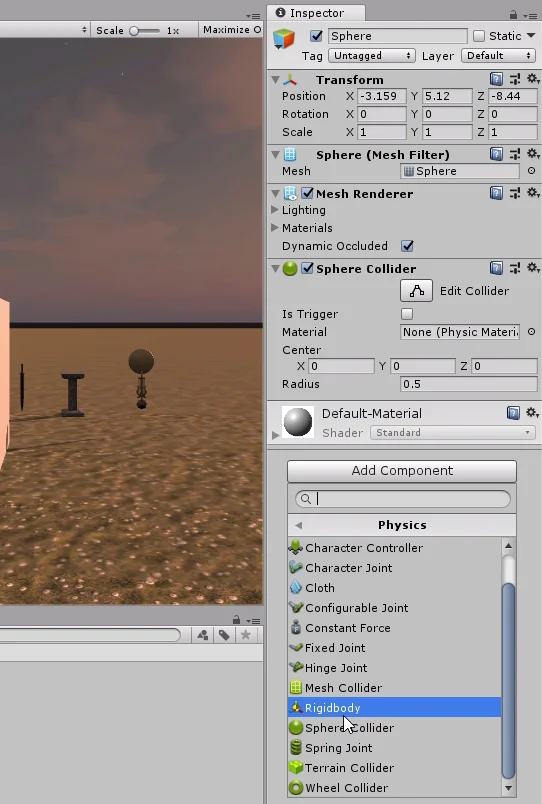
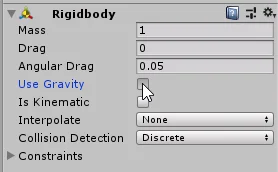
Figure 24 shows the parameters of the RigidBody component. We can assign a mass, activate or deactivate gravity and modify other parameters related to the physics of an object.
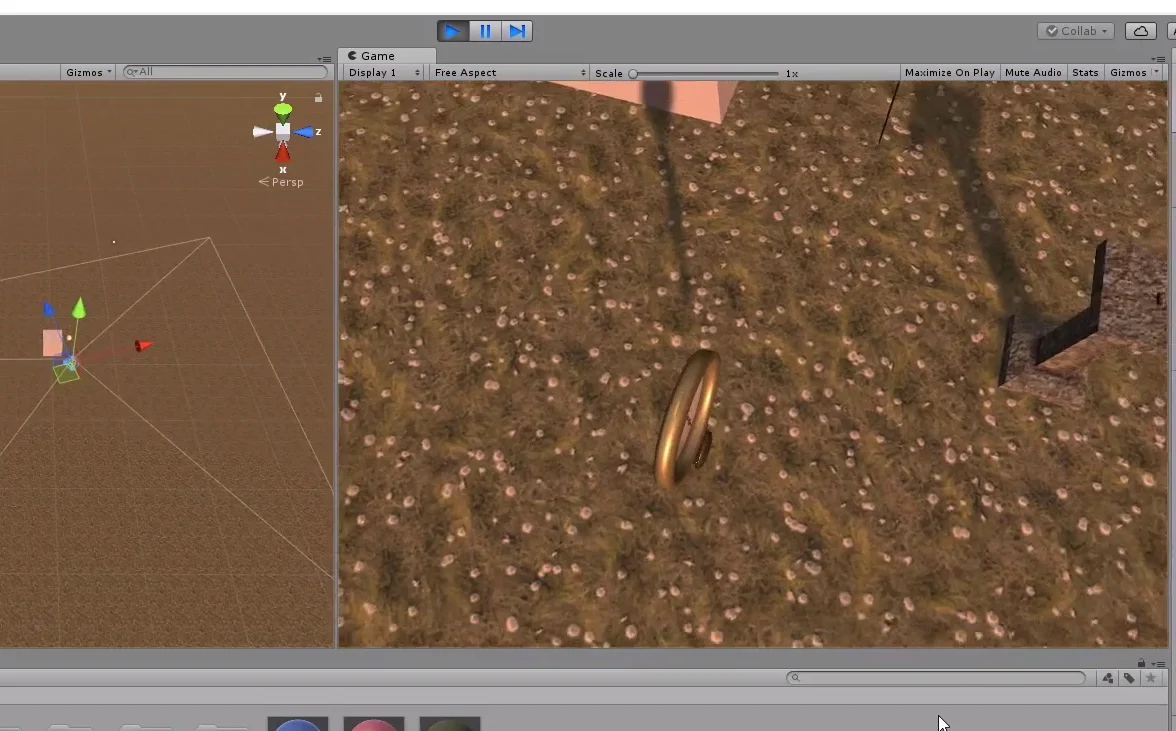
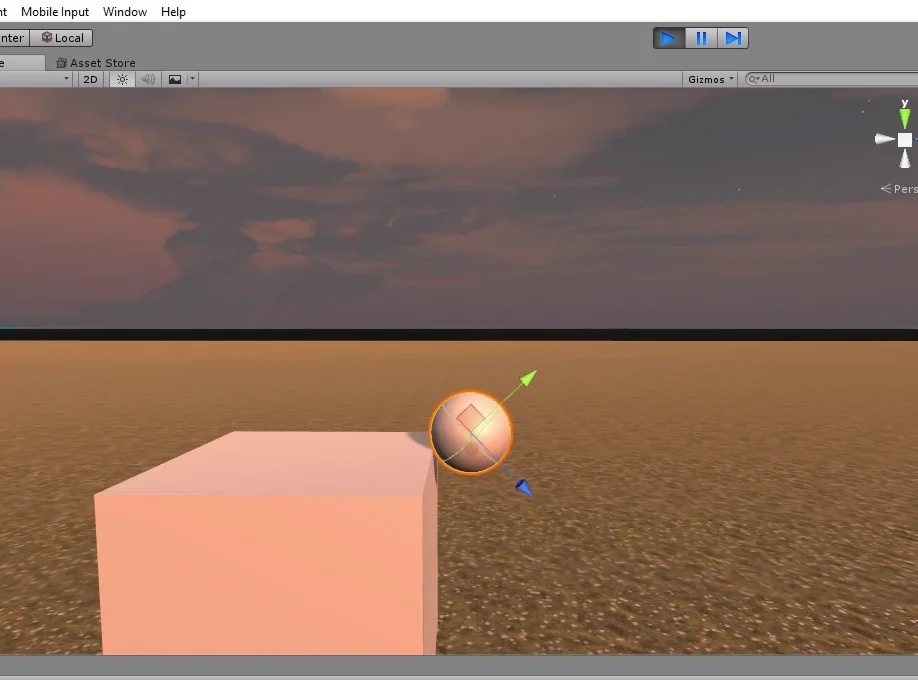
When entering the game mode we see that the sphere falls as if by gravity and collides with the corner of the cube (actually the collision is with the Collider).
The RigidBody component gives physical behaviour to the sphere.
Add Colliders to the labyrinth pieces
We are going to place one by one all the prefabricated ones created in the previous video and configuring their Colliders so that the player can’t go through the walls.
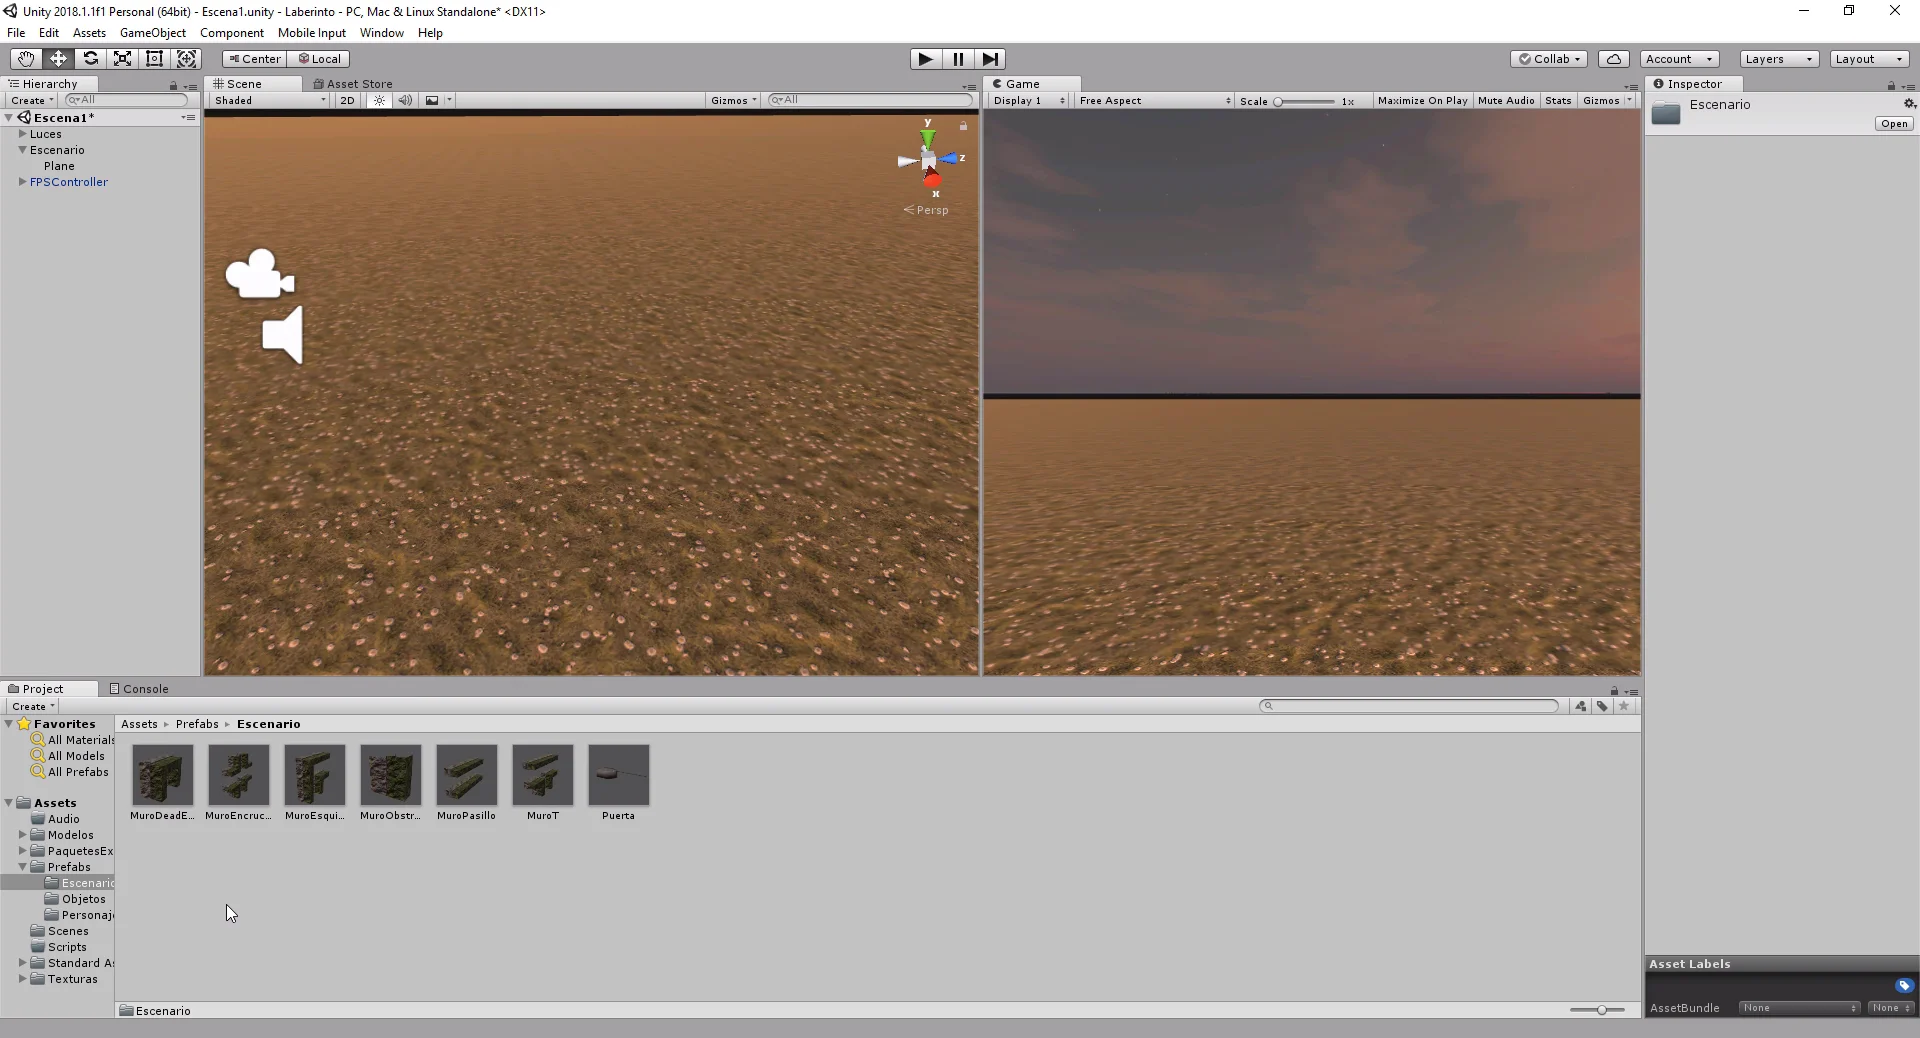
First the closed alley piece. We take the Prefab from the project folder and drag it to the scene or to the hierarchy. Then in the inspector click on the Add Component button and choose the Box Collider component.
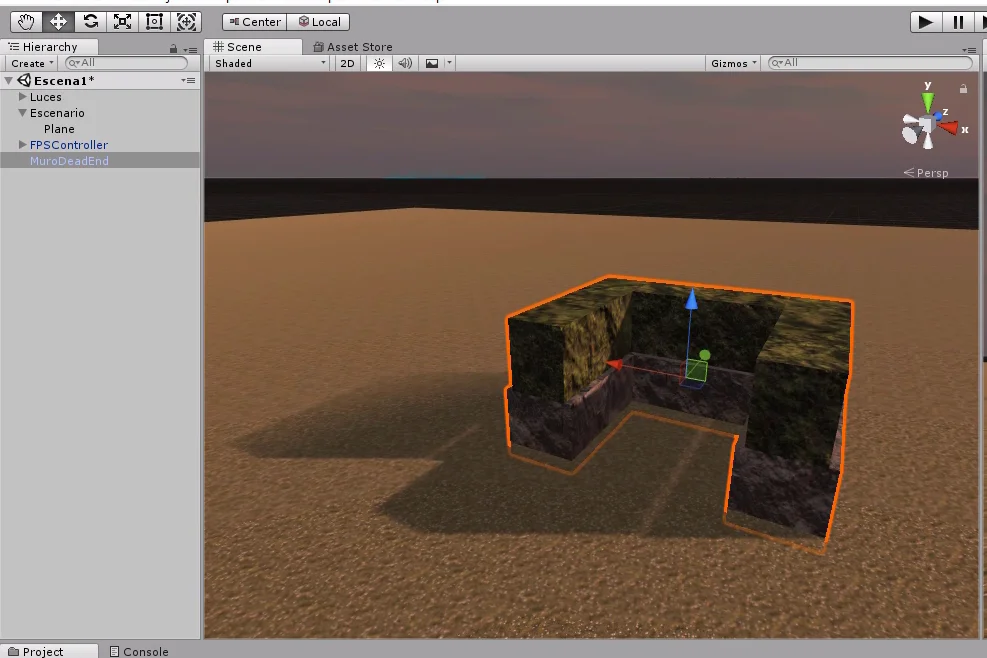
We see in figure 28 that the Collider completely covers the GameObject, which will not allow us to walk inside it.
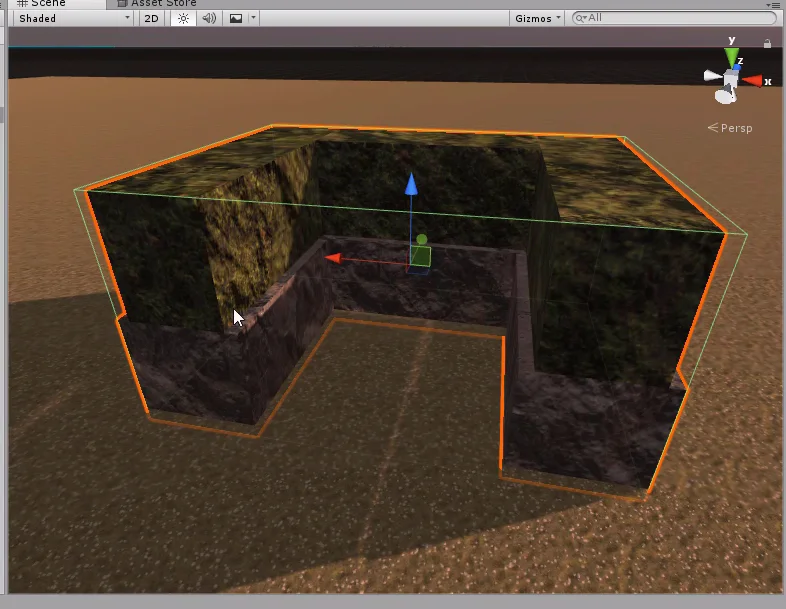
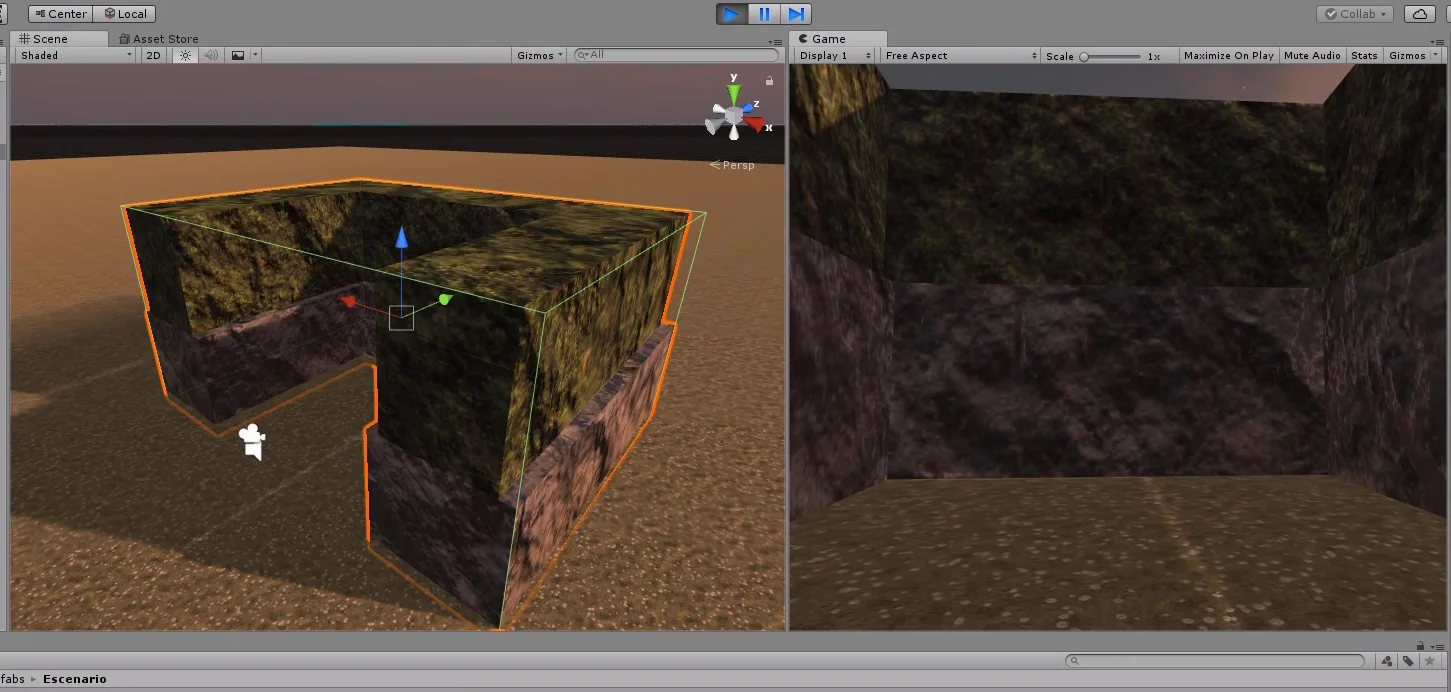
Figure 29 shows that in the game mode the character can only advance to the border of the Box Collider. This type of Collider is not suitable for this piece.
We have an alternative, if we click on the button “Edit Collider” of the Box Collider (figure 30), we will be able to modify the position of its faces.
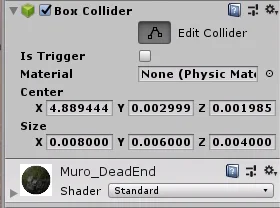
This way we can make the Box Collider enclose a part of the object.
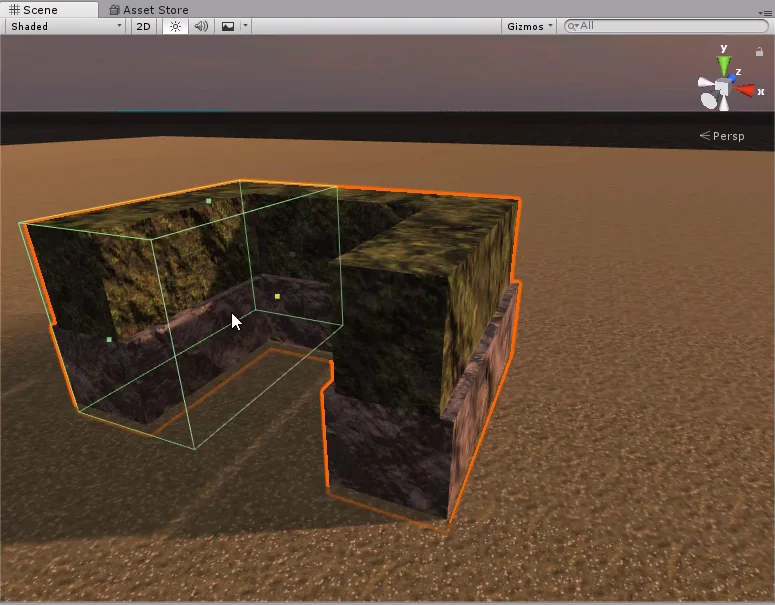
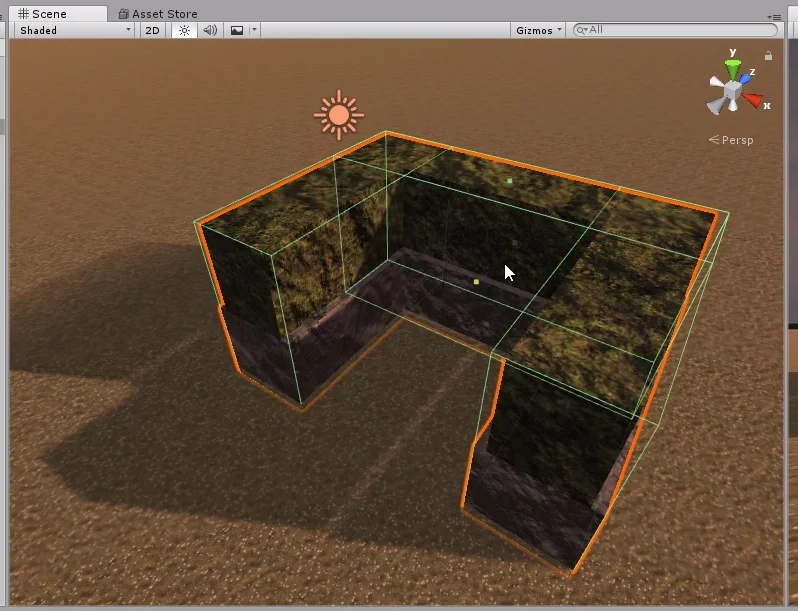
Then adding more Colliders and repeating the previous process for the rest of the geometry of the object, we would be able to represent with sufficient precision the border of the object.

Figure 33 shows that the superposition of the three Box Colliders covers the entire geometry of the piece and allows the player to move around inside.
The above works for us, but let’s eliminate all the Box Colliders and add a Mesh Collider instead, in this case the wall geometry and quite simple.

Something very important when we are dealing with Prefabs is to apply the changes we are making, for that we use the Apply button located at the top of the inspector (if we have the Prefab selected).

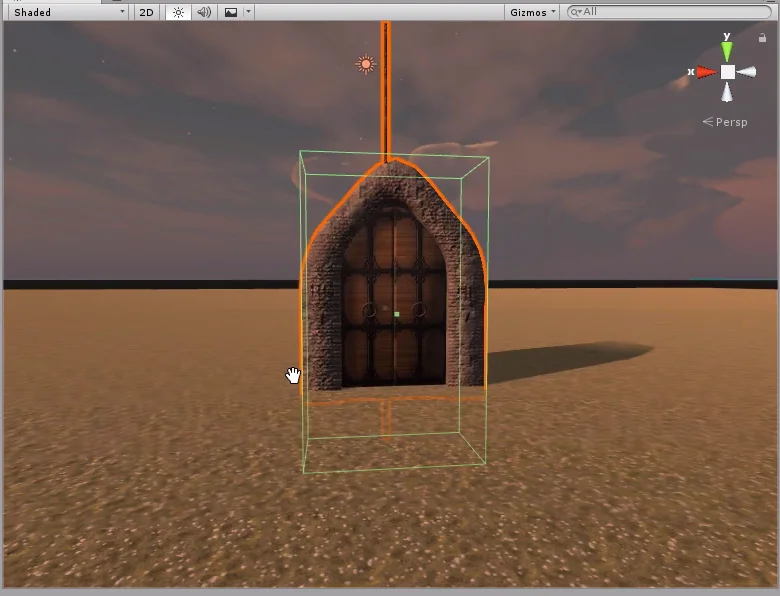
Figure 36 shows the model of the portal with an assigned Mesh Collider component.

It is not justified to use a Mesh Collider for this model, taking into account the use that we are going to give it, let’s put better a Box Collider and apply the changes to the Prefab.
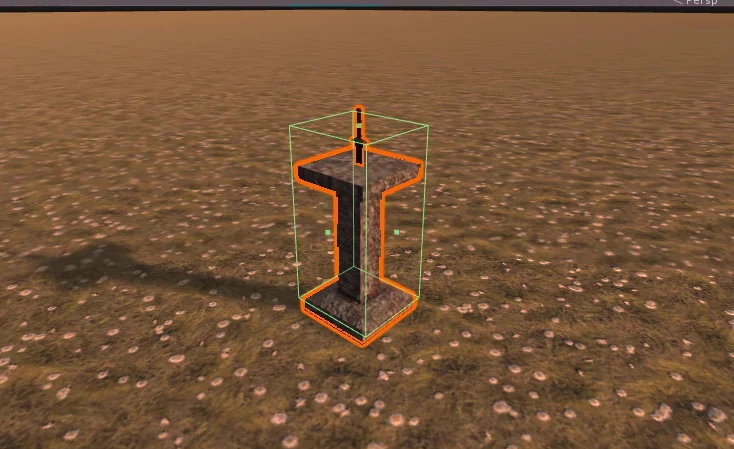
The same for the pedestal model, with a Box Collider we get enough.
The clocks are going to be collectible objects, that is to say when the player passes over them, these will disappear and will give more time of game.
Bearing in mind the use that we are going to give them, we are going to use a spherical Collider, increasing a little the radius as it is observed in figure 39.

Then let’s activate the “Is Trigger” option of the Sphere Collider component. This will ensure that the Collider does not hinder the player and allows him to detect when he enters the spherical region.

Conclusion
In this article we look at different types of Colliders and what each may be appropriate for.
Everything depends on the purpose that we have for the GameObject, for example in the pieces of the labyrinth we use Mesh Collider because we need to be able to walk through the inner regions of the model. On the other hand in the clocks we use a spherical Collider because it is a piece that the character will be able to grasp.
Colliders interact with each other and are very important when RigidBody components come into play, which give GameObject physical behaviour.