Updated information about this project
This article belongs to a series that consist on making a first person game about finding objects inside a maze. It’s one of my very first series from the channel. Now I reworked this project and you can download it to import in your own Unity project. Some day I will make a new series about this project, subscribe to my channel to see all the fresh content about Blender, Unity and programming.
Follow me on itch.io and download the source code of this project
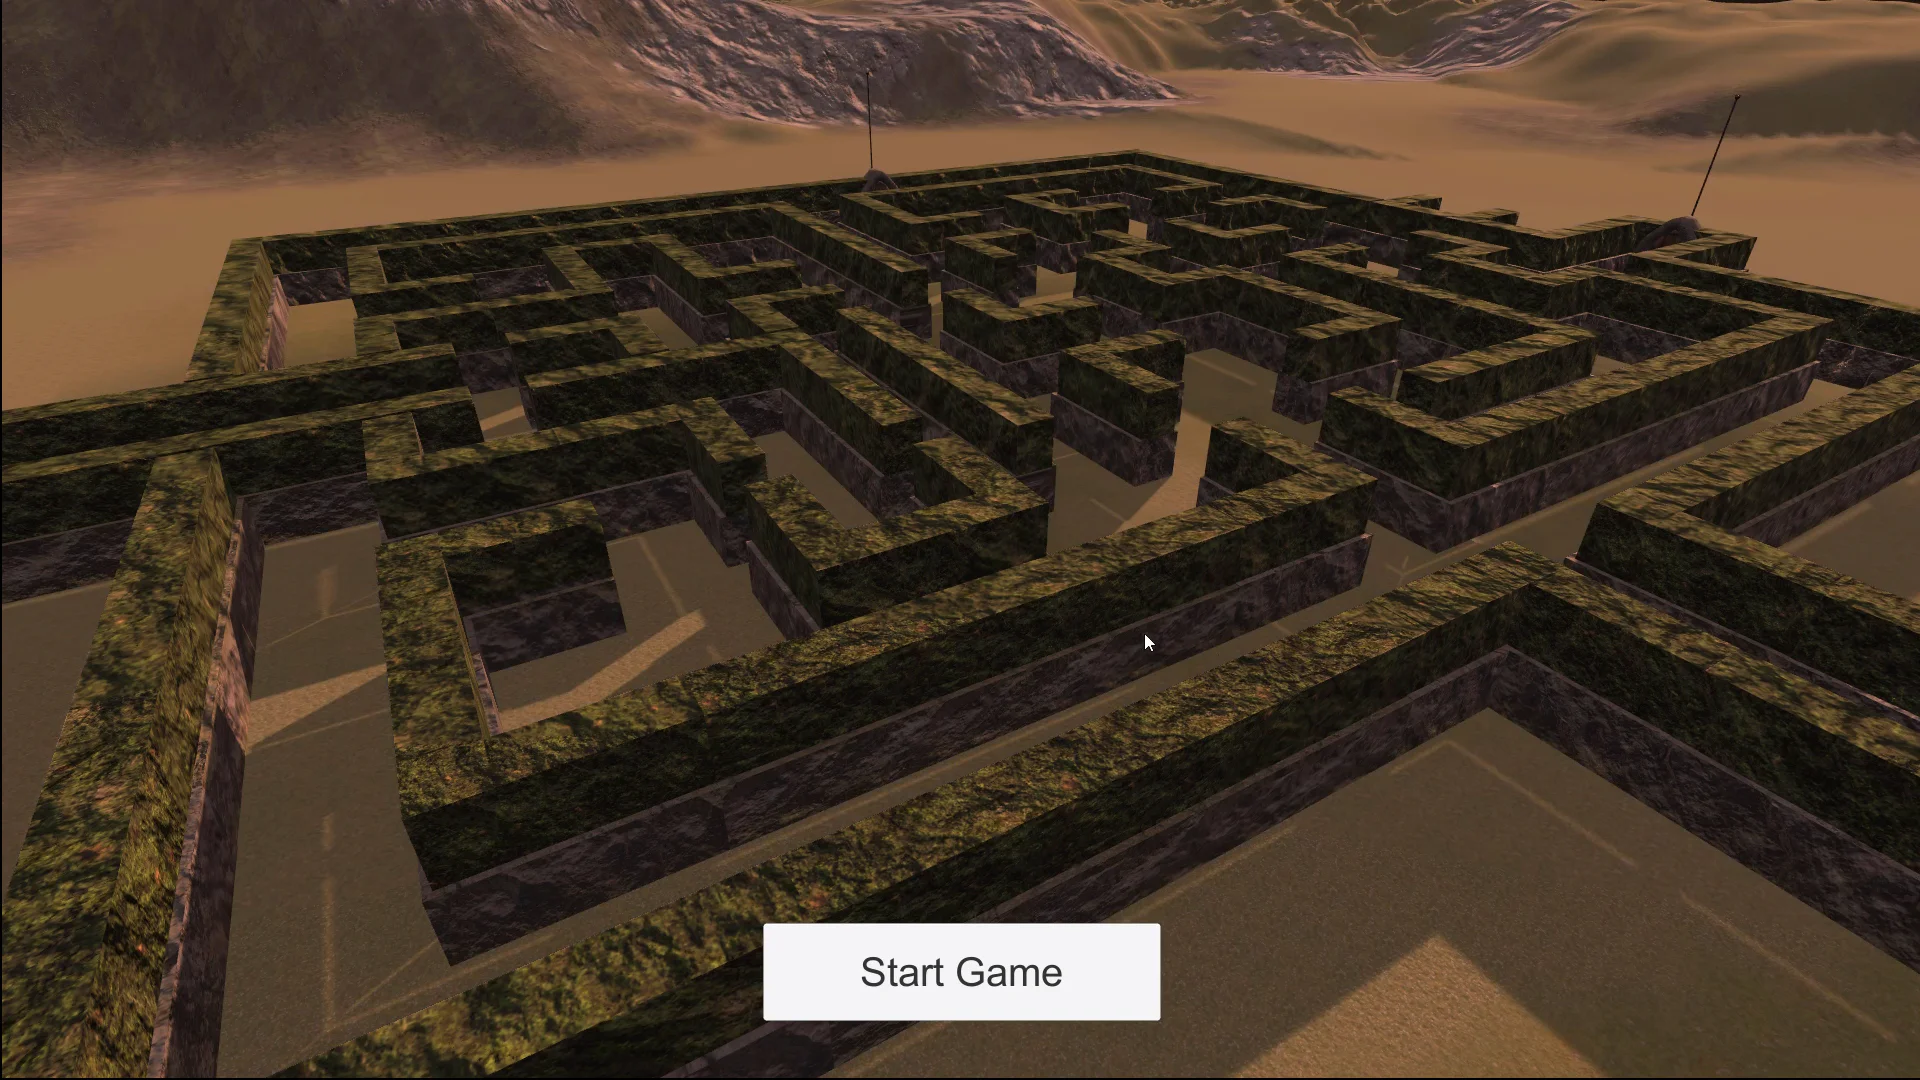
YOU CAN TRY THIS GAME HERE, IT MAY TAKE A LITTLE WHILE TO LOAD
🔻
MOVEMENT: WASD CAMERA LOOK: MOUSE
Introduction of the old article
In this article we are going to see how to create a terrain in Unity using its own tools and we are going to create a labyrinth using the prefabs that were configured in the second article of the project, click here to download the files and to see how to configure the prefabs.
Go to the project’s Main Page
Before we begin I invite you to watch this video.
Description of the objective
Create the labyrinth
To create a model of the labyrinth we are going to use the prefabricated ones that we created previously, we will place them in the hierarchy and we will begin to duplicate them and to arrange them in the space, as it is observed in the following figure.
Create terrain in Unity
To create a terrain in Unity we will use the GameObject “Terrain”, which will allow us to modify its relief and textures in a simple way using different brushes and parameters.
Download Files
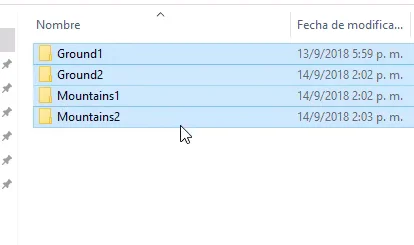
First we download the next Zip file, extract the folders and take them to Unity.
The next thing we do is remove all the elements belonging to the scenario.
Terrain Component – Unity
As mentioned above we will use the Terrain component to create a mountainous relief for the terrain.
This component uses “Height Maps” or height maps to create reliefs, these maps are grayscale textures in which completely black areas are mapped with minimum height and white areas with maximum height (both heights configured in the parameters), the rest of the gray areas will have a height proportional to its color tone.
We can see this in the following image.

In the hierarchy right click > 3D Object > Terrain.

In the stage a white plane appears and in the inspector we can see that it has two components that define it, the component Terrain and a Collider type Terrain.
Terrain Component Setup
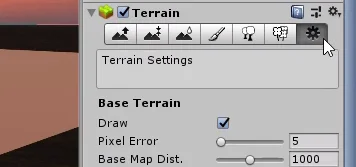
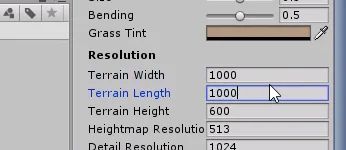
It is important that we first configure the basic parameters of the terrain, such as the dimension and the difference that will exist between the maximum and minimum height. Then we can modify these parameters but we will probably lose the design we had.
As shown in figure 9, click on the gear icon to go to the configuration. Then enter the parameters.
The only thing I’m going to change is the resolution of the land, which will be 1000 x 1000.
Texture Setup
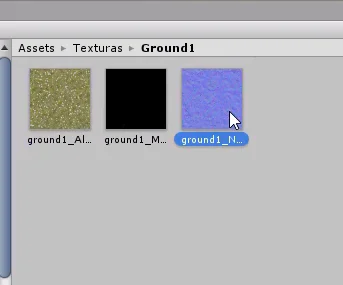
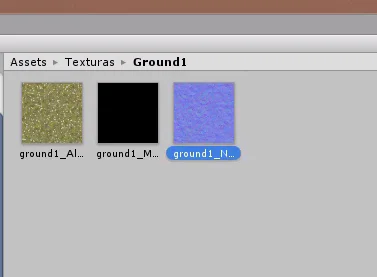
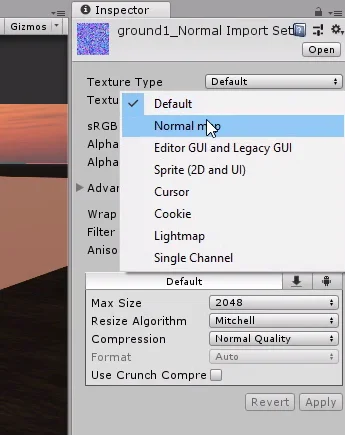
We can paint the terrain using different sets of textures that will consist of Albedo and Normal maps. First we select all the normal maps we have, in the inspector we choose the type of texture as “Normal map” and apply the changes. We do this for all the normal maps we have.
Then select the terrain again and click on the brush icon, then on “Edit Textures…”, “Add Textures” (figures 13 and 14).


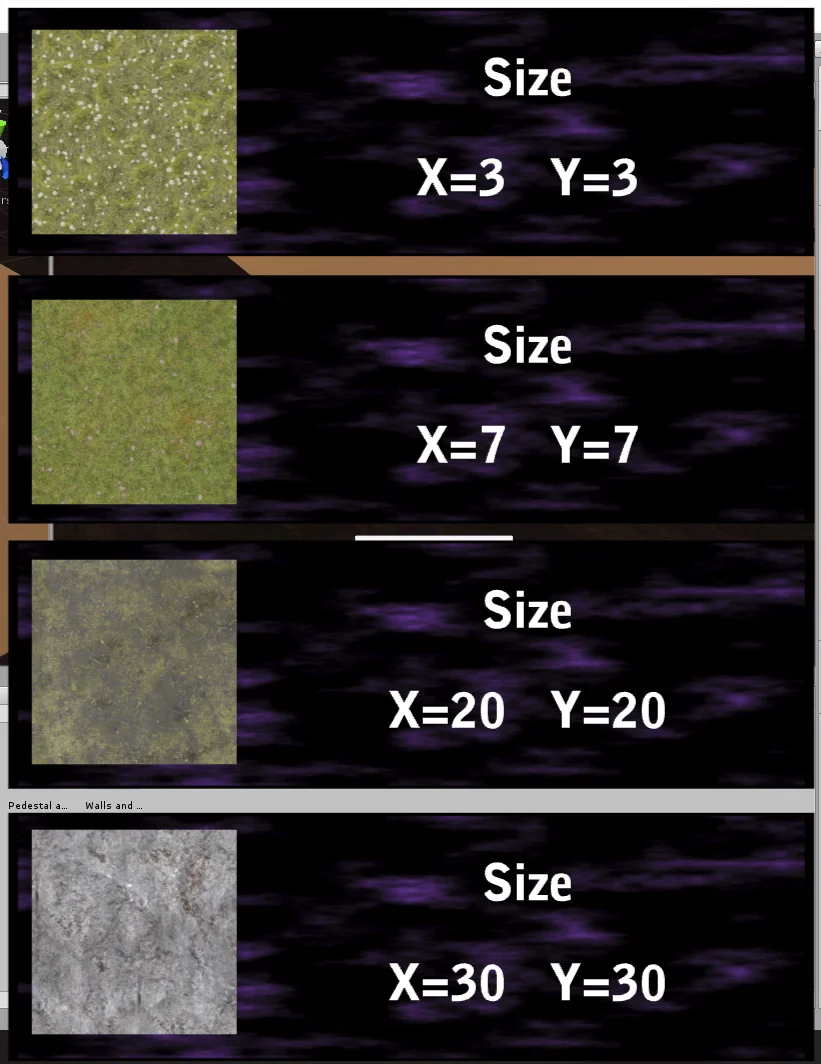
In the pop-up window we can select a texture that represents the Albedo in the RGB channels and its Alpha channel is mapped in the softness. Another texture for the surface Normals. We can also configure the size of the mosaic or TileSize using the fields “Size” and “Offset” that are observed in figure 15.
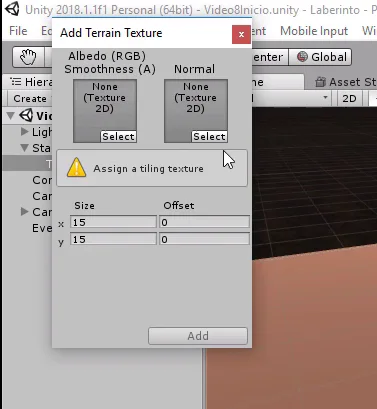
Click on Select and choose first the Albedo map and then the normal map.

We’ll do this for all the textures we’ll use to paint the terrain.
Figure 17 shows some values that work for TileSizes.
Once we set up all the textures, we should have them all available for use in the Textures in Inspector window, as shown in figure 18.

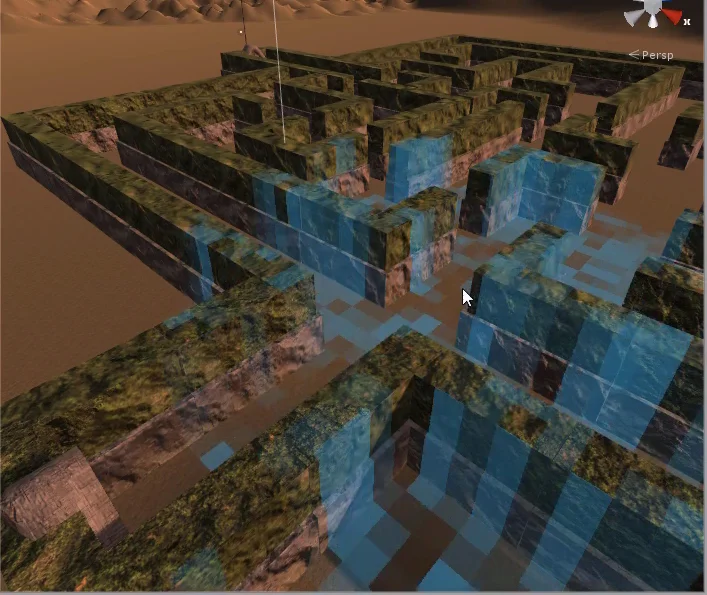
Making the labyrinth
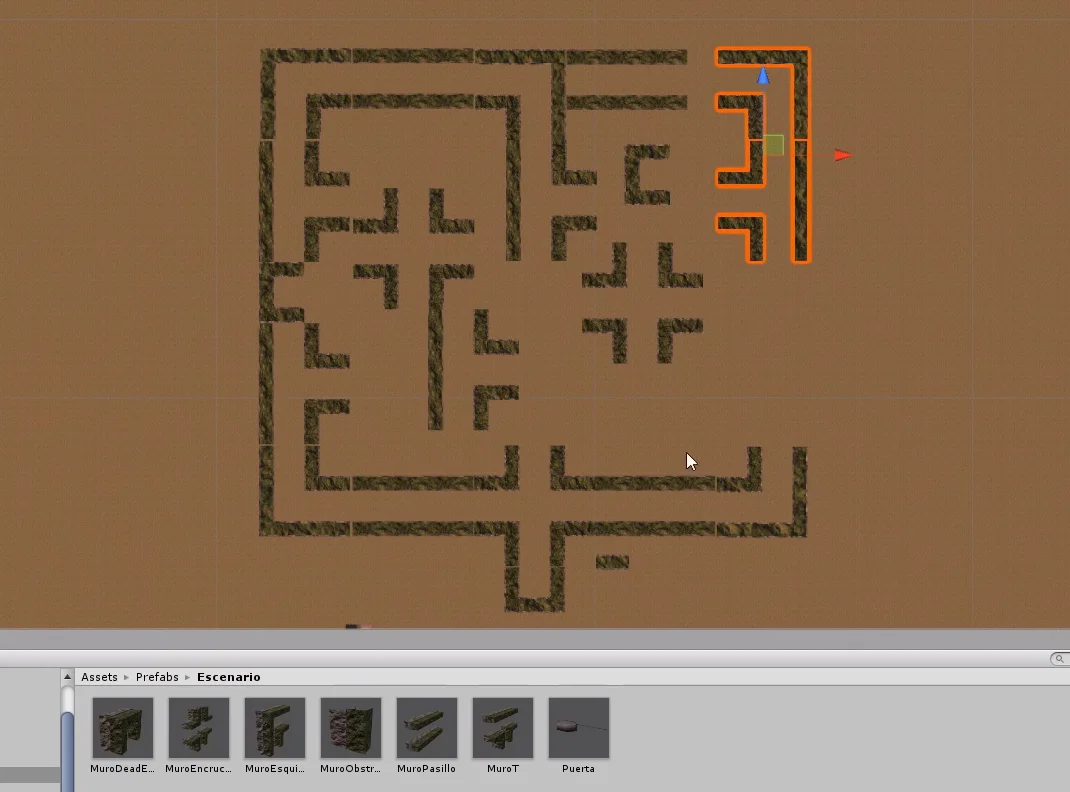
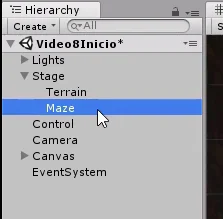
First to keep things tidy I’m going to create an Empty GameObject that I call “Maze”, inside which will be all the prefabricated ones that I use to make the labyrinth.
Then I drag all the prefabs to the stage and start duplicating them and moving them to form the corridors.
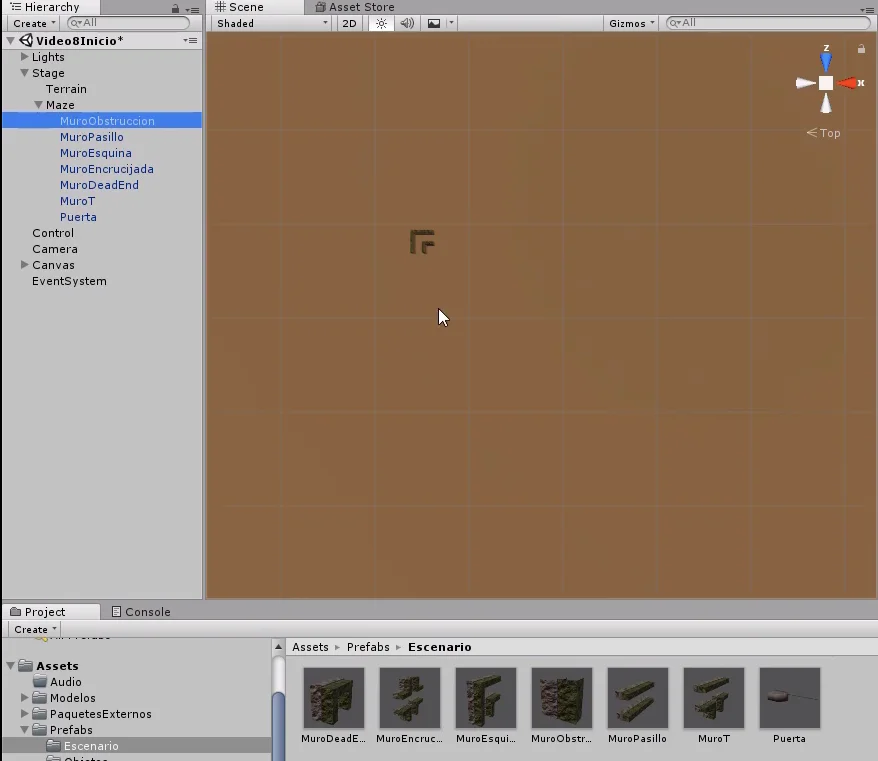
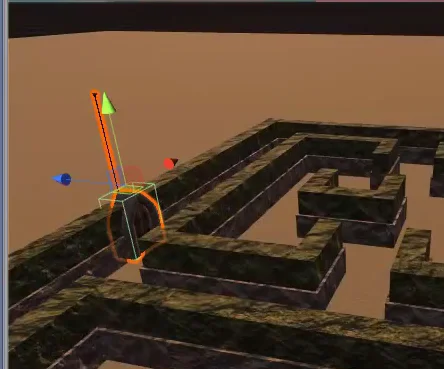
To facilitate the positioning of the pieces we can use the orthographic view. In figure 20 at the top right we have what is called a “Gizmo” that shows the axes X in red and Z in blue. By clicking on these arrows we can change the view of the scene and if we click on the cube in the center we can alternate the view from Perspective to Orthographic.
In figures 20 and 21 we can see how this orthographic view is. The effect it produces is as if all the elements were compressed into one plane, so we do not observe the depth.
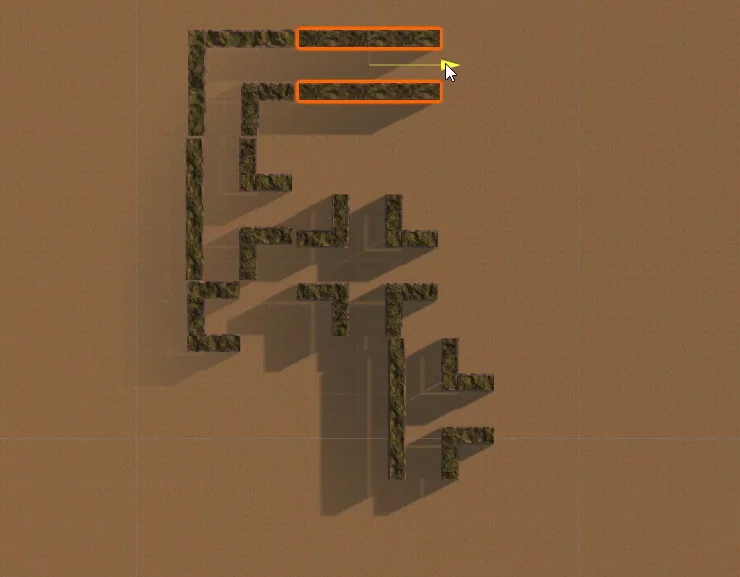
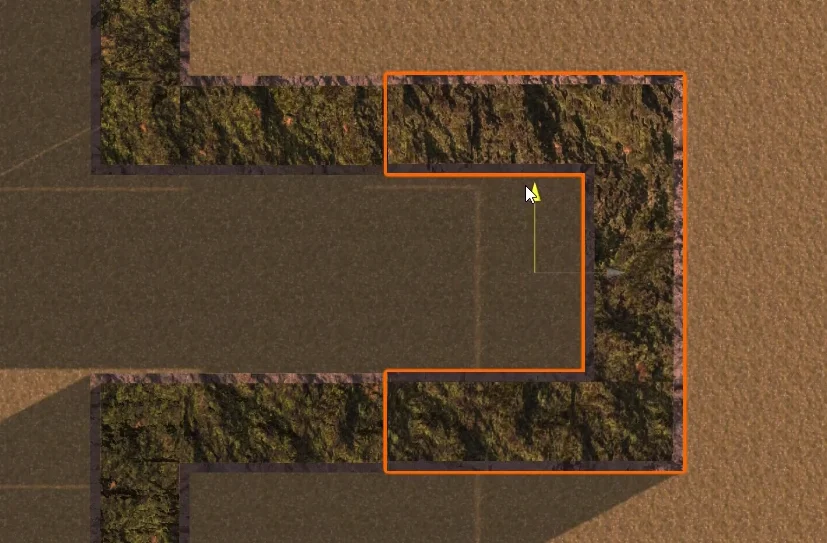
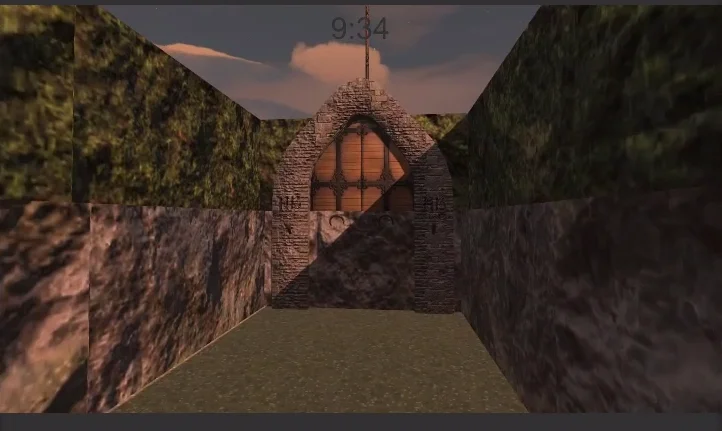
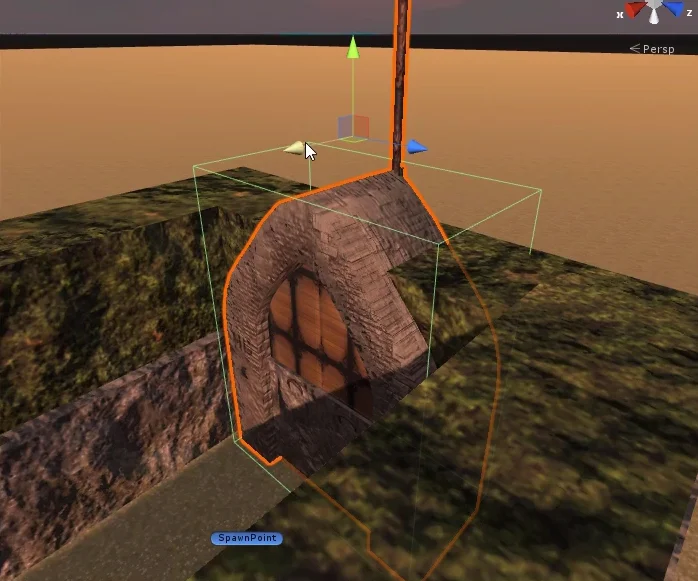
We also put some doors on the stage. In video 4 of the series we created the prefabricated door, here is the article.
We go into game mode and go through the labyrinth to detect problems. In figure 5 you can see one of the badly placed doors.
Relief modeling
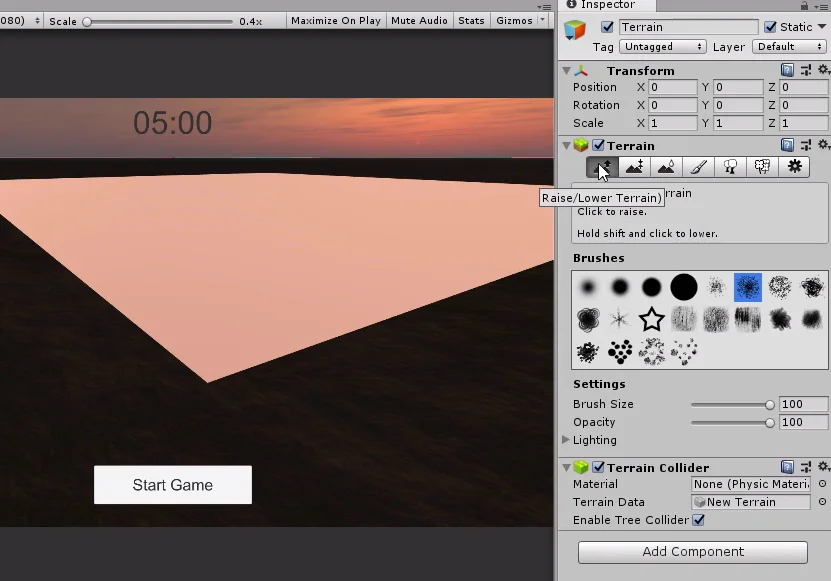
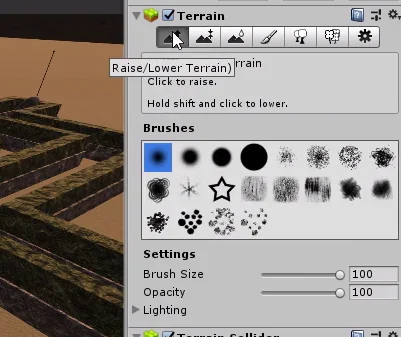
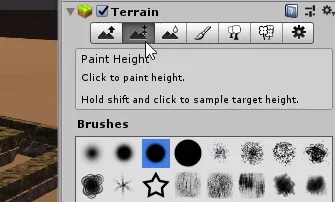
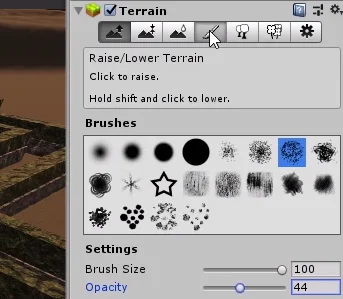
Then we’re going to start modeling the mountains. Select the GameObject Terrain from the hierarchy and in the inspector click on the first icon of the component (figure 27).
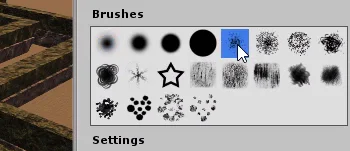
Then we select some pattern in the section “Brushes” that is observed in figure 28.
The next thing we do is paint in the editor and the terrain will gain height.
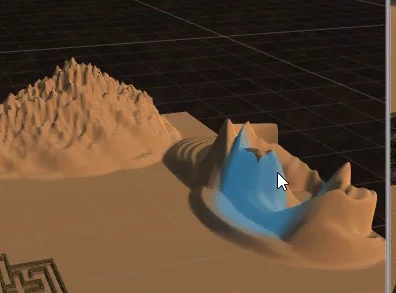
Another useful tool is the levelling tool (selected in figure 30).

This will allow us to establish a certain height and as we pass it over the terrain in the editor, the lower areas will begin to rise and the higher areas will descend, this is illustrated in figures 32 and 33.


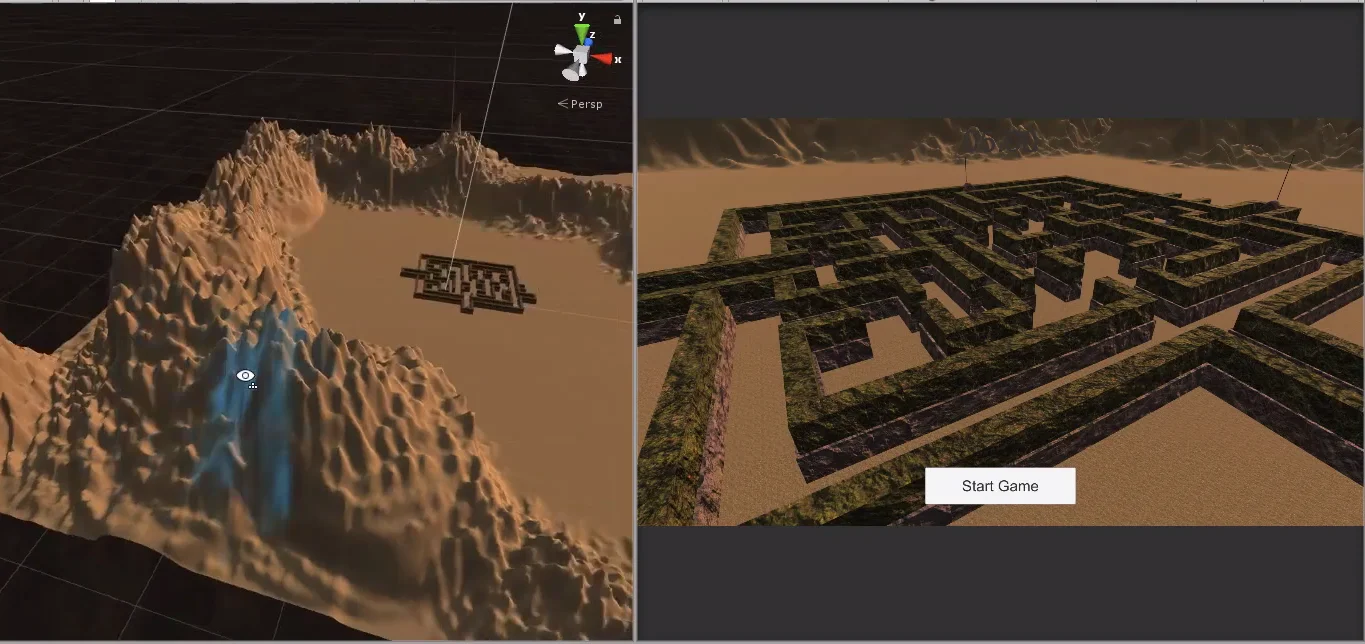
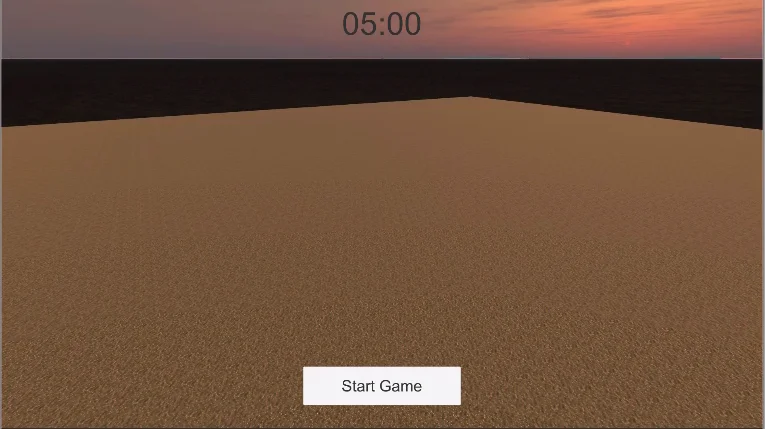
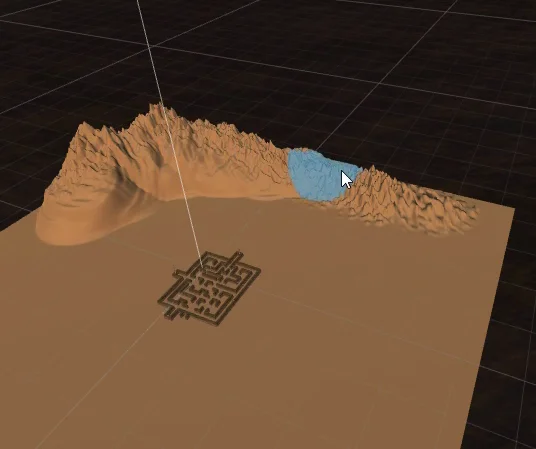
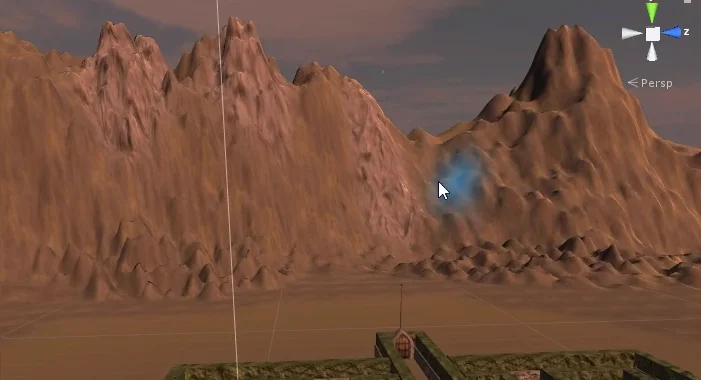
After playing with the tools for a while, I ended up with something similar to figure 36.
The most important purpose of the relief is to cover the horizon and somehow provide guidance to the player.

Apply textures to the terrain
In the final phase of this article on how to create a terrain in Unity we will apply the textures configured above.
Select the brush tool in the inspector, a pattern and a texture.
Then in the editor we go around the terrain and paint.
We can alternate the textures and with this we can avoid that the ground looks monotonous with an only texture.
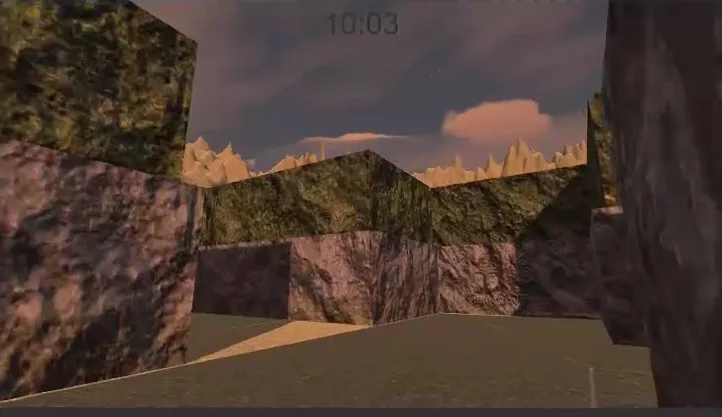
The mountains will have a base of earth and then we will be applying in different parts a rock texture
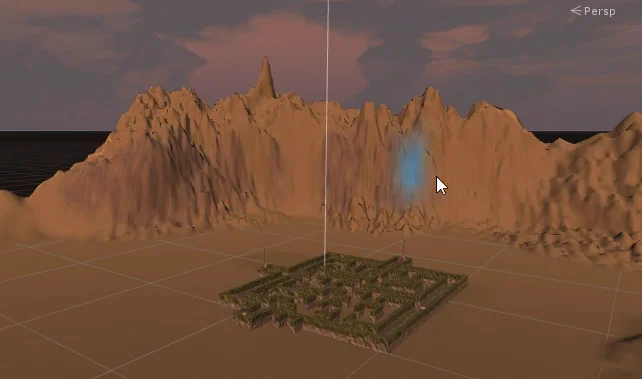


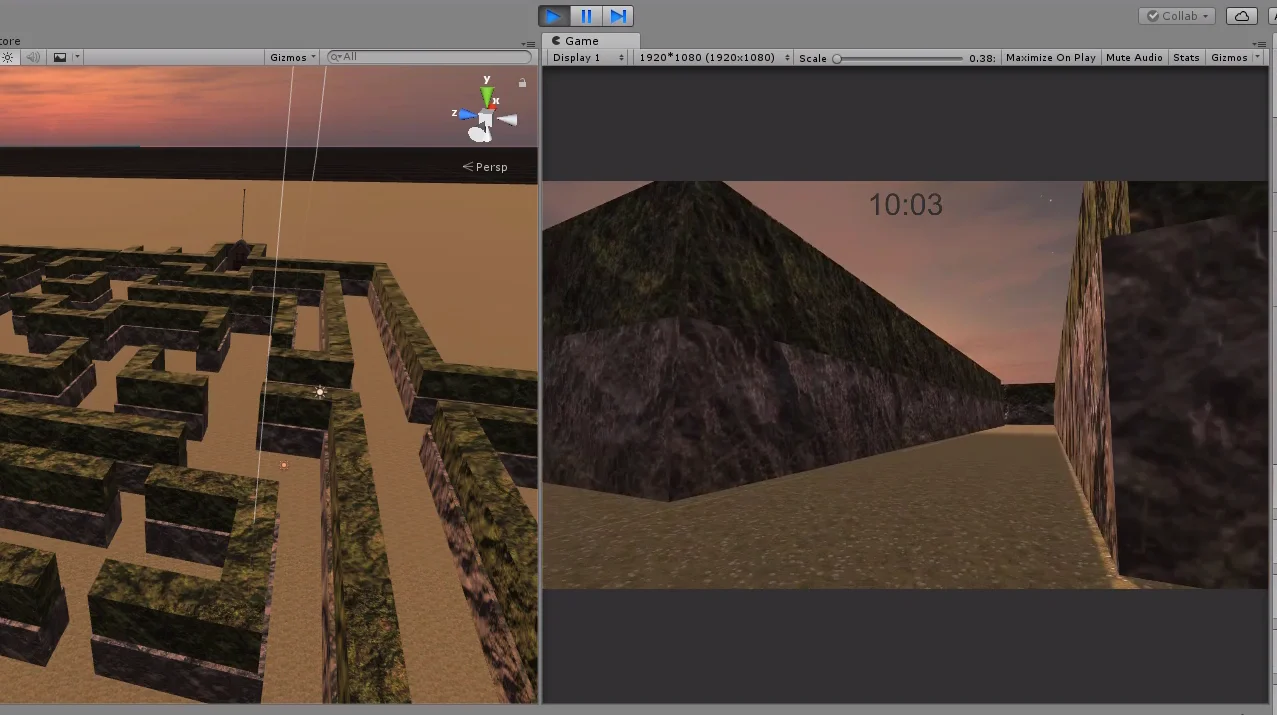
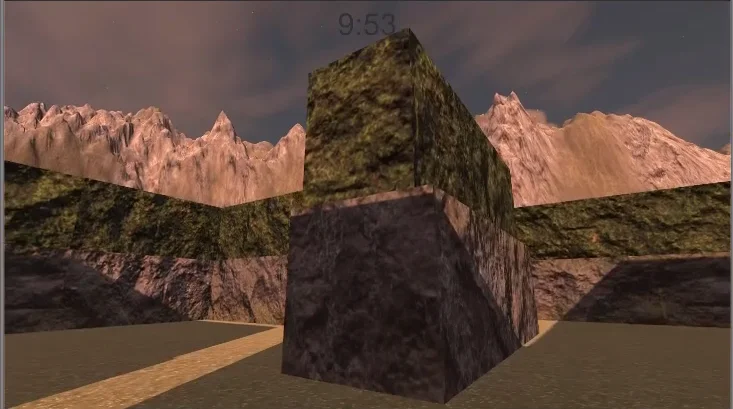
From time to time we go into game mode to see how the relief looks from inside the labyrinth.

Conclusion
We’ve seen how easily we can create a piece of land in Unity using the same tools that the engine provides us. We also apply different textures to give it diversity.
The exercise proposed in this article and video is very simple, but with enough time and practice we can build a number of reliefs.
This type of land has the limitation that caverns or caves cannot be built. For that we will have to superimpose another 3D model.
In addition we have created the labyrinth using the prefabricated ones configured in previous entries. Simply by making duplicates and moving in space.
We can make both simple and complex labyrinths and assemble a level selection system if we wish. The possibilities are unlimited.
Let’s bear in mind that this project is only a prototype, in order to achieve a better graphic quality it is necessary to build better 3D models and use a greater diversity of textures and higher quality. It would be nice to add decorative elements such as rubble or trees.