Updated information about this project
This article belongs to a series that consist on making a first person game about finding objects inside a maze. It’s one of my very first series from the channel. Now I reworked this project and you can download it to import in your own Unity project. Some day I will make a new series about this project, subscribe to my channel to see all the fresh content about Blender, Unity and programming.
Follow me on itch.io and download the source code of this project
YOU CAN TRY THIS GAME HERE, IT MAY TAKE A LITTLE WHILE TO LOAD
🔻
MOVEMENT: WASD CAMERA LOOK: MOUSE
Introduction of the old article
In this article we will program the logic of the user interface created in video 5 of the labyrinth series. If you did not read the previous article, in summary we created a user interface in Unity, which will have the minimum functionality for the user to interact with the game.
Go to the project’s Main Page
Video related to this article
Before we begin I invite you to watch this video.
Objective of this article
In the previous article we designed a simple user interface so that the user can control the fundamental aspects of our game, such as starting the game, knowing how much time he has left, etc…
At this point we are going to use the GameControl Script to manage the user interface. In the following chapters we will delegate this responsibility to a new Script.
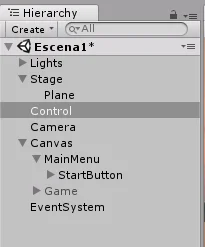
To summarize the elements of the user interface we have two screens, one for the main menu which contains only one button that serves to start the game. The second screen is for the game and has a text element that will show the amount of time left to finish the game.
Resolution
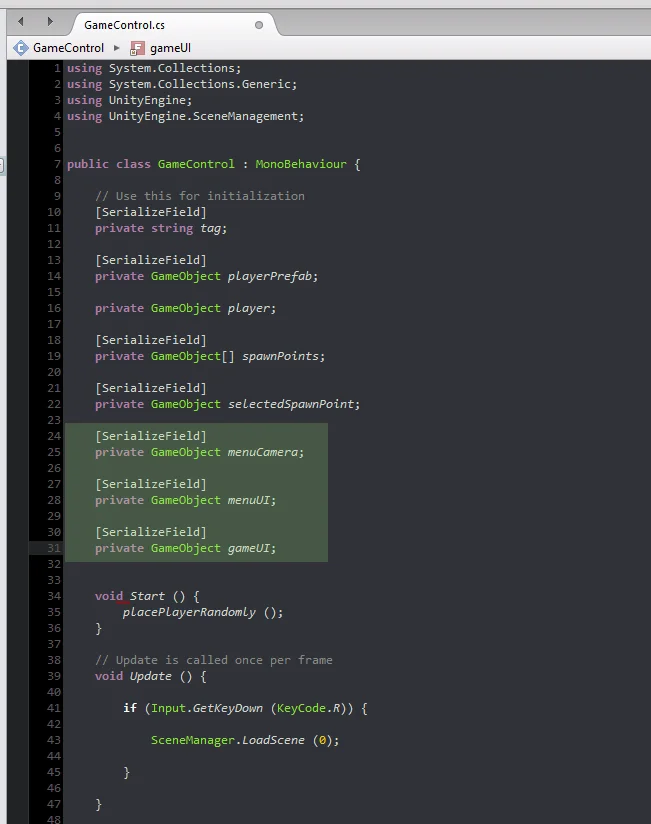
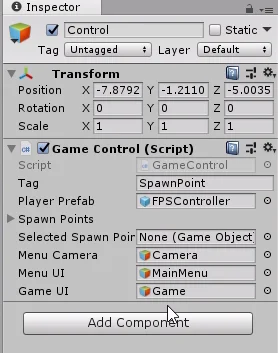
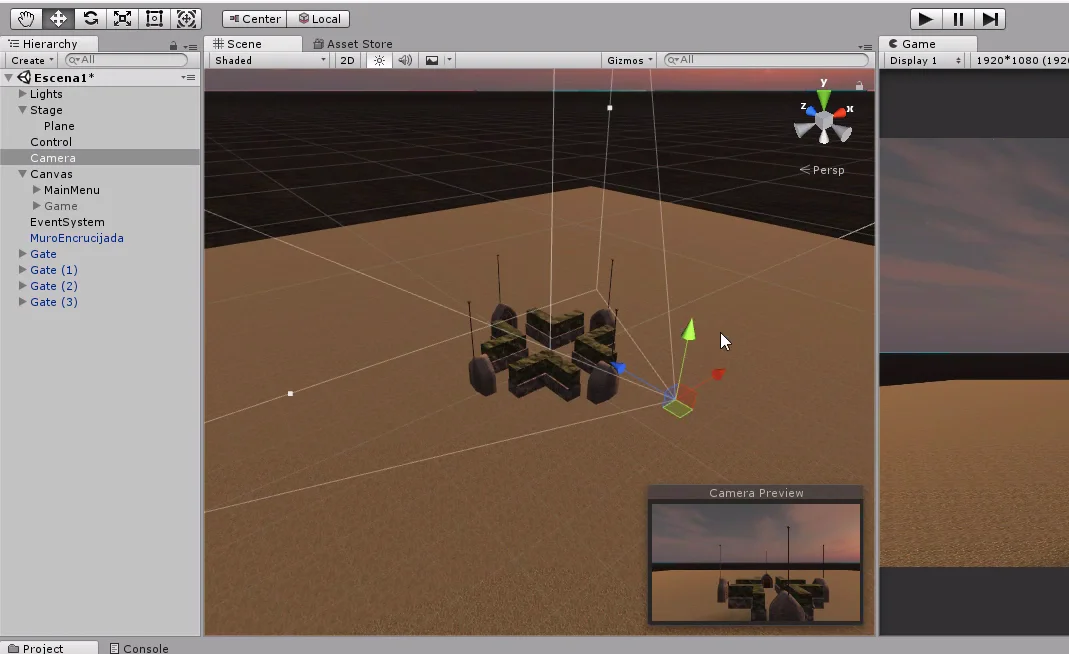
In the GameControl Script we define three serialized GameObjects, one for the camera that is active in the main menu, another for the menu interface and another for the game interface.
The three GameObjects defined are highlighted in Figure 1.
In figure 2 we can see that these new fields appear in the inspector.
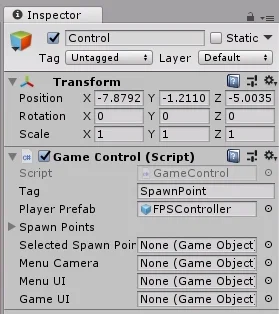
We take the objects created in the previous video and drag them to the fields in the inspector. These objects are the camera, the GameObject MainMenu and the GameObject Game.
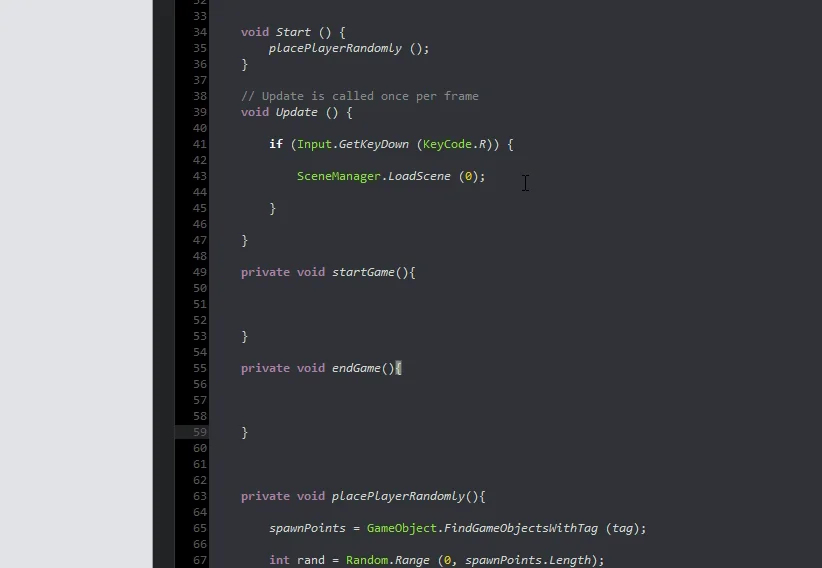
StartGame and EndGame methods
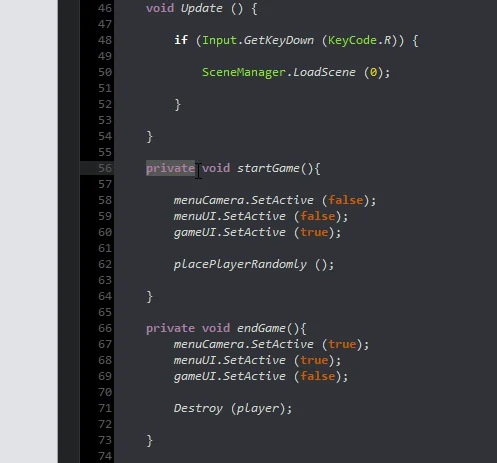
We are going to define two methods, one is going to be called “startGame” and the other “endGame”. The startGame method will have the function of doing everything necessary for the game to start, i.e. setting the timer to zero, placing the character’s prefab, placing the pedestal in a random position on the stage and so on. Keep in mind that these actions will probably be defined in other methods.
In the endGame method we remove all objects from the scenario, go to the main menu and so on.
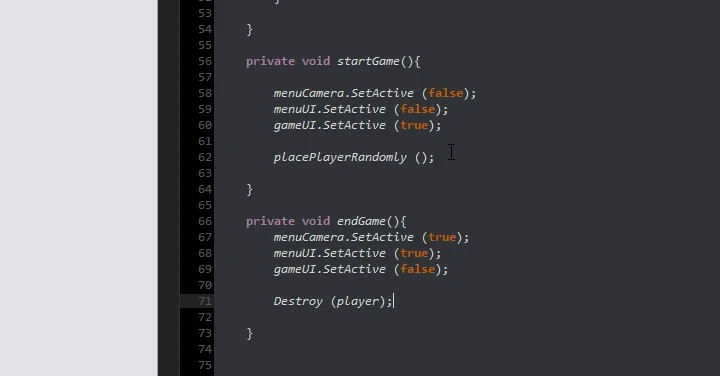
In the methods we are going to activate and deactivate the corresponding elements, as can be seen in figure 6.
Let’s go to the hierarchy and select the “Start” button, to observe its properties in the inspector.

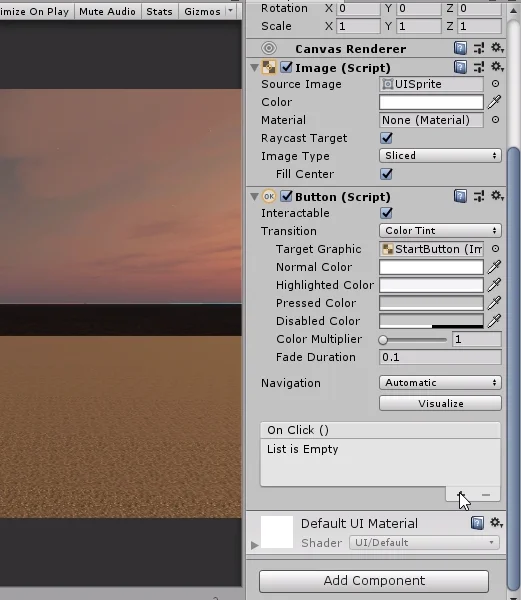
In the Button component there is a field called OnClick(), let’s click on the plus sign in the lower right corner, in figure 8 the cursor is over this button.
This will allow us to run public methods within the GameObject components we assign.
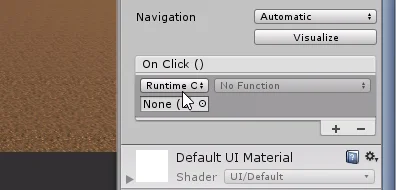
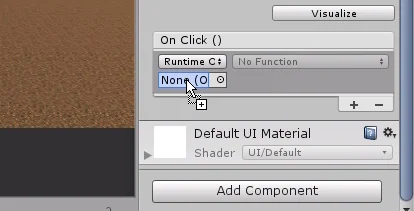
In the field that appears we are going to place the GameObject Control.
Ahora utilizando el menú desplegable, podemos acceder a las componentes y sus métodos.
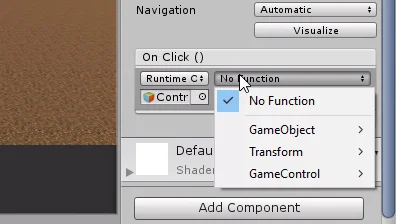
Como se trata del botón Start, estamos buscando el método StartGame que hemos definido en el Script GameControl, en la figura 12 podemos observar los atributos y métodos públicos del Script GameControl y vemos que StartGame no se encuentra entre ellos.
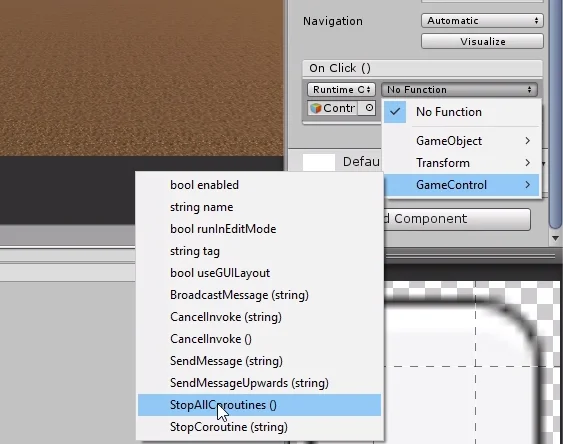
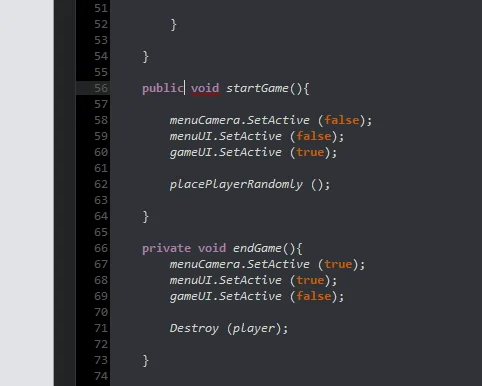
This is because we use private visibility in the definition.
To solve the problem, we changed the method to public visibility, as shown in Figure 14.
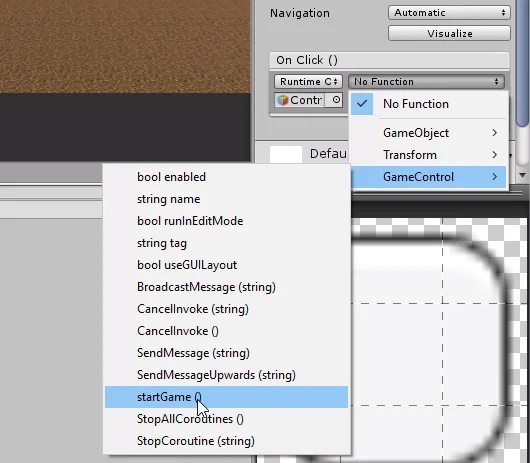
Ahora podemos elegir que se ejecute este método cuando se haga clic en el botón Start.
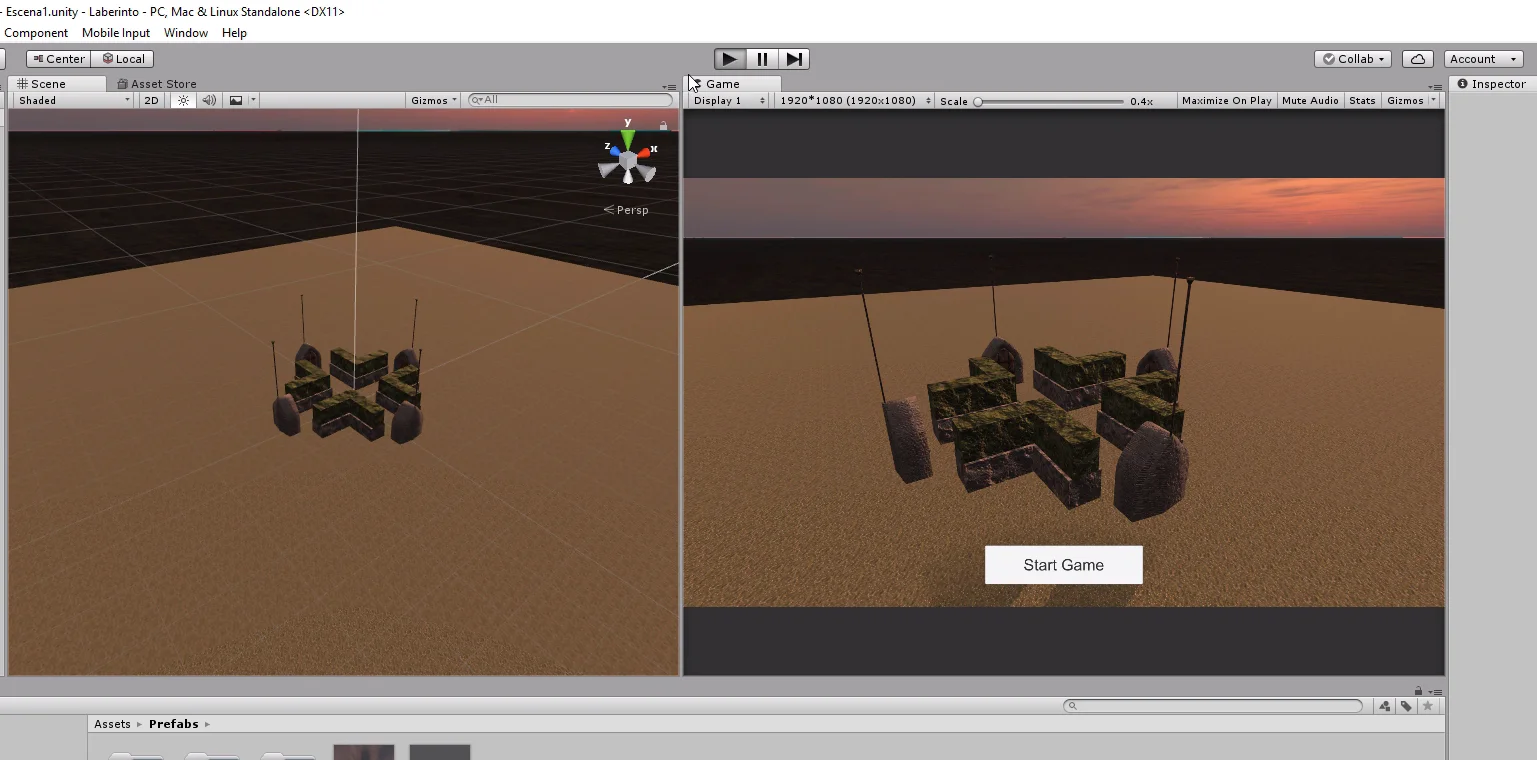
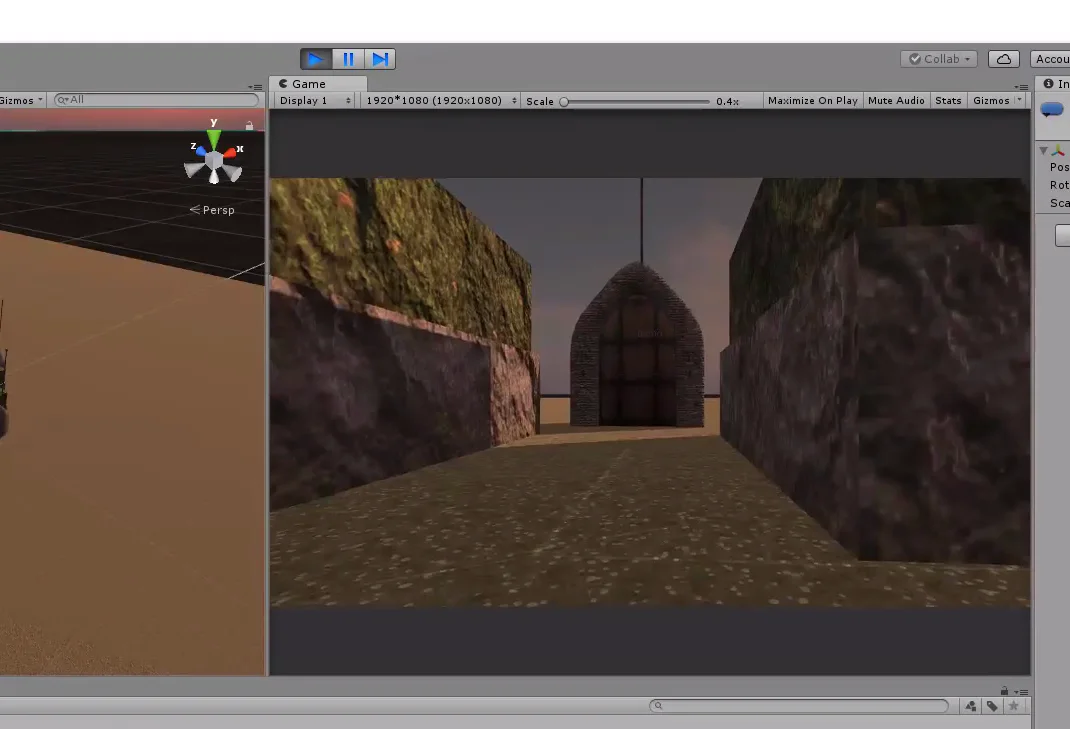
I arrange the camera a little so that the small scene of the doors is seen and I enter the game mode to test the operation of the button.
Bug fixing
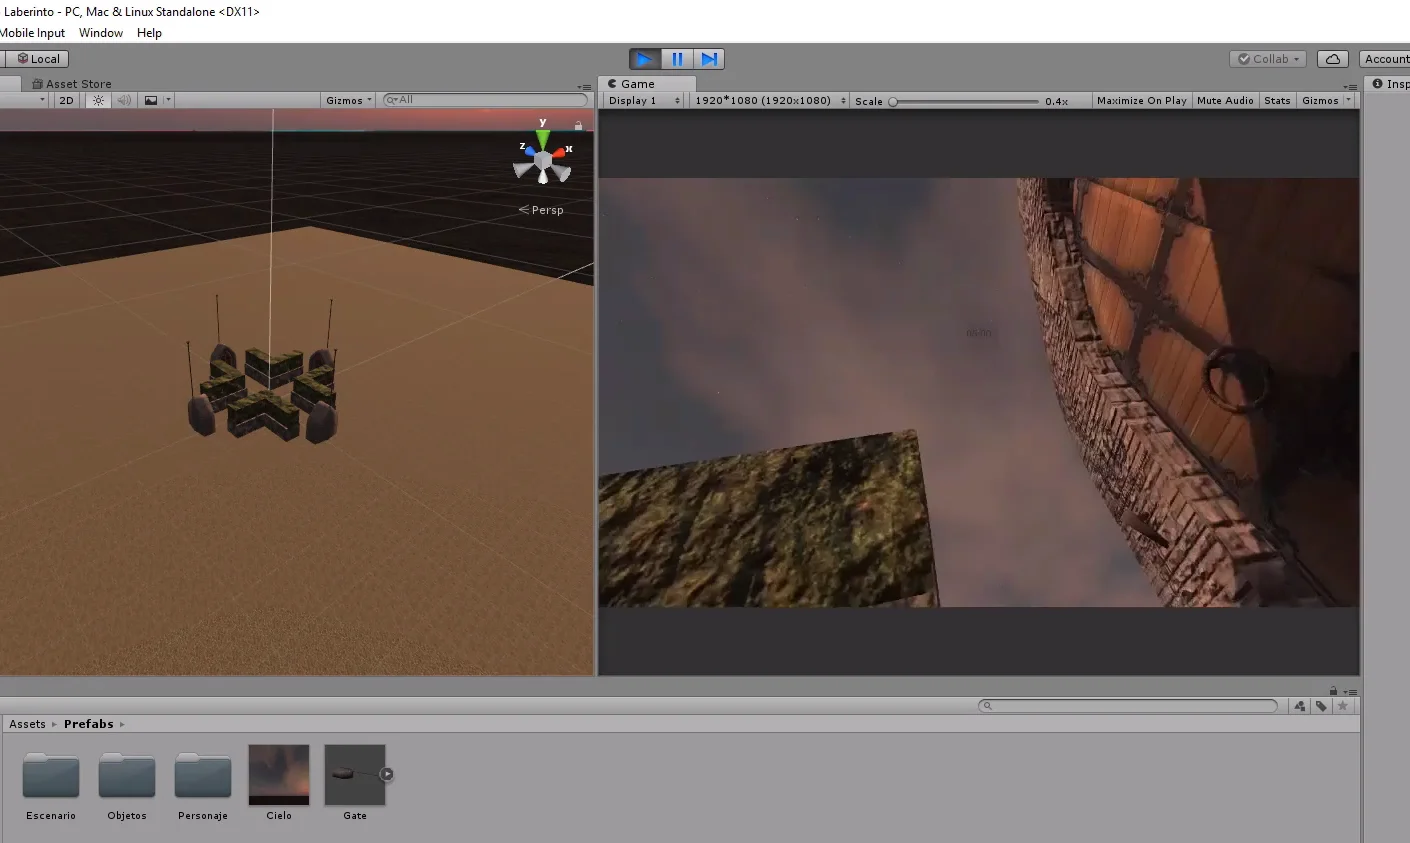
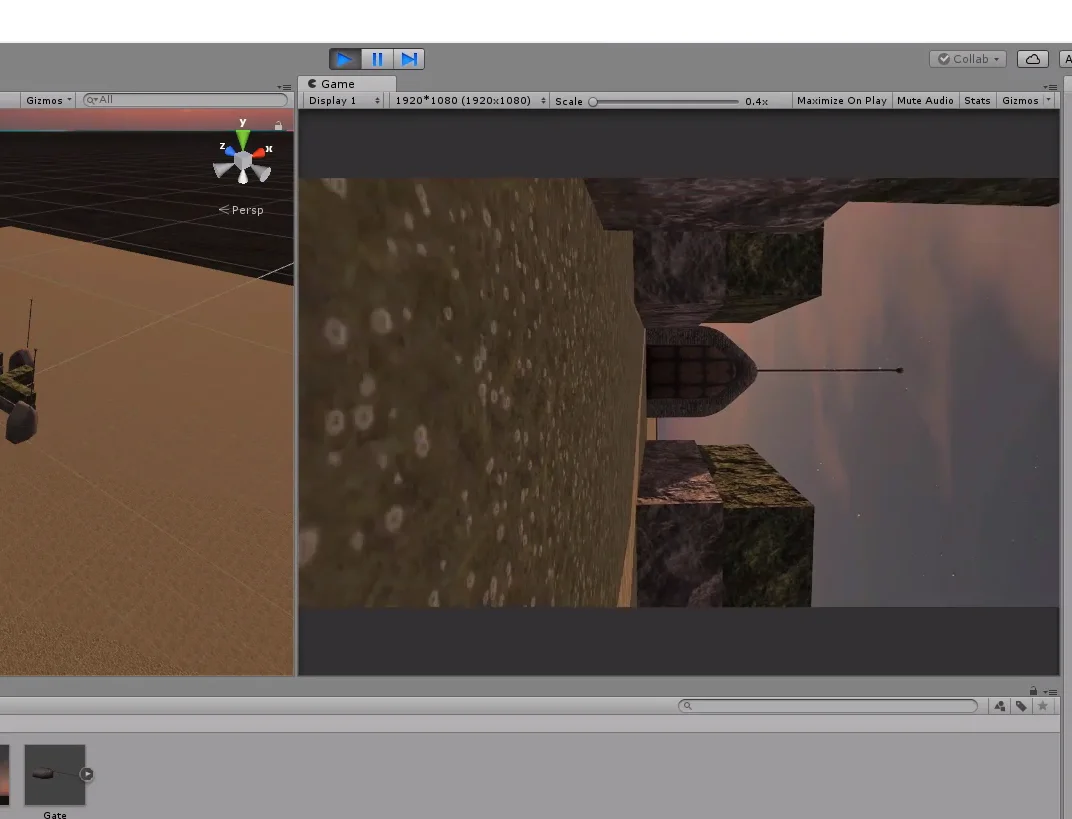
When entering game mode, the character appears on one of the doors randomly, but for some reason the controls don’t work properly, the character drags on the floor and the camera turns in a strange direction.
The Debugging process can be a bit tortuous, luckily we have tools to analyze the flow of the program, discover the parts of the code that work properly, see the values of the variables and so on to detect the problem and be able to correct it.
Without going into details, because I honestly don’t remember how I discovered the bug, the problem had to do with the hierarchy structure between GameObjects and the inherited transformation of the parent GameObject.
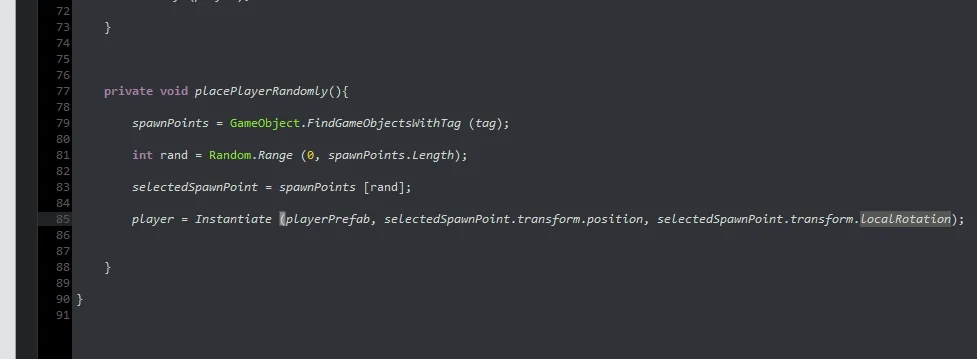
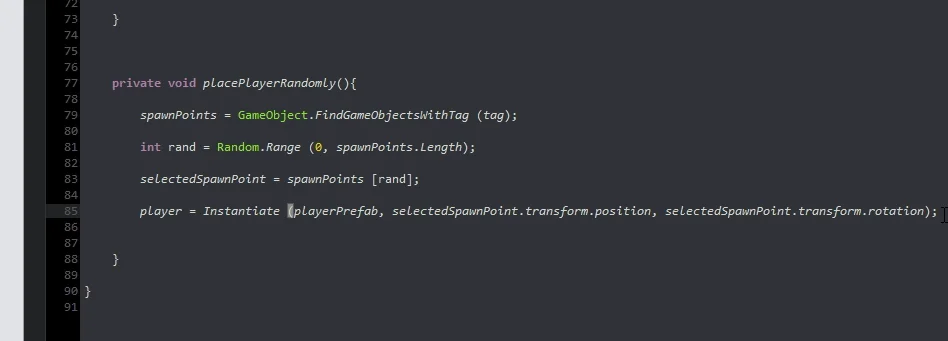
To correct the problem in the instruction to instantiate the character, within the “placePlayerRandomly” method, change the rotation from local to global, as seen in figures 20 and 21.
This corrects the problem and we can use the start button to start the game.
Final details
When you enter the game mode, the first-person controller prefab captures the cursor, places it in the center of the screen, and hides it.
This is a problem because when we return to the main menu when the game is over we can’t click on the buttons. So the solution is to unlock the cursor and make it visible at the end of the game, i.e. in the endGame() method.
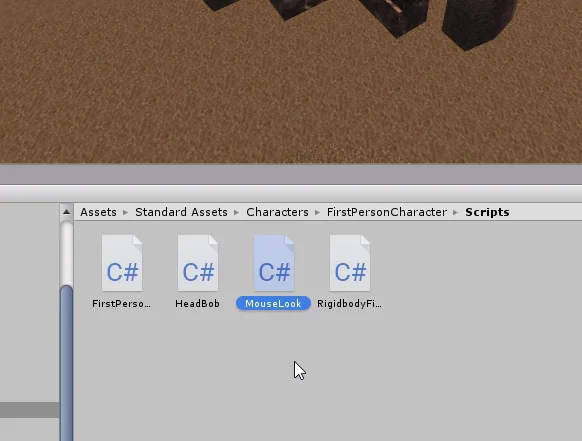
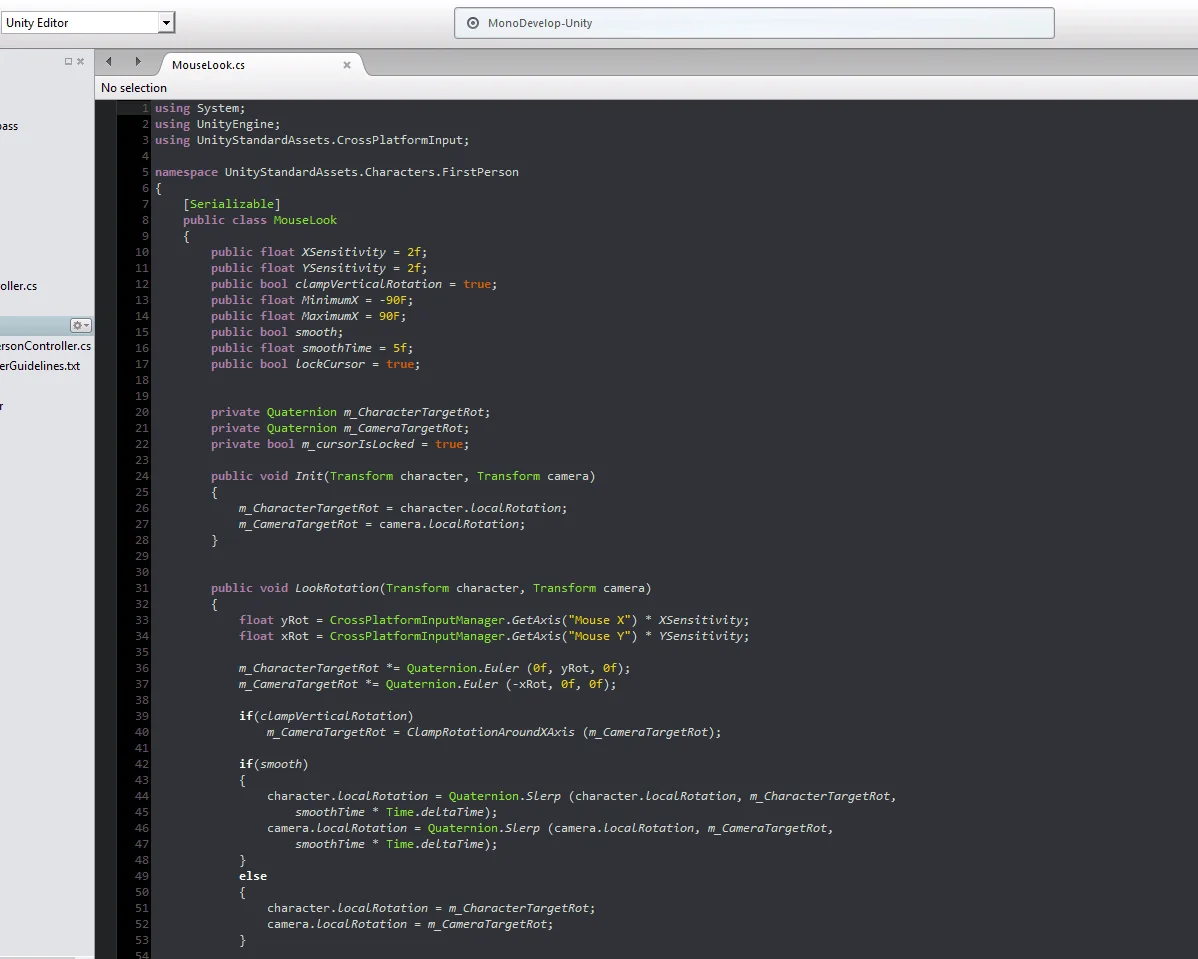
To find out how to do this let’s analyze the MouseLook Script that uses the controller in the first person. In figure 23 we can see this Script along with its route to get to it.
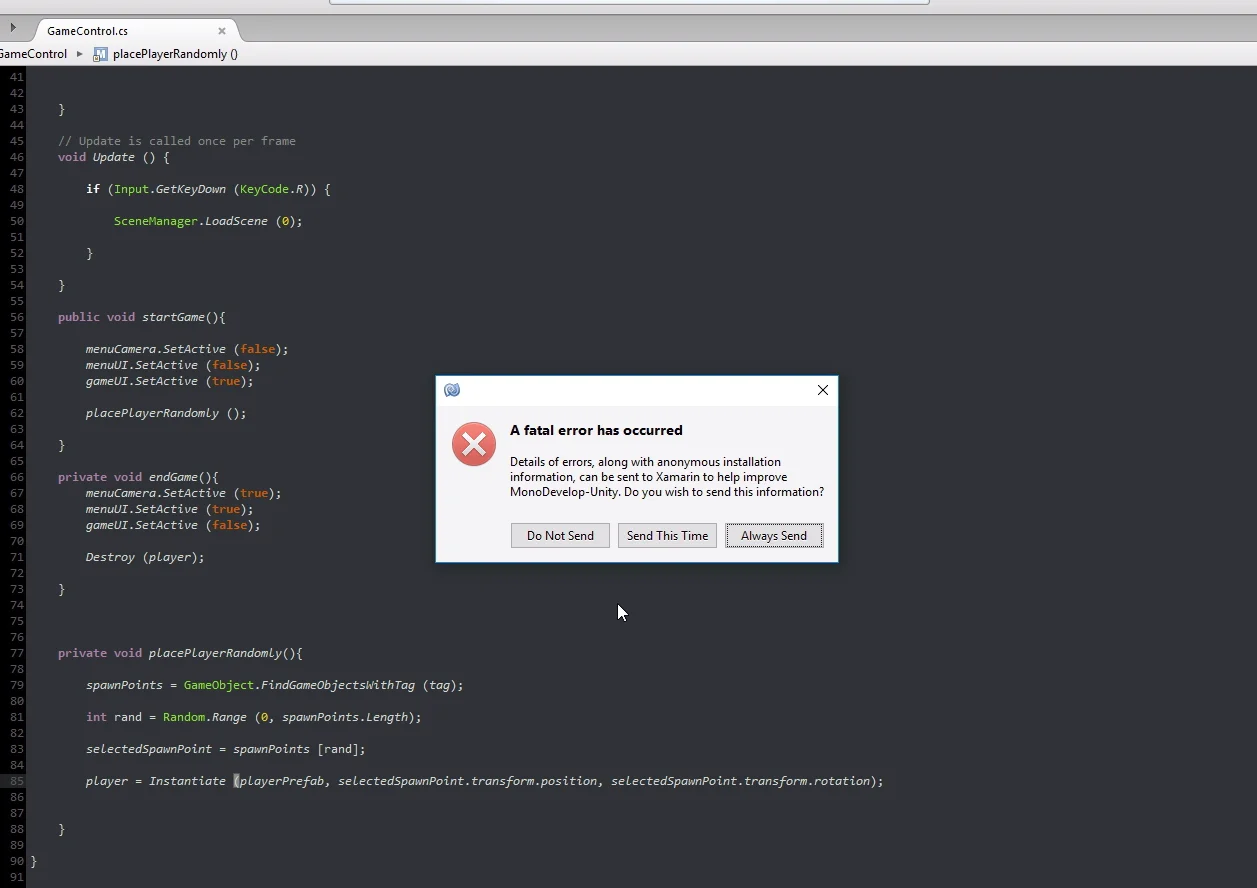
Fatal Error
When trying to open MouseLook the editor fails and must be closed losing all unsaved changes! It is important to save at all times, the CTRL+S access is very useful.
On the second attempt we were able to access the script. We are looking for an instruction related to the Cursor.
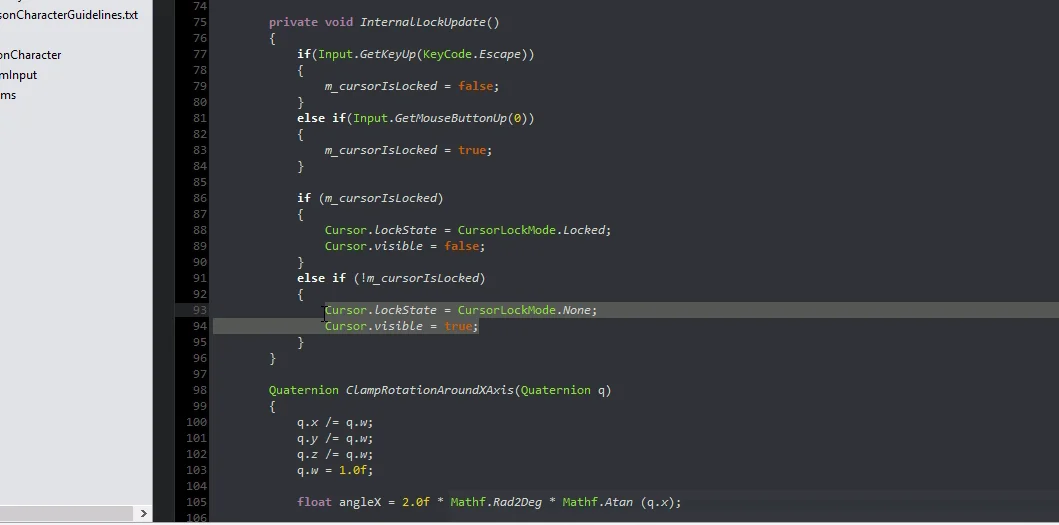
We see that in lines 93 and 94 of figure 26 there are a couple of instructions that seem to be the indicated ones so we copy them.
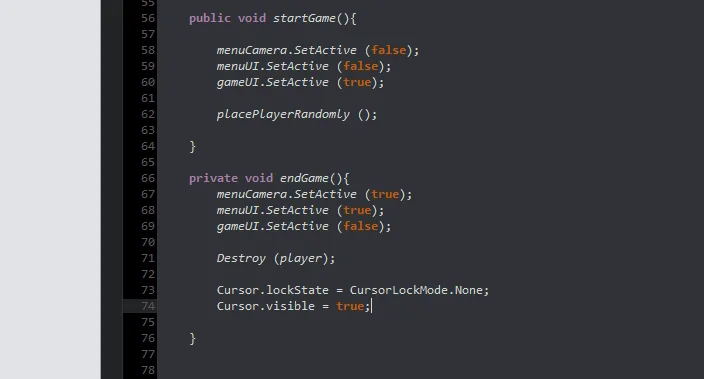
Then we go to the GameControl Script and paste these instructions at the end of the endGame method that will run when the time runs out.
End the game
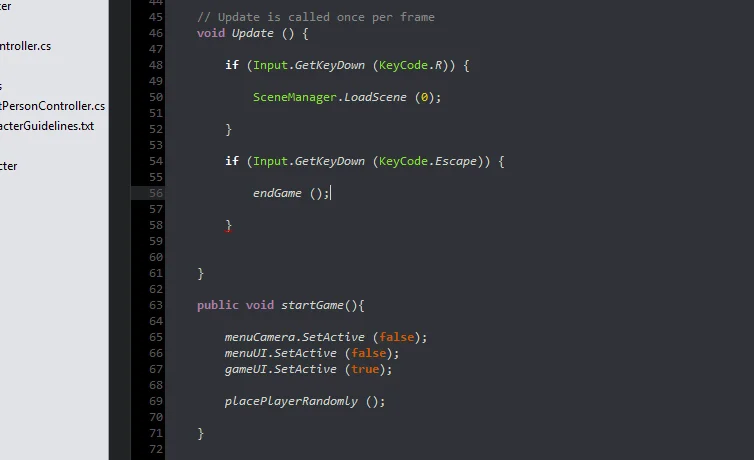
We are also going to give the user the possibility to end the game whenever he wants by using the Escape key.
We do this with the GetKeyDown method of the Input class.
In the first video of Unity’s fundamental series, I explain how to read keyboard and mouse entries, plus the difference between the different methods, there is also an article about the video on this page.
Conclusion
In the article we discuss how to program the interaction between the user interface elements and the GameControl Script.
In the case of the button the functionality is already programmed for it to execute methods of the Scripts, but we must make sure that these methods have public visibility.