Introduction
The normals of 3D models are vectors that are used to know the orientation of each face of the model and have many utilities, mainly for the rendering of a 3D model, for example they allow to calculate how the model will be illuminated, how the light will bounce, how the shading will be; they are also used in physics for collisions, so it is important that the normals of our models are consistent with what we need, occasionally some normals of the model are pointing in the opposite direction and this brings problems. In this article we are going to see how to make visible the normals of a 3D model in Blender.
In the following video we see how to display NORMALS in Blender.
Procedure to display the normals in Blender
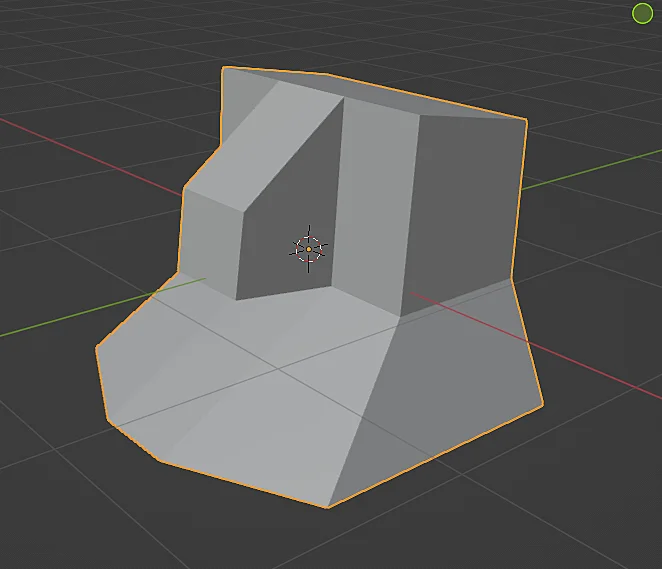
We start from a generic 3D model like the one in figure 1 and we are going to enter the edit mode, this is IMPORTANT because the normals can only be made visible from the edit mode and they are only displayed in the edit mode.
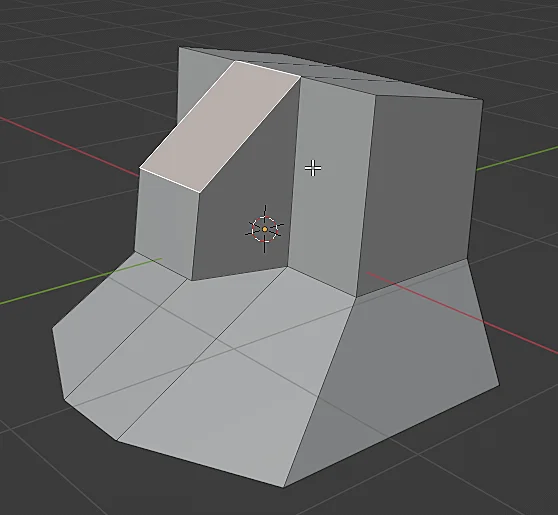
We click on the icon shown in figure 3, which displays a window that allows us to configure the elements that overlap in the 3D view window.
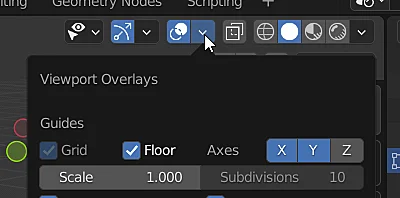
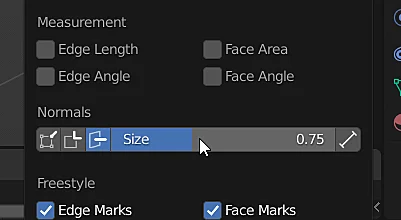
To show the normals we click on one of the icons in the “Normals” section, in general I am interested in seeing the normals in the center of the face, so I choose the option in figure 5, although sometimes I also use the option to show the normals at the vertices. Mathematically it does not make sense to talk about the normal vector to a point, but in the rendering the meshes consist of lists of vertices that form triangles and each vertex has a normal vector associated with it, those normals vectors are generally interpolated.
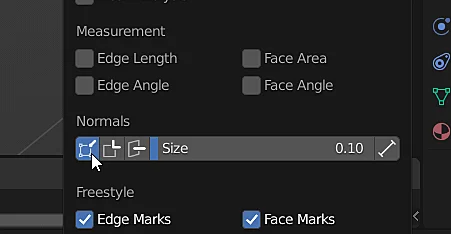
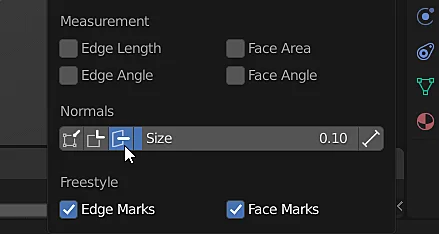
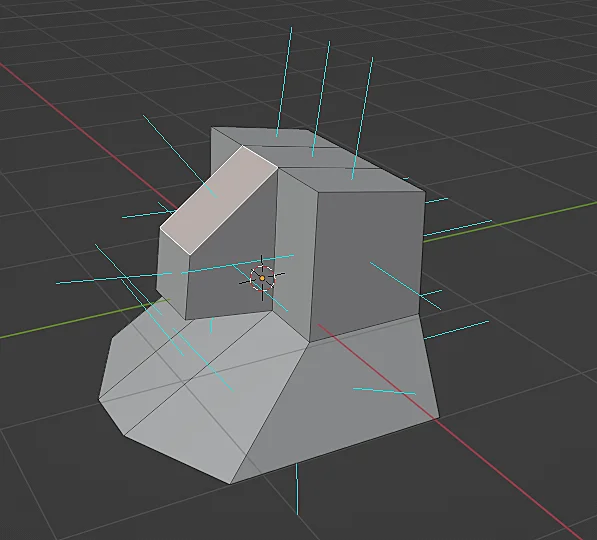
Figure 6 shows the normals in the center of the faces of the 3D model when in edit mode.
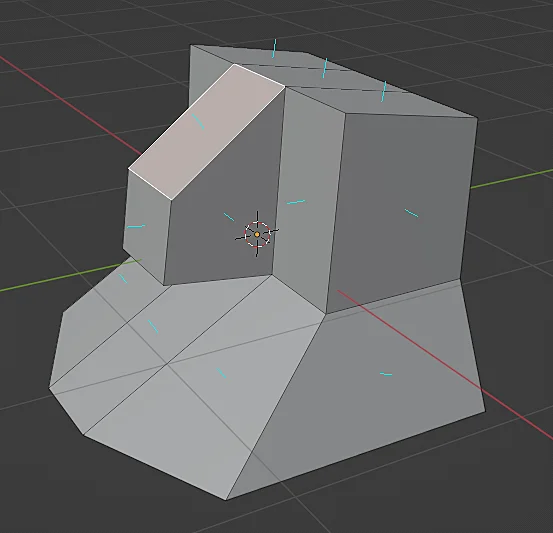
Using the “Size” parameter we can change the length of the normals, as shown in Figure 8.
