Introduction
When modeling precision-based projects—such as replicating parts from technical schematics or preparing models for 3D printing—knowing the exact edge lengths in Blender is essential. Fortunately, Blender provides tools to display these measurements directly in the viewport. In this article, we’ll walk through how to enable edge length display for selected edges, ensuring accuracy in your workflow.
For a visual breakdown of this subject, you may find my video discussion helpful.
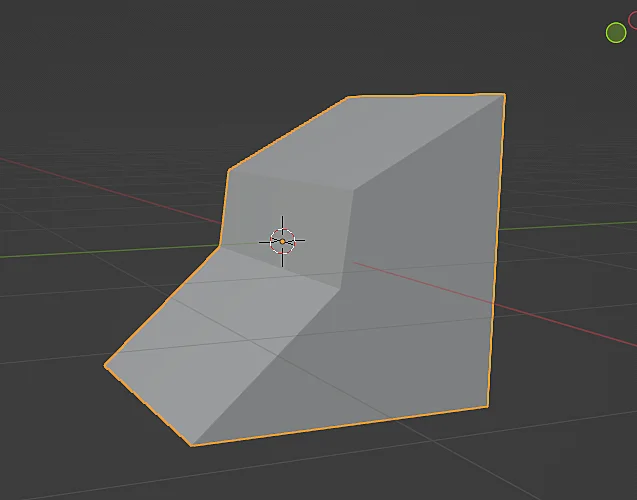
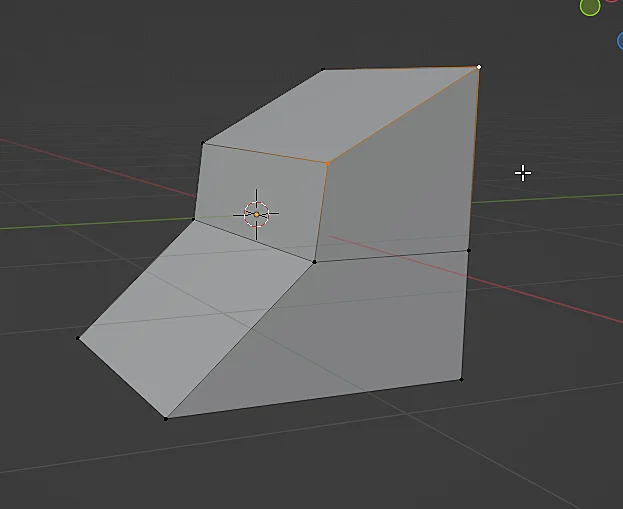
To begin, we’ll use the 3D model displayed in Figure 1. Edge length measurements can be enabled in either Object Mode or Edit Mode, but for this demonstration, we’ll switch to Edit Mode with the model selected. Once in Edit Mode, simply select any edge—as illustrated in Figure 2—to proceed with displaying its length.
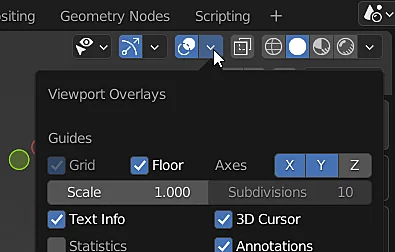
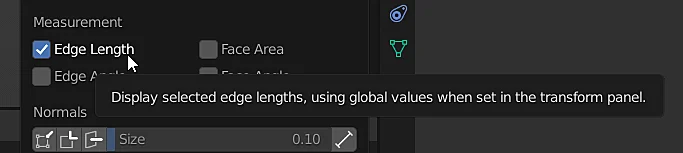
In Figure 3, locate the Viewport Overlays icon (indicated by the cursor). Clicking this icon opens a settings panel where you can control which visual elements appear in Blender’s 3D workspace. From here, simply enable the Edge Length checkbox—as demonstrated in Figure 4—to display measurements directly on your model.
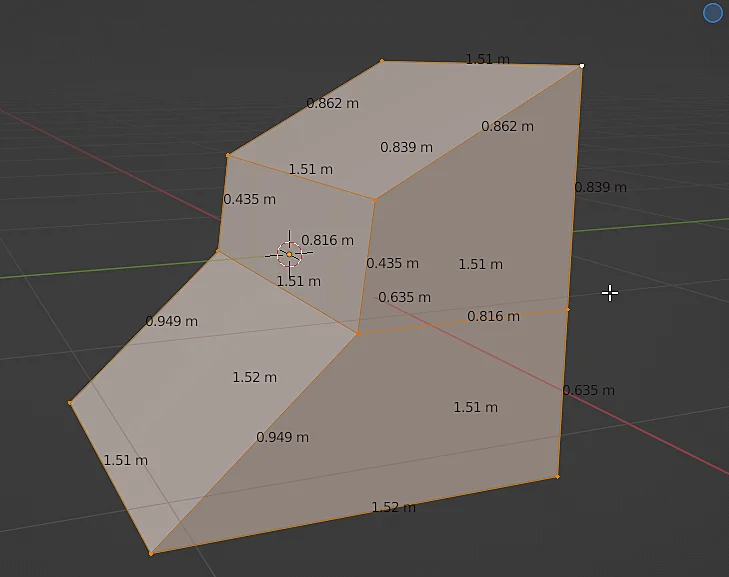
Once enabled, the edge lengths will appear on your selected model, as visible in Figure 5.