Introduction
In this article we see how to join and separate objects in Blender. We start by understanding what an object is in Blender, then we start with two separated objects and join them together to form a single object. Finally we take this object composed of two parts and we are going to separate it again into two different Blender objects.
What is an OBJECT and what is a MESH in Blender?
Blender has different working modes, when we are modeling in 3D two of the most used modes are “object mode” and “edit mode“, in object mode we work with the objects in the scene while in edit mode we work with the geometry that a specific object or a set of objects has defined inside them. Objects are entities that have at least one reference point called origin and have an associated transformation, that transformation consists of information about its position in space, its rotation and its scale. An object in Blender can be empty and simply serve to mark a coordinate in space, but normally if we are modeling in 3D the object will have defined a Mesh, which is a set of vertices, edges and faces that are connected in a certain way, the object could also contain several meshes not connected to each other.
Now that we have seen a more precise idea of what are objects and meshes in Blender let’s see how is the process to join and separate objects in Blender.
In the following video we see the process to JOIN and SEPARATE OBJECTS in Blender
How to join objects in Blender
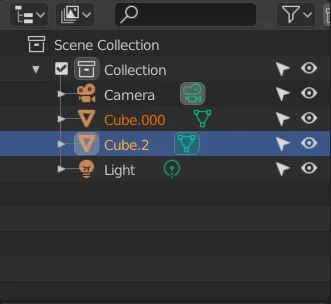
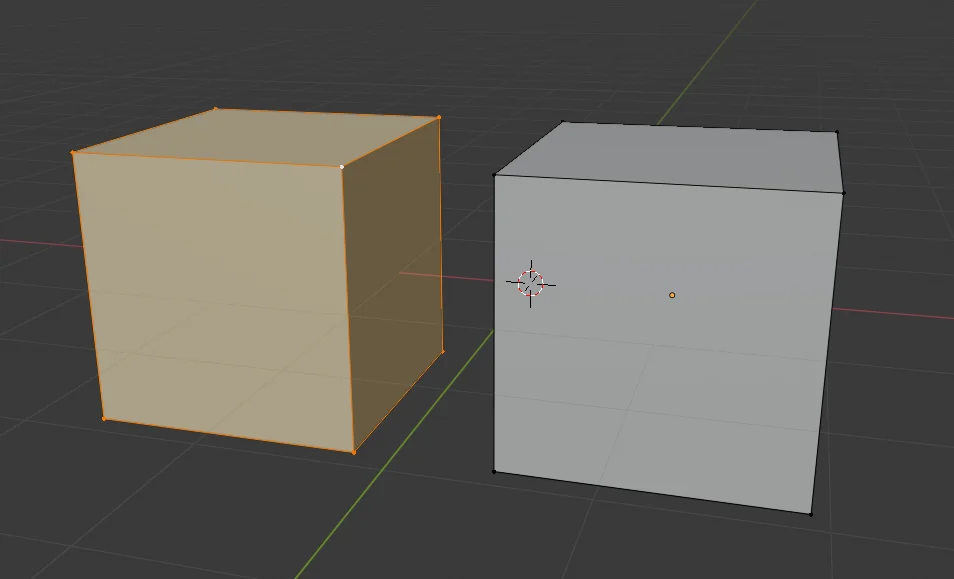
We start from two separated objects as seen in figure 1, in the Outliner of figure 2 we see that they are two separate objects.

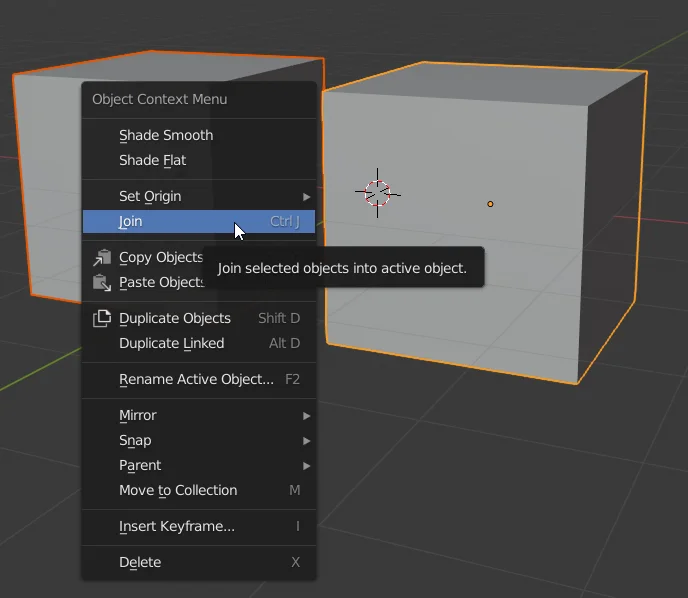
We select both objects using SHIFT and right click to display the menu shown in figure 3. We choose the option “Join” to combine both objects into one.
It is convenient to learn the shortcut CTRL+J to save time.
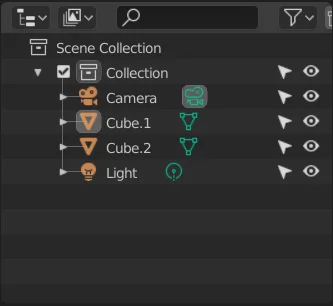
In the Outliner we see that we now have a single object composed of both cubes.

How to separate objects in Blender
Now we want to reverse the process, we start from a single object composed of several parts and we would like to take one of those parts and separate it into a new object.
To do this we enter the edit mode (TAB shortcut) and select all the vertices we want to separate into a new object. In the video I select a vertex of the cube and then I use the shortcut CTRL+L that allows me to select all the vertices that are connected.
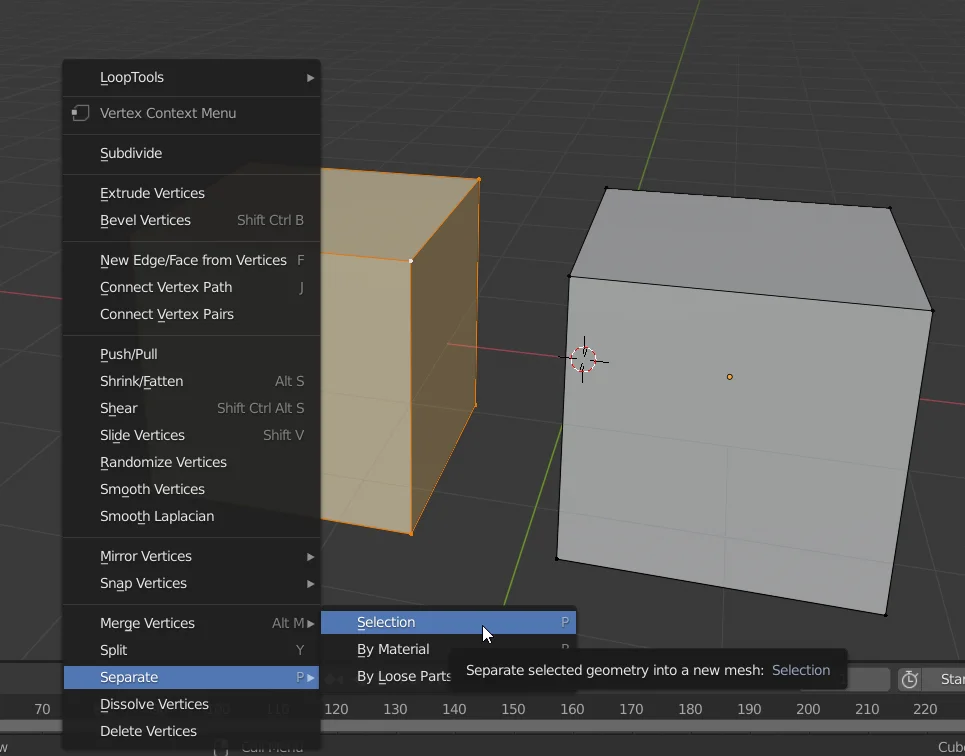
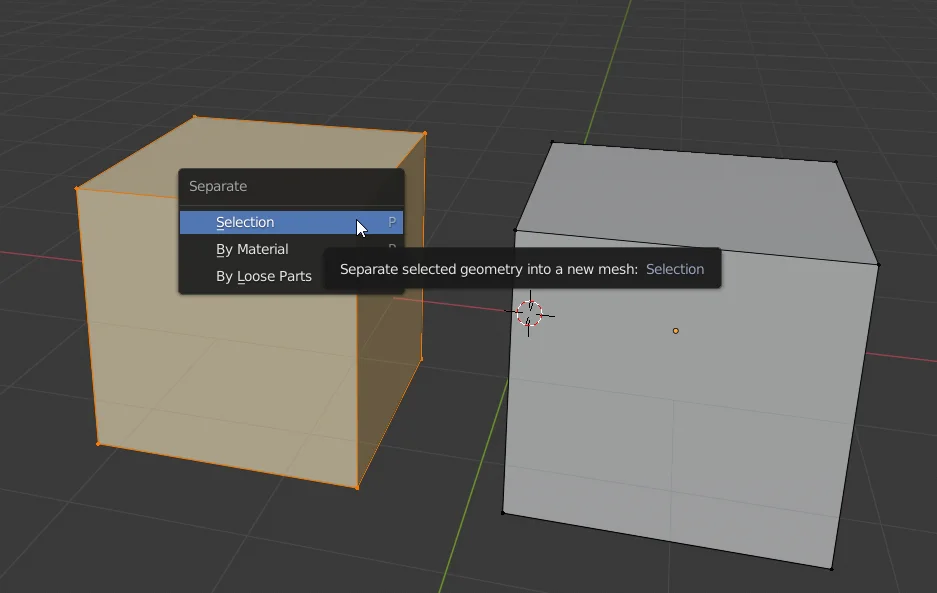
Then we right click to display the menu shown in figure 6 and go to “Separate”. We can also use the shortcut with the letter “P” to display this menu.
We choose the “Selection” option to separate all the selected vertices into a new object.
In figure 8 we see that we now have two different objects in the Outliner.