Introduction
In this article we see how to load an image in Blender to use it as a reference for the modelling process, either to exactly trace its geometry or simply to have it there and consult it to help you with the modelling. We will also see how to orient the reference image in space and how to make it transparent.
In the following video we see how to load a REFERENCE IMAGE in Blender
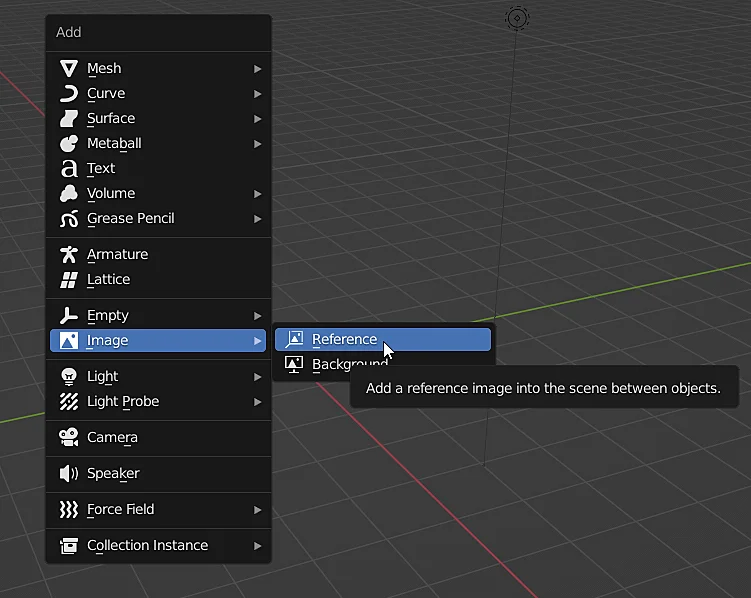
A reference image in Blender is like any other object in the scene, so to add it we can use the shortcut SHIFT+A while in OBJECT MODE, this displays the “Add” menu in a floating way, we go to the “Image” part and select “Reference”. As shown in figure 1.
A window will open in which we have to choose the reference image we need.
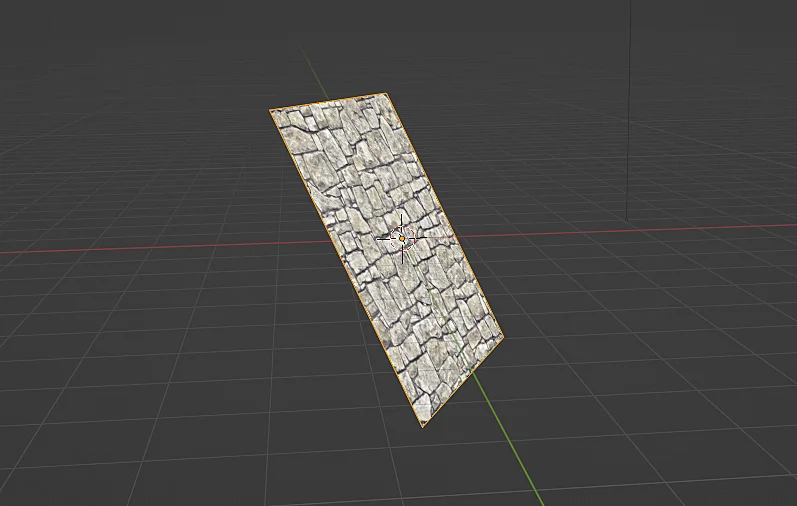
In figure 2 you can see the result of this operation, the reference image was added correctly, the problem is that it was added according to the orientation that the camera had at the moment of adding, maybe that was what you needed although in many cases one prefers to have the reference image oriented according to the front, side or top views. If that is the case you can delete the image, orient the view properly and add it again.
Orient the reference image in Blender
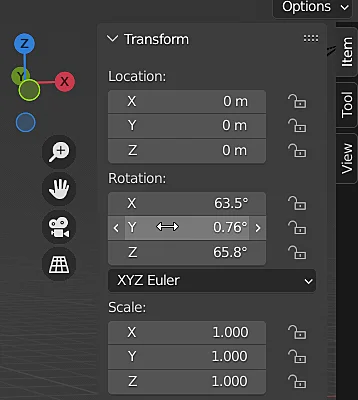
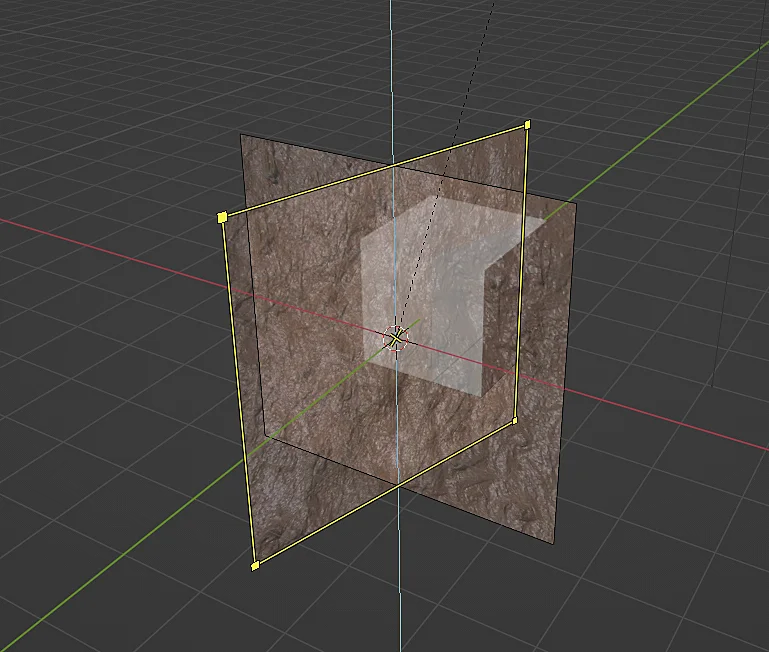
As mentioned before, the best way to orient a reference image would be to first adjust the view and then create the reference image, in this way the image already appears with the proper orientation, however, as it is an object in the scene we can also transform it, apply translation, rotation and scale. For example we can select the image, press the R key to rotate it, constrain the Z axis and type 90, so that the reference image rotates 90 degrees with respect to the Z axis. We can also type directly its orientation in the transform panel shown in figure 3. Figure 4 shows a reference image oriented according to the XZ plane (front view).

How to make a reference image transparent in Blender
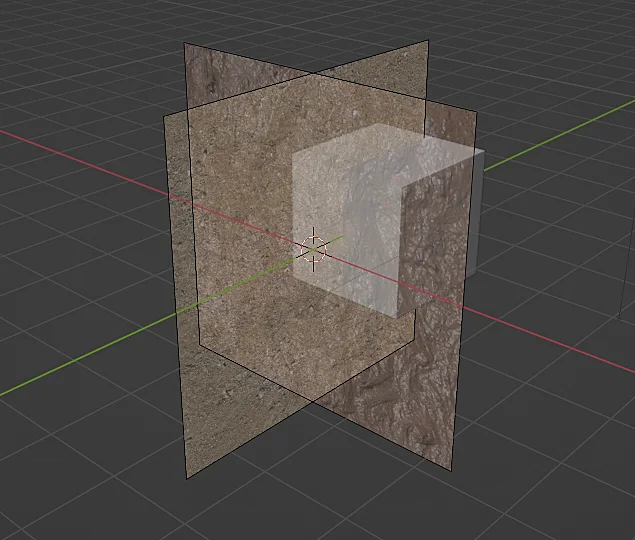
In many cases we will need the reference image to have transparency to be able to see the 3D model we are making, to achieve this we first select the image. Then we go to the image properties using the icon shown in Figure 5, note that this icon appears when an image object is selected. In the image properties we enable the opacity checkbox and set the desired value, where 1 is completely opaque and 0 completely transparent. Figure 7 shows the result.
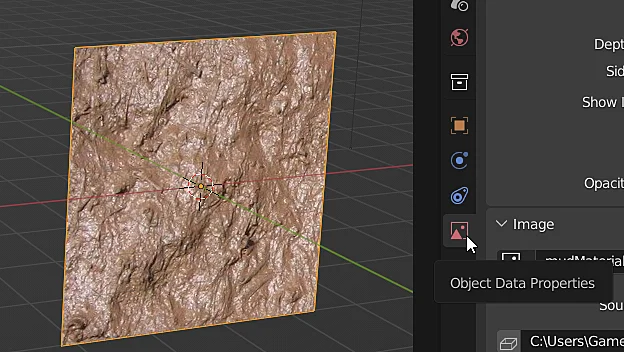
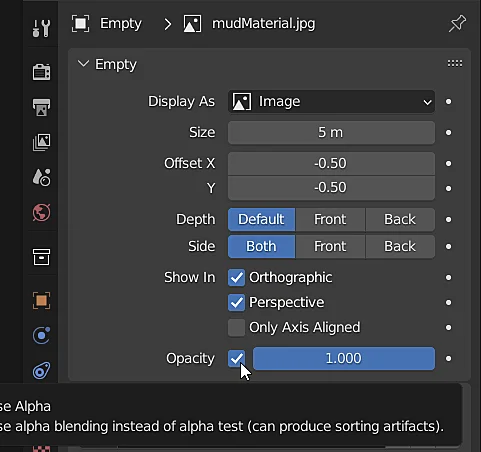
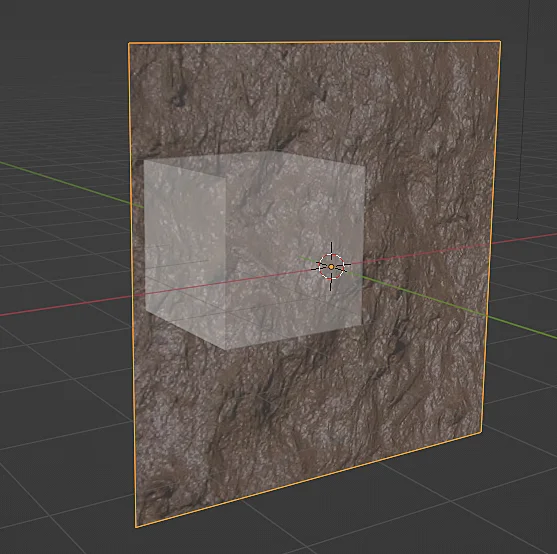
Figure 6 shows other options to configure our reference image, for example we can make the image visible only in a certain view.
How to add multiple reference images in Blender
We can add as many reference images as we need, one way to do it is to repeat the process mentioned above, i.e. add a new image object and select the file, but we can also take the existing reference image and duplicate it with SHIFT+D, as if it were a 3D model, figure 8 shows how I duplicated an image and immediately pressed the R key to rotate it 90° around the Z axis.
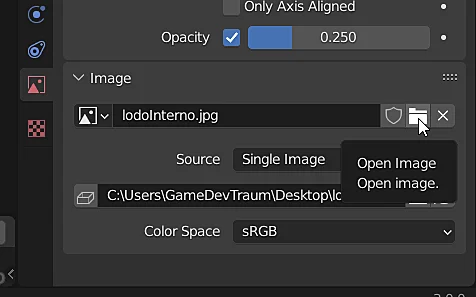
Once we have duplicated the reference image, it is now time to make the object show another image, for that we go back to the image properties tab (figure 5) and in the “Image” section we click on the “Open Image” button shown in figure 9 and load the desired image file, the result can be seen in figure 10.