
Introduction – Setting up the scene
In this article we will see a very simple trick to bend objects in Blender, for this example we will use Blender’s default cube, here is a couple steps you can do to follow exactly this tutorial.
- Create a new Blender file.
- Select the default cube and go into edit mode.
- Press A to select all vertices.
- Press S, then X and write “10” to scale the cube in the X axis, ten times its original size.
- Press CTRL+R and move the cursor until you see the yellow square shape from the image below. Turn the mousewheel a couple times to get extra subdivisions and left click to apply the subdivisions. Right click to apply with any displacemente.
How to bend an object in Blender
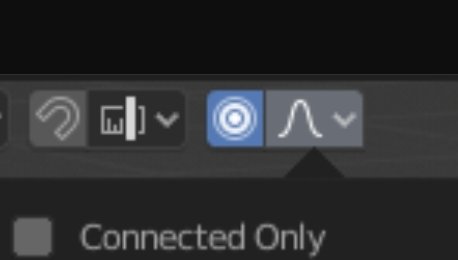
You can bend an object in Blender using the “Proportional Editing” feature by enabling the icon shown in the image below or by pressing the “O” shortcut.
Press LEFT-ALT and click on and edge of the object to select and Edge Loop. Press G to grab that edge loop and move it around.
Proportional Editing option allows you to transform now only the selected vertices but also vertices that are nearby with an intensity that is proportional to the distance.
You can change that intensity by spinning the mousewheel.
This editing option is applied also for rotation and changes of scale, so you can use it to apply different transformations to an object.
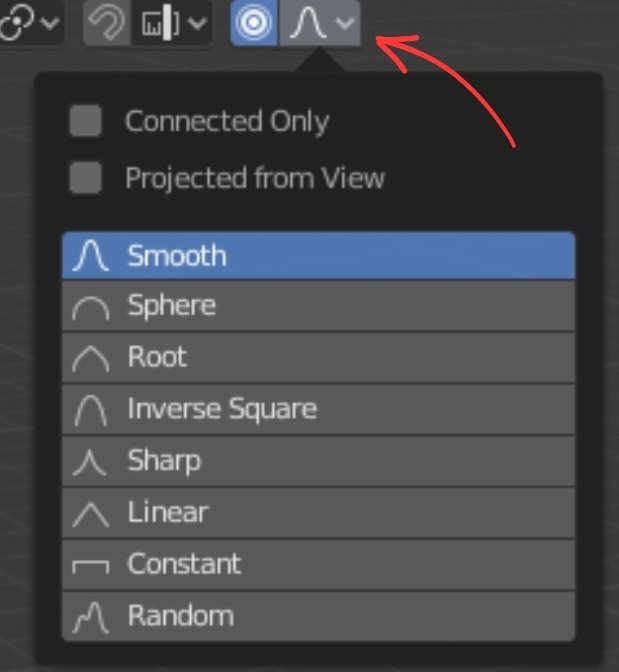
If you press the icon from the image below you will see different options to apply to the proportional editing option, like the “Connected Only” checkbox that makes the editing affect only those vertices who are connected to our selected vertices. You can also choose a different deformation pattern.
Video tutorial on how to BEND objects in Blender
Follow my YouTube Channel for more Blender tutorials.
