Introduction
In this article we see how to export a game from Unity to Android and look at some of the problems we may encounter in the process and how to fix them.
In the following link you can see the basic setup to export a Unity project to Android, creating a 32 and 64 bits version that can be uploaded to Google Play, I also show how I solved an annoying error with the message “IL2CPP.exe did not run properly”.
Download Unity and the Android package
When installing Unity we must make sure we also download the Android package, so if you haven’t done this or don’t remember it, it’s a good opportunity to download the latest version of Unity along with all the necessary packages.
In particular I like to see all available versions, so in Google I usually search with the term “unity version download”, which leads me to the page with all versions (first page in figure 1).
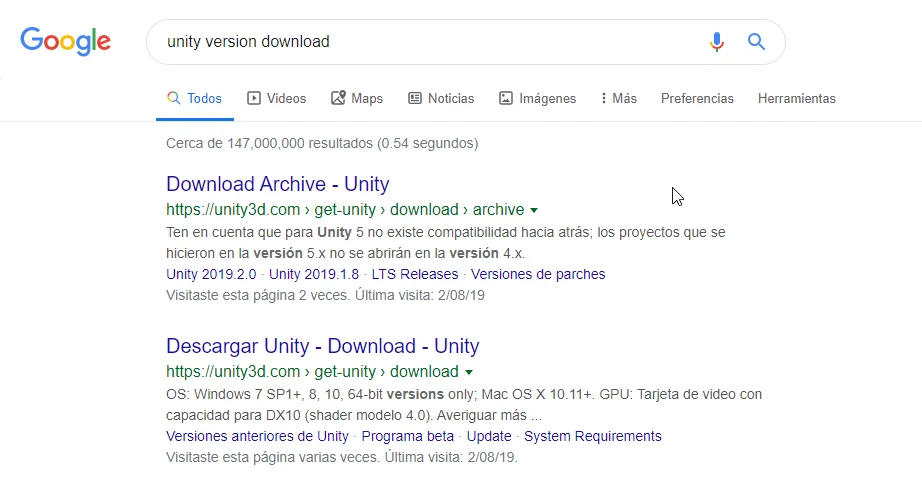
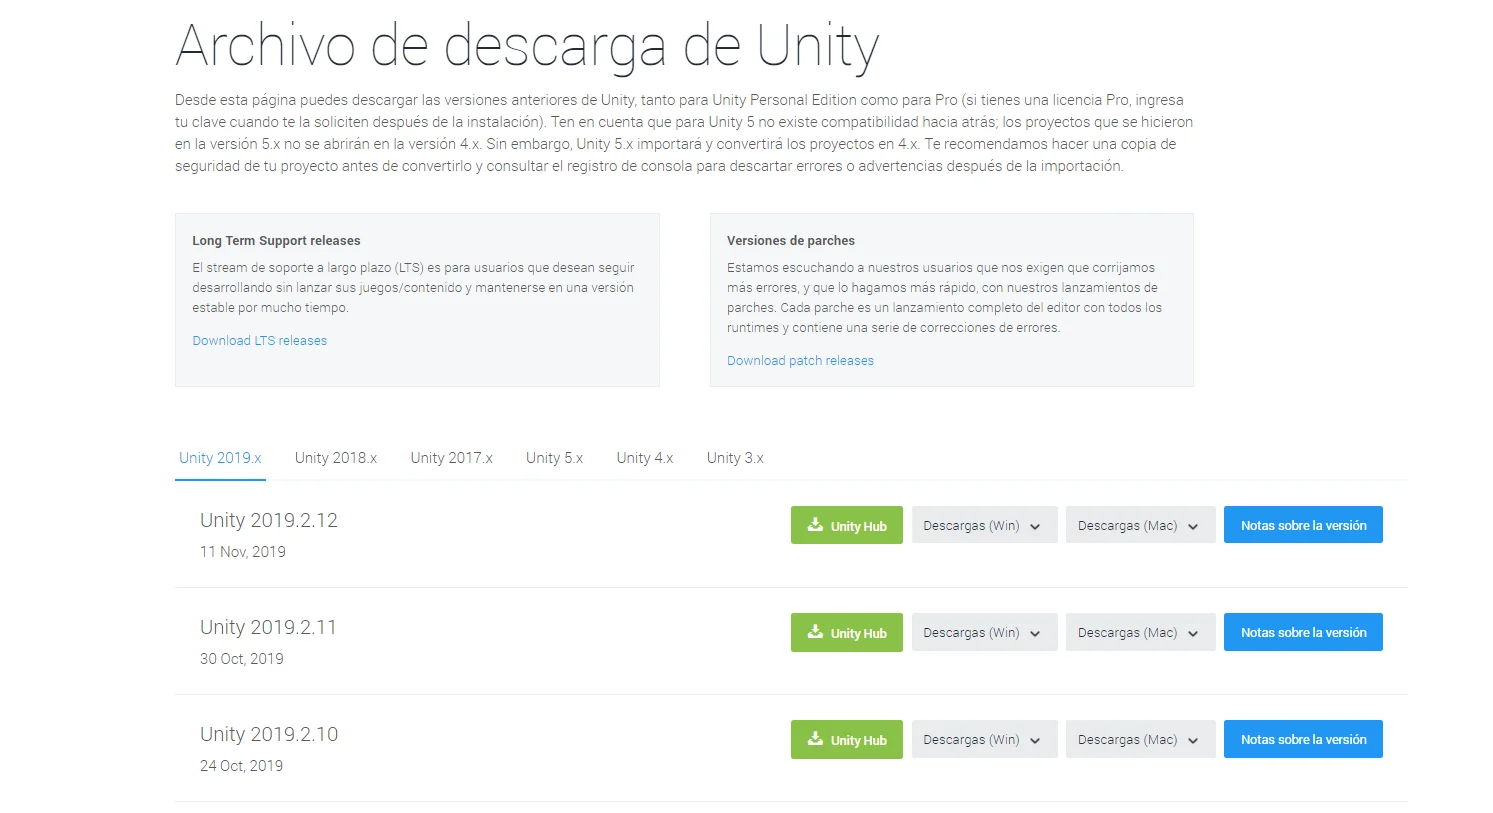
From there we will access a page like the one shown in figure 2, in my case, because my connection is somewhat unstable, I download Unity using torrent.
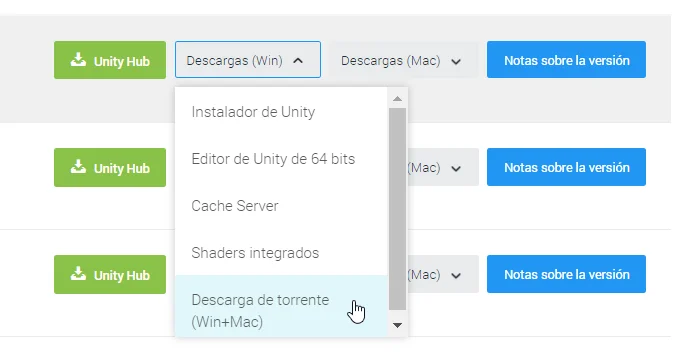
Clicking the highlighted option in Figure 3 automatically downloads a torrent file.
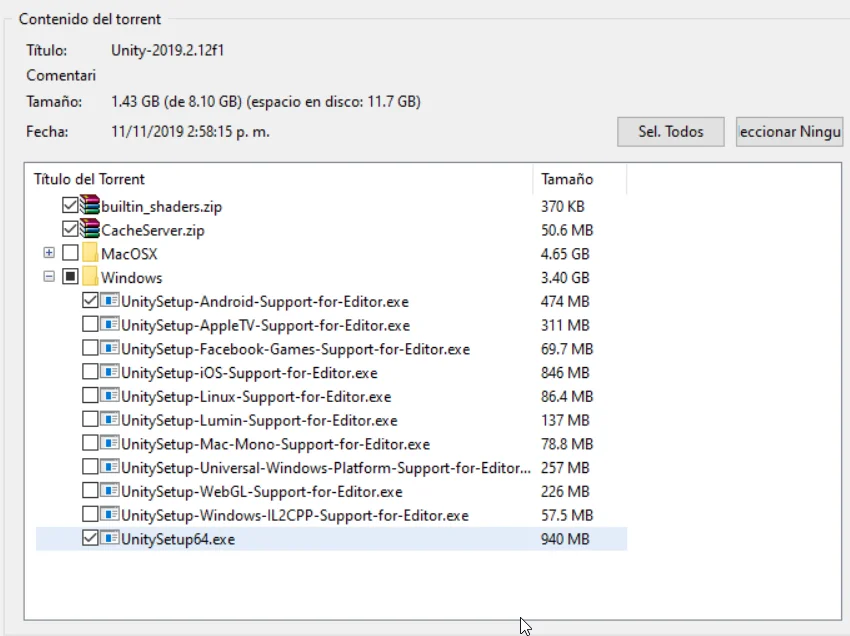
We will need to download the Unity editor and the Android Build Support, in figure 5 are selected the necessary packages.
Configure Android SDK y JDK
To export our Unity games to Android we need to use some external tools, the Android Software Development Kit and the Java Development Kit.
If you don’t have these two kits installed, I’ll show you some screenshots and download links later, for now let’s assume they are installed and move on to the Unity part.
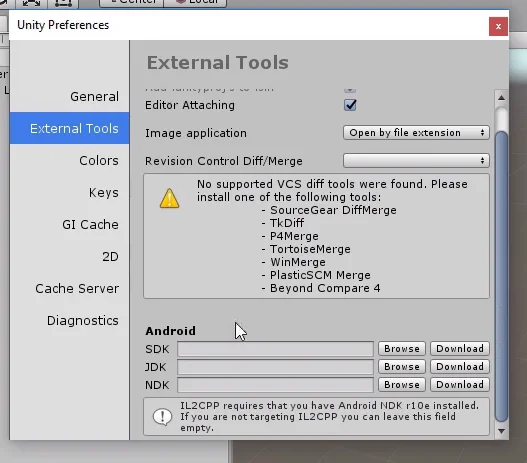
Enter Edit > Preferences and go to the External Tools part, there must be fields to indicate the path of the Android SDK and JDK, as seen at the bottom of figure 6.
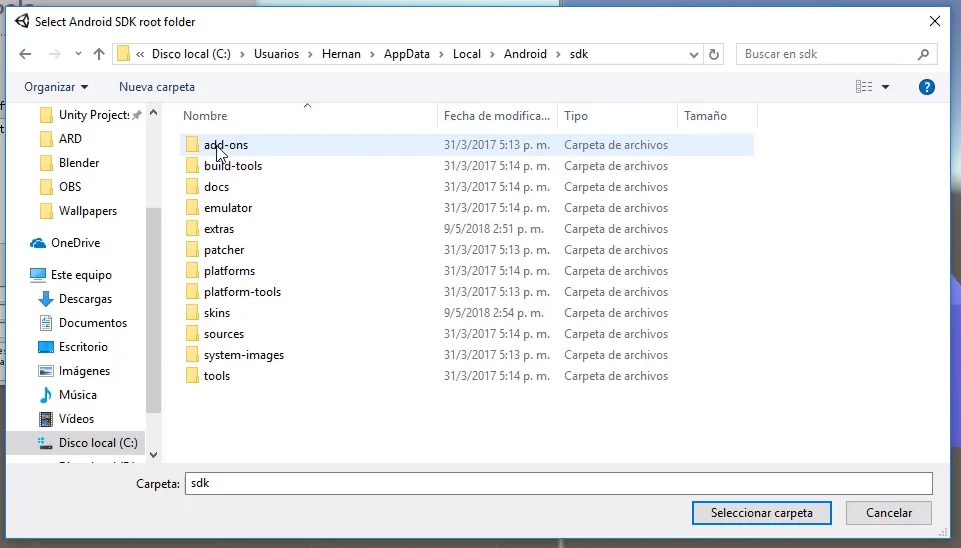
By clicking on Browse, we indicate the path of these two development kits. The default installation path of the Android SDK is shown in figure 7, please note that the AppData folder could be hidden.
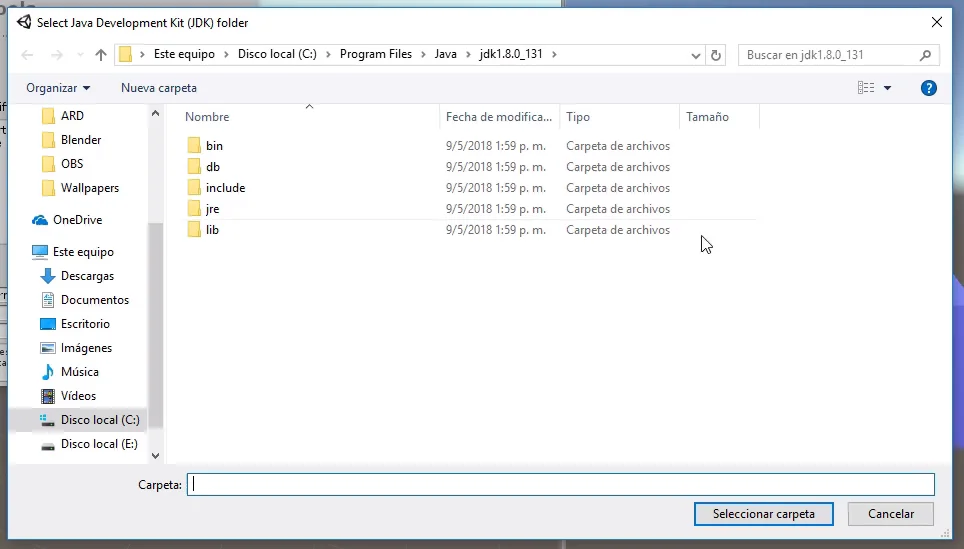
The path of the JDK is shown in Figure 8, inside program files, Java.
Configure Unity for the Android Platform
Now we must tell Unity the type of platform we want to export to, in this case Android. To do this, go to File > Build Settings and a window like the one shown in figure 9 will be displayed.
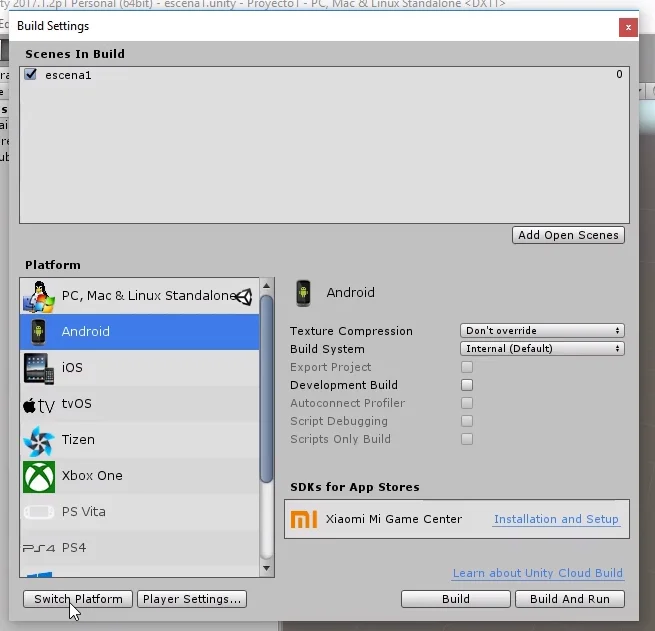
In this window we select the option Android and click on Switch Platform, with this Unity makes a background work and after a moment the project is already adapted to work with Android.
Before creating a compilation we need to set up a few more things.
Go to the project’s Player window, in the Edit > Project Settings > Player tab.
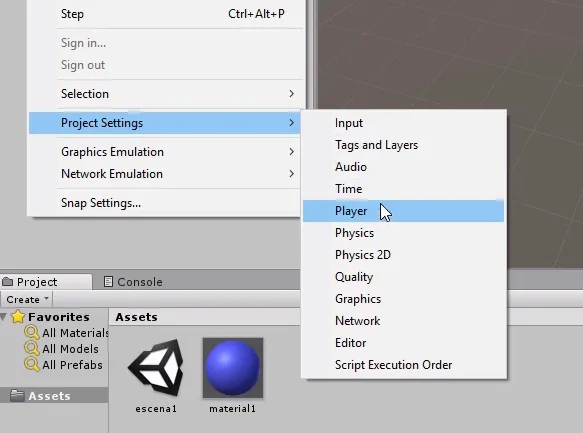
Here we can enter our brand, the name of the game, icons, Google Play keys, among other things.

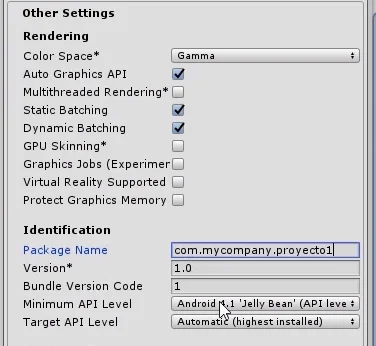
At this time we are interested in creating an APK version of the game to test on an Android device, so let’s go directly to the “Other Settings” part and in the field called “Package Name” we have to indicate an identification name that will have in Android.
This is mostly to differentiate our application from all others in existence. The structure of this name should be like this: “com.Company.ProductName”.
For example if GameDevTraum creates a game called “Maze”, the name of the package could be: com.gamedevtraum.maze. It does not need to match a web domain.
In figure 13 we see that I simply used the name: com.mycompany.proyecto1 and this already allowed me to create an Android build.

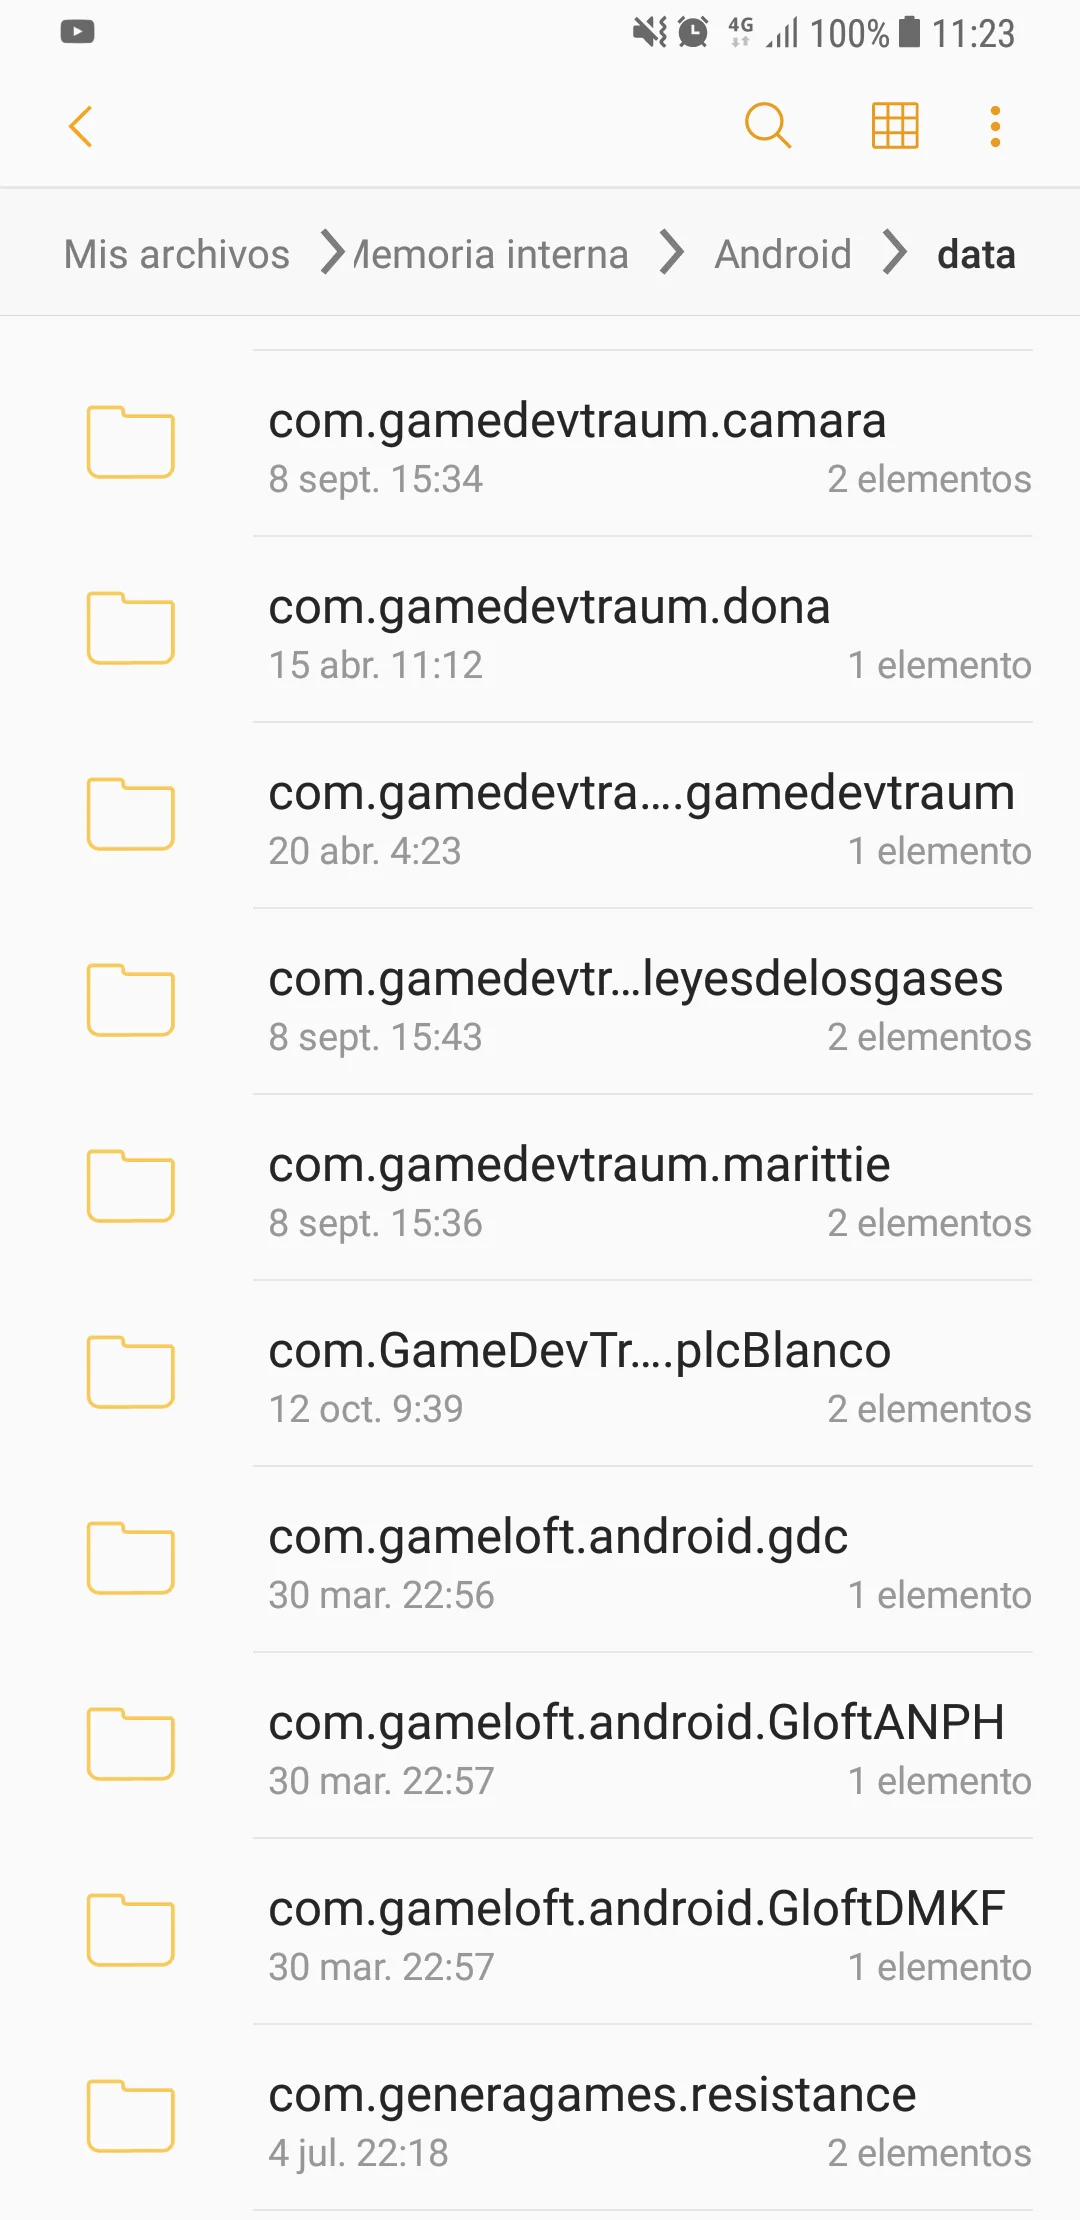
This package name will appear for example in the Android folder of our device.
With this we can basically export our game from Unity to Android, go back to the Build Settings window and click on Build and Run.
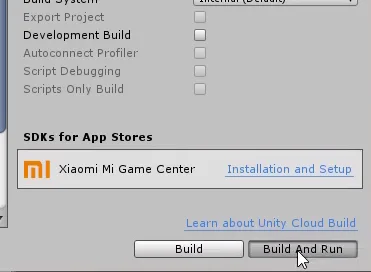
Here we must enter a location and a name for the final file. When you hit Save, the compilation process begins and when it finishes, you have an .apk file that you can install on an API-compatible Android device.


Unknown sources
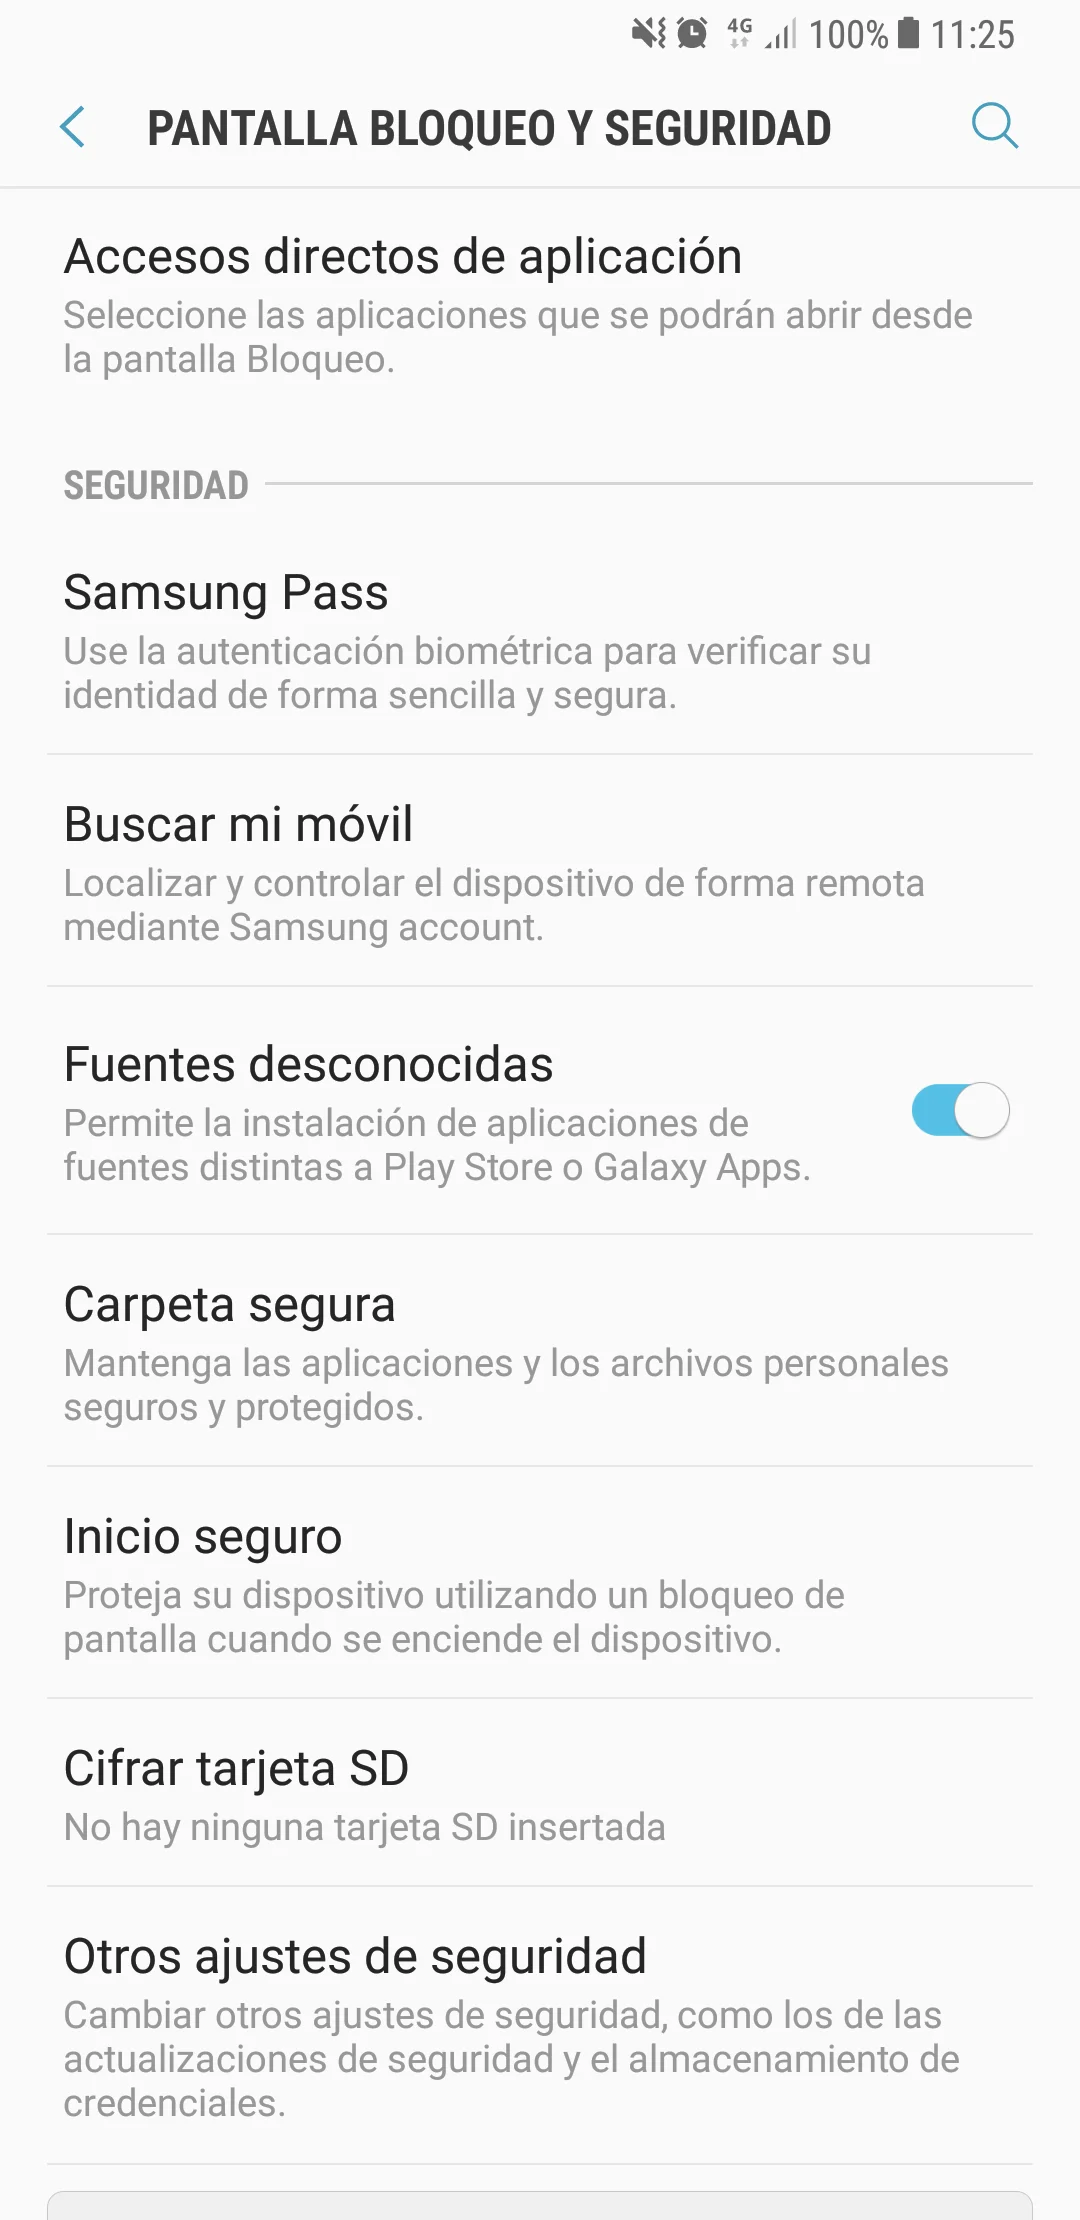
By default Android devices reject applications that come from unknown sources, i.e. that are not signed and approved.
To test our game we must allow this type of application to be installed. We can do it from the Android configuration, in my case from “Screen Lock and Security”. You can also do it from the installer and indicate that it is allowed only for that particular installation, that way we will keep rejecting applications from unknown sources.
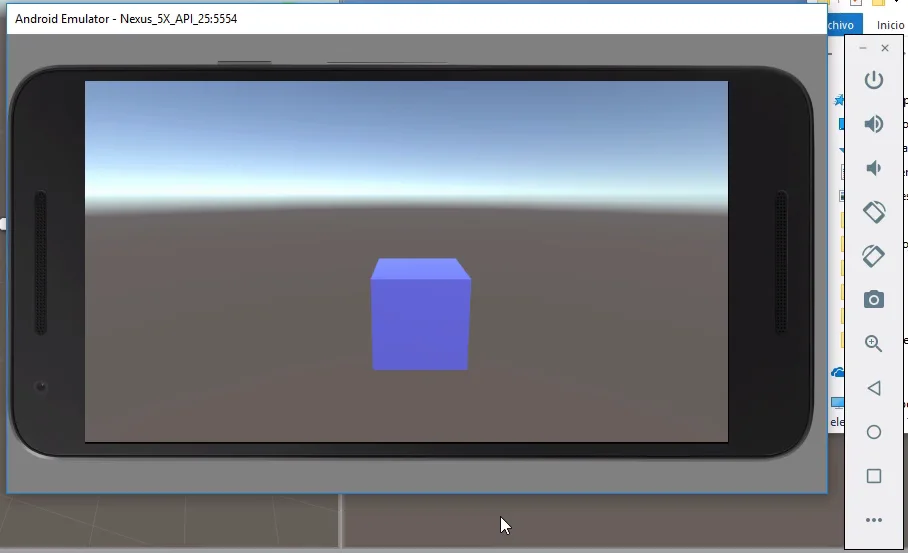
We installed the application on our Android and can now test it. In my case I used directly the Android Studio emulator, as you can see in figure 19.
Development Kits Downloads
Android SDK
On the Android Studio download page you can get the Android SDK.
There are two ways to install it, one is to download and install the complete Android Studio program. The other way is to download only the Android SDK, scrolling on the same page you will find the downloads. Figures 20 and 21.


Java Development Kit (JDK)
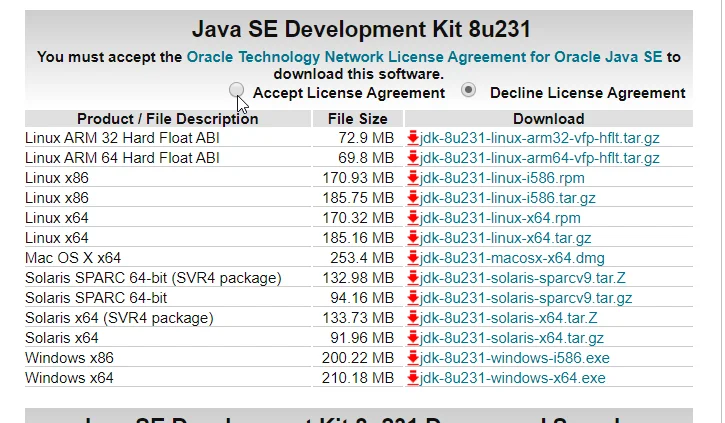
You can download this JDK from the Java Development Kit download page. In figure 22 we see the download page, we must accept the license terms and then choose the appropriate package for our operating system.
Environment Variables
Some years ago it was necessary to manually add some Environment variables to the operating system in order to create Android applications. I think this is no longer necessary, but anyway if all the above has not worked I leave you some information about these environment variables to guide you and you can find a solution.
In the following video you can see how to check if you already have this environment variable defined and how to define it if not.
ADD Environment Variables to the system
👉
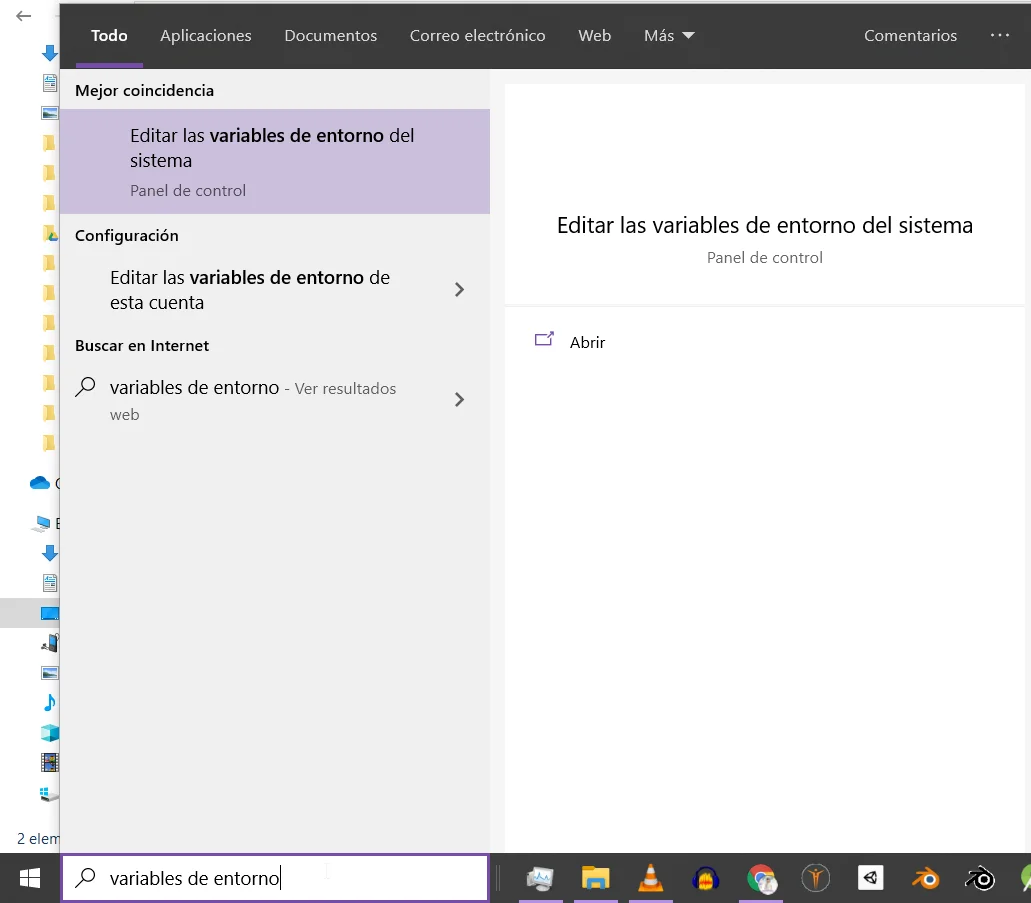
If we write “Environment Variables” in the Windows search bar, the option “Edit system environment variables” appears, as shown in figure 23.
When entering this option, the system properties window appears and there we have a button to view and edit the System Environment Variables.
In my case it was not necessary to add them manually so I will not go further than this, with this base you can search the web for some solution to the particular problem you have.