
Introduction
The first step is to install the Unity engine and the necessary tools to start developing video games and applications. In this article we will review the fundamental steps to install and configure the Unity engine, and we will also make a “standalone” compilation for Windows, that is, a version of the project that can be executed without the Unity engine.
How to install Unity engine and tools for different platforms
Step 1: Download and install Unity HUB
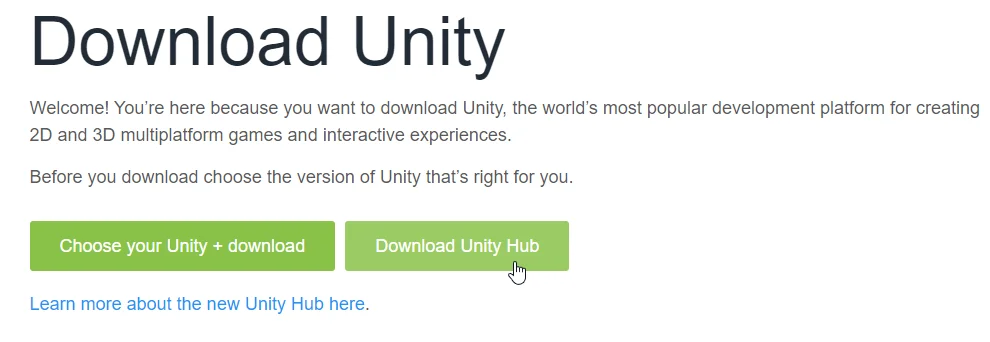
Unity HUB is an application that allows us to manage the different versions of Unity, its modules and the projects we do. Unity HUB can be downloaded by clicking on this link. The following image is a screenshot of the previous link, clicking on the “Download Unity Hub” button starts the download of the application.
Step 2: Install Unity engine version
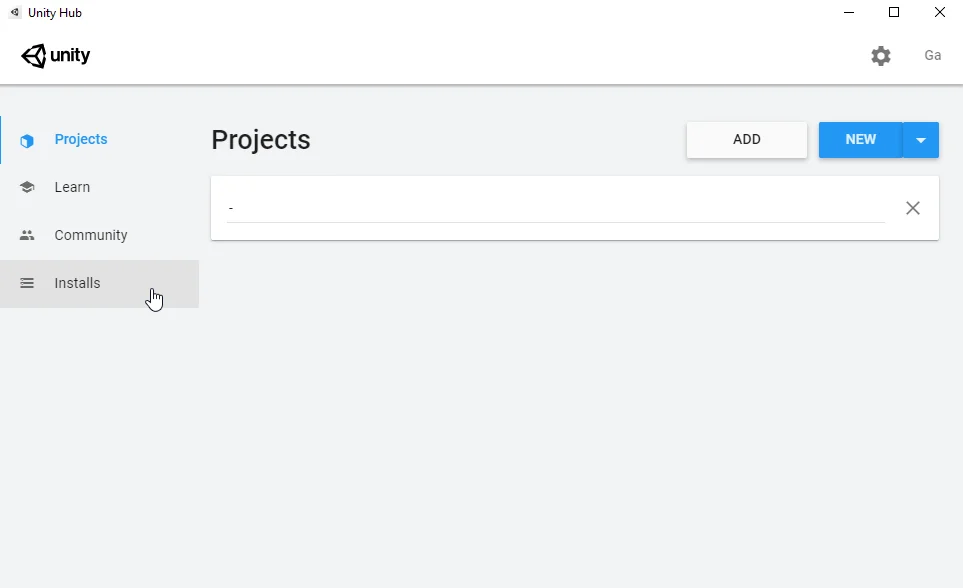
Once Unity HUB is installed, open it and go to the “Installs” section, as shown in figure 2.
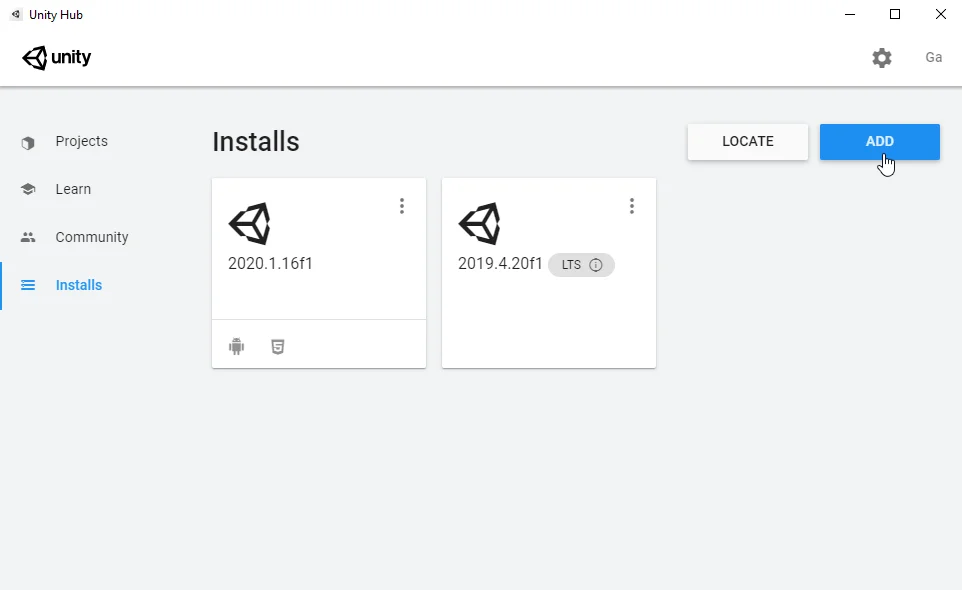
The “Installs” section contains the already installed versions of the engine, we can remove them, add modules and also add new versions of Unity using the “Add” button as shown in figure 3.
This displays a window where you can choose the engine version. The versions that have “(LTS)” are the most stable versions of the engine, I usually install the latest official version of Unity and also the latest LTS version, if it is an important project I use the latter.

Step 3: Adding modules to the Unity version
Modules extend the functionality of Unity and can be added at any time, not necessarily at the time Unity is installed.
Visual Studio is the official script editor used with Unity, although other editors can be used if preferred.
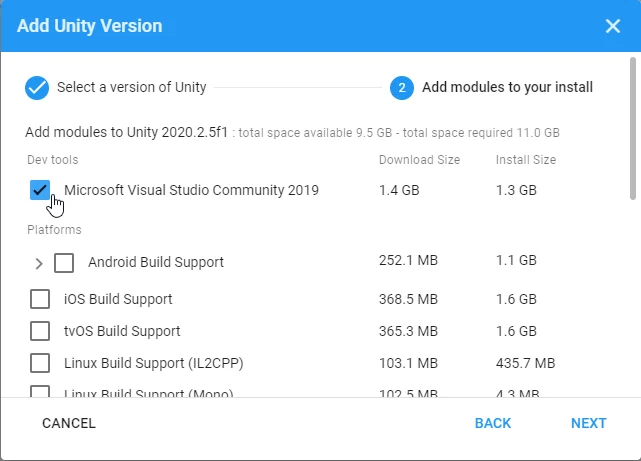
Depending on our target platform will be the modules that we have to install, by default the engine exports for the Windows operating system.
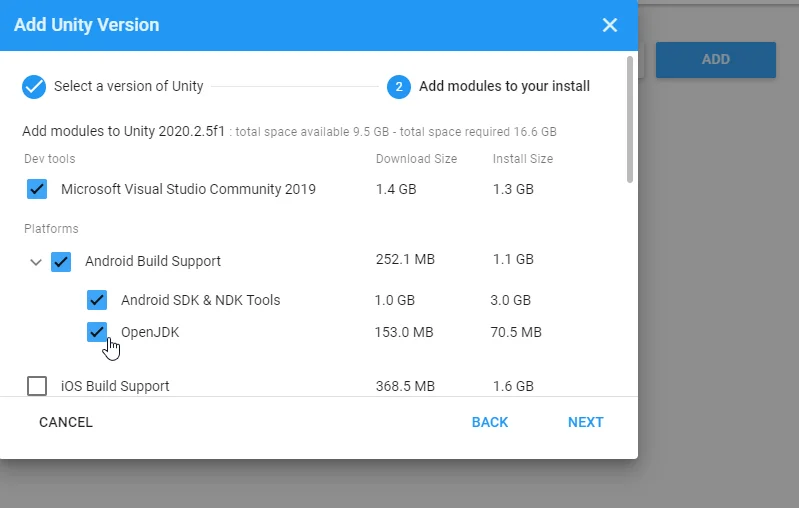
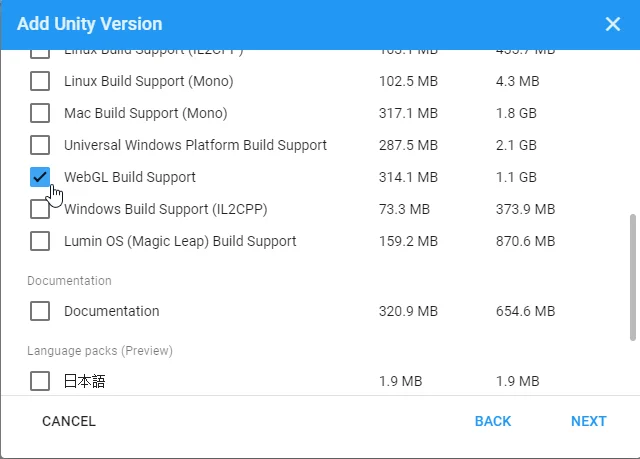
If you want to export for Android mobiles and publish games and applications on Google Play, you need the modules shown in Figure 6: Android Build Support, Android SDK & NDK Tools and the OpenJDK module. If you want to export games and applications that work in browsers, on pages such as Itch.io or on a web page of your own, you need to install the WebGL Build Support module.
Once the modules are chosen, click the Next button, accept the terms and conditions and the installation begins.
Step 4: Finish installation and create new project
When the installation is finished, the new version appears in the “Installs” tab (figure 3), by clicking on the three dots in the upper right corner of each version you can add new modules or delete the version.
Now if we go to the “Projects” section we can create a new project using the “New” button or the arrow on the right, this last action allows us to choose the engine version to create the new project, as shown in figure 9.


When creating a new project, the window shown in Figure 10 opens, there we can give the project a name, choose the template that best suits what we want to do, choose the location of the project files and finally create the project with the “Create” button.
