Introduction
In this article we see how to generate a standalone version of our project for Windows, that is to say a program that can be executed without the need to have the Unity engine opened, this is the final result we are looking for, a version of the game or application that can run on any computer of the platform for which it was compiled.
How to create a Windows build from a project in Unity 3D
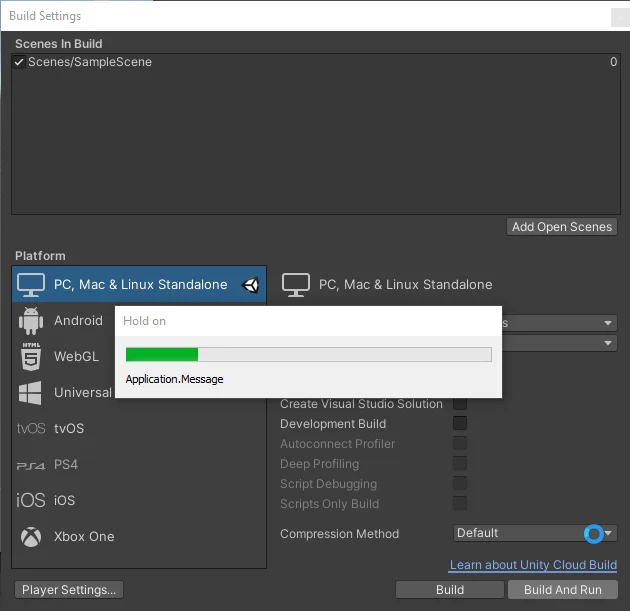
We start by going to the File > Build Settings tab, this will open the “Build Settings” window shown in Figure 1. Here we can configure some compilation parameters, such as the scenes to be added and the target platform.
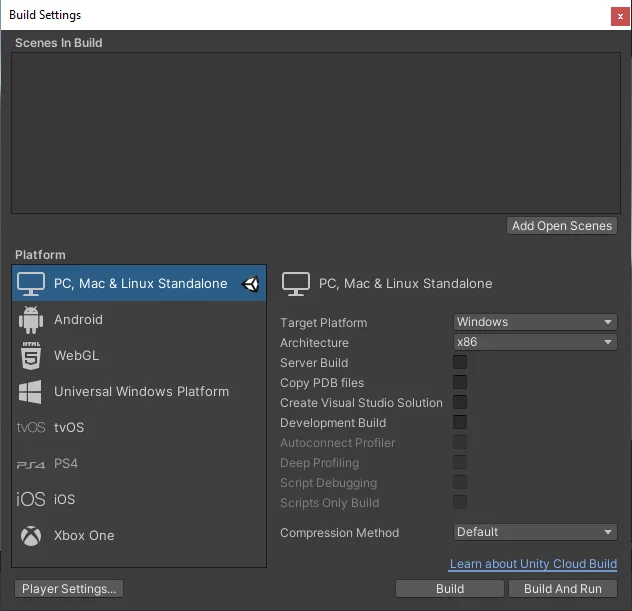
Let’s click on the “Add Open Scenes” button to add the current scene to the compilation (a blank scene that comes by default). The scene placed in position 0 will be the one loaded at startup, so if we have multiple scenes we will have to reorder them accordingly.

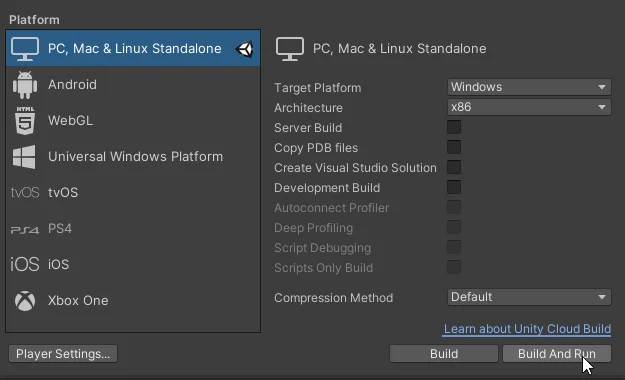
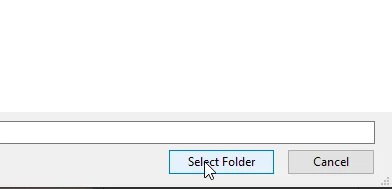
The next step is to click on the “Build and Run” button, this will display a window in which we will select the destination folder to export the files of the game or application. In my case I usually create a folder called Builds in parallel to the Assets folder of the project itself, but you can choose any folder you want, make sure you remember where it is located so you can use the files later.
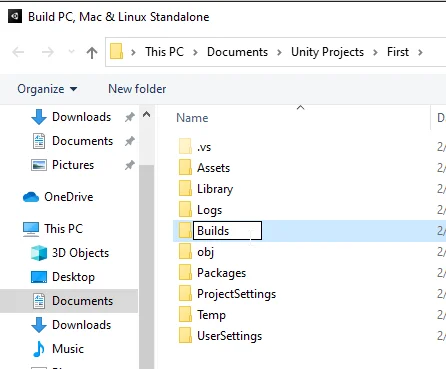
When we have chosen the destination folder we click on “Select Folder” to confirm.
At this point the compilation process begins, which will take more or less time depending on factors such as the complexity of the project, the target platform and the hardware of our computer.
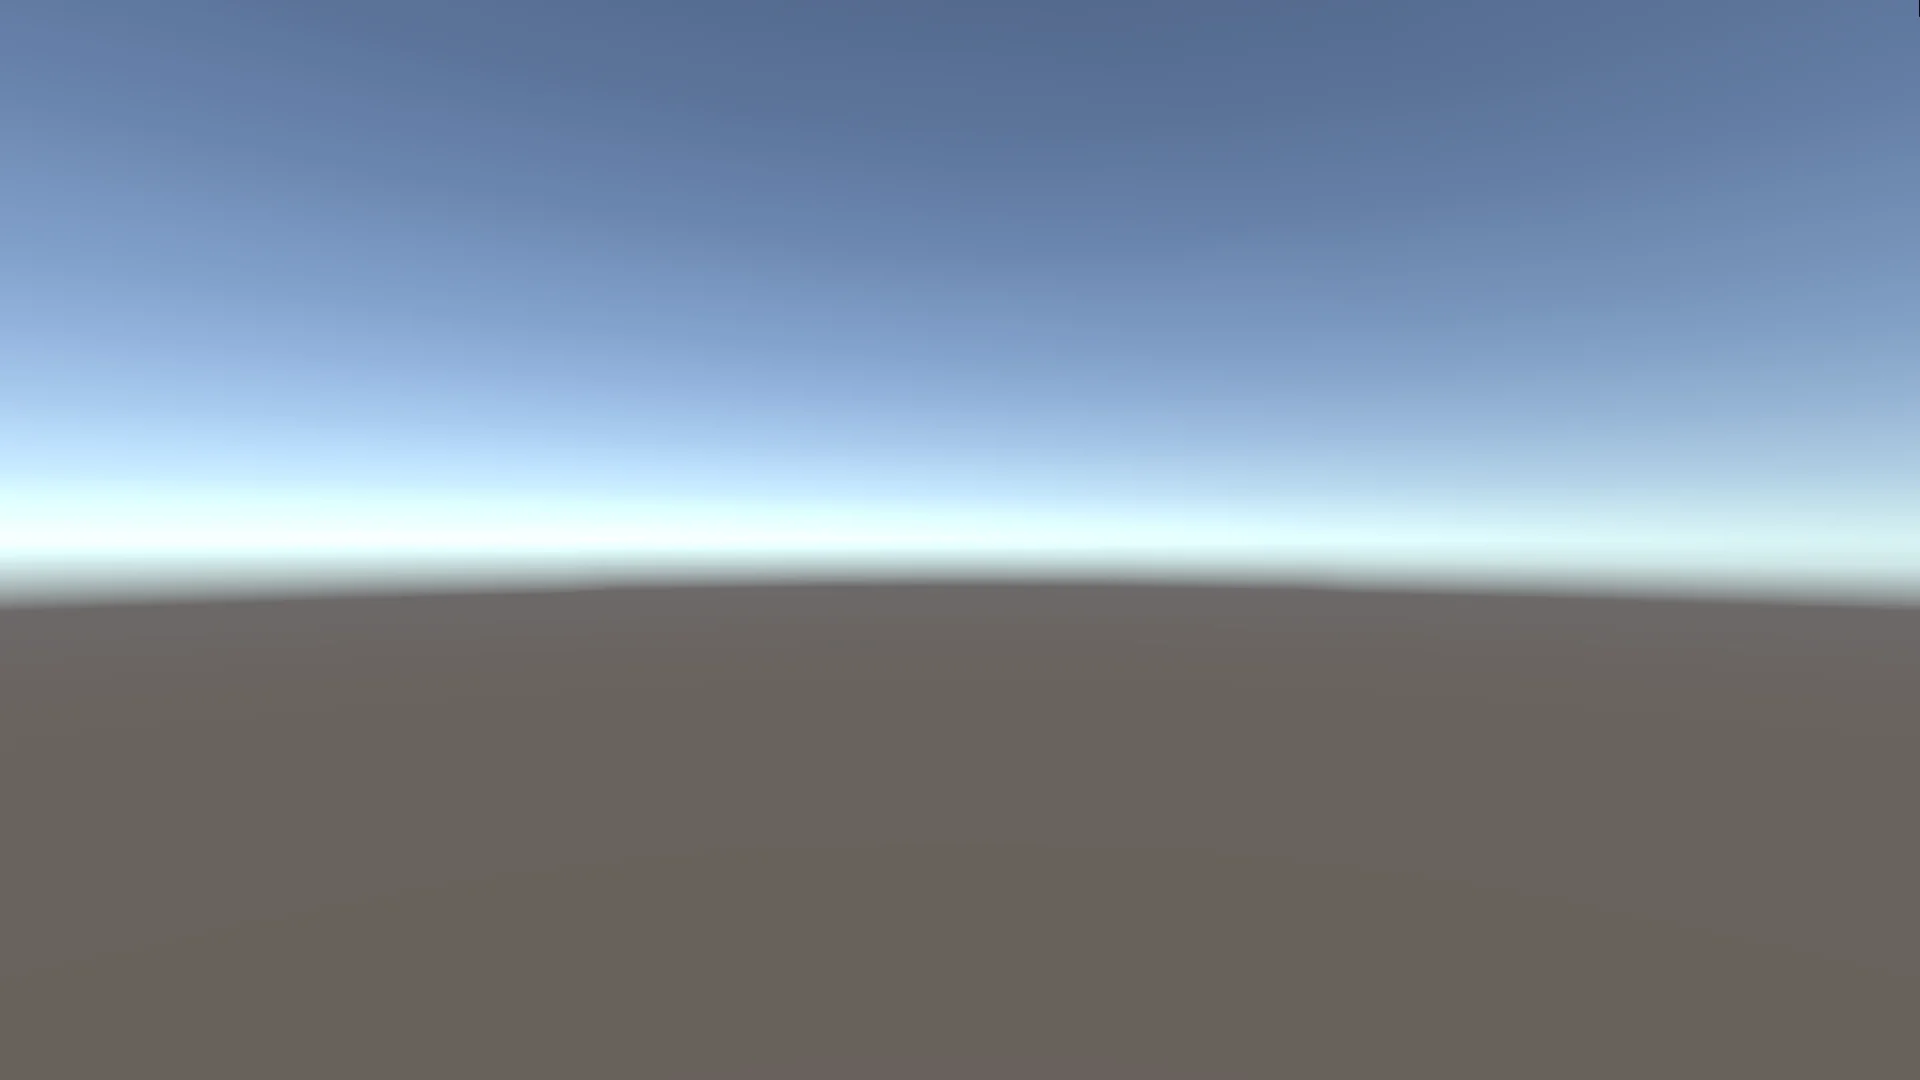
When the compilation process finishes the application opens automatically, in figure 7 we can see it, in this case it is simply a blank scene.
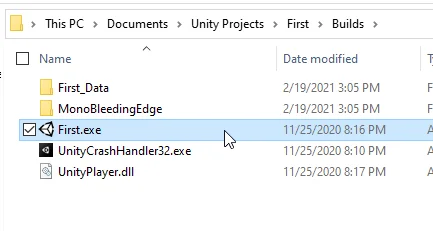
If we go to the folder that was chosen for the compilation we will find the game or application files (figure 8). These files can be shared and will work on other computers that use the platform for which it was exported and meet the minimum hardware requirements.