Introduction
In this article we are going to see how to create a simple 3D text in Blender from any font of your choice either from the Fonts folder of the system or any downloaded font from the internet. The procedure consists of creating a Text object that is a resource that Blender has to generate texts and configure different parameters such as alignment, font size and others. With this we obtain an editable text, from there we can convert that object into a Mesh, that is to say a 3D model with vertices, edges and faces.
For a visual breakdown of this subject, you may find my video discussion helpful.
Summary: How to create simple 3D text in Blender
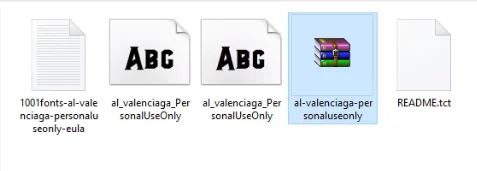
1. Get the font file to be used. It can be a font from the Windows > Fonts folder, or a downloaded font, from pages like 1001Fonts or DaFont for example.
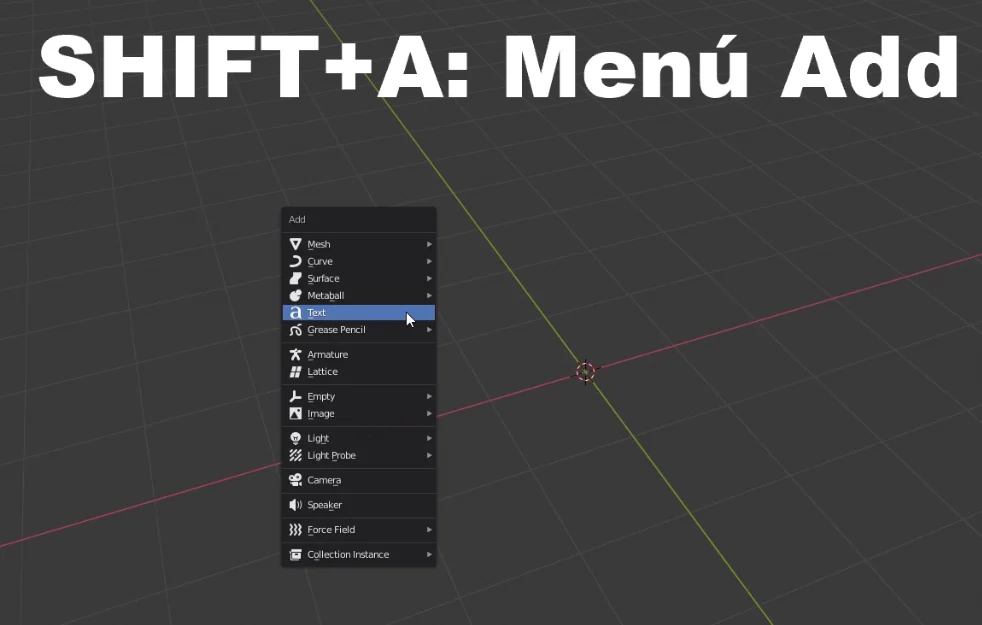
2. In Blender, while in object mode, press SHIFT+A and add a “Text” object.
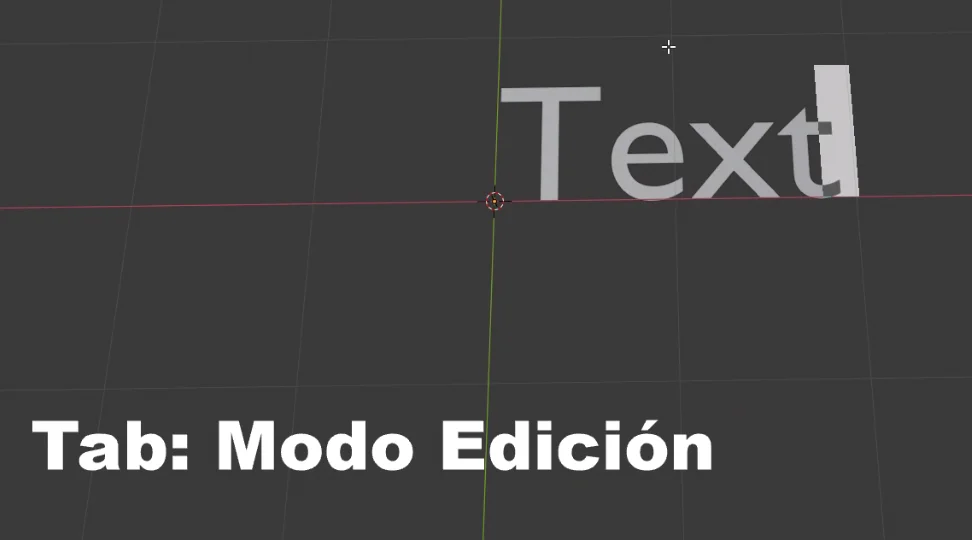
3. With the text object selected, enter the edit mode with the TAB key and write the text.
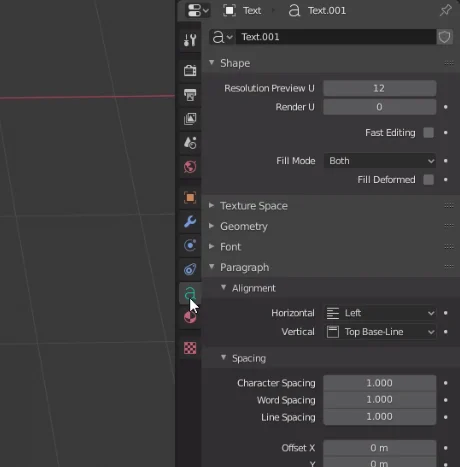
4. In the properties window (the window where you select the rendering engine or create materials), go to the “Text“ tab, which has an icon with the letter “a”, there you can select the font in the “Font” section and modify other text properties such as alignment.
5. In the same “Text” tab go to the “Geometry” section and increase the “Extrude” parameter, with this we will be able to modify the volume of the text.
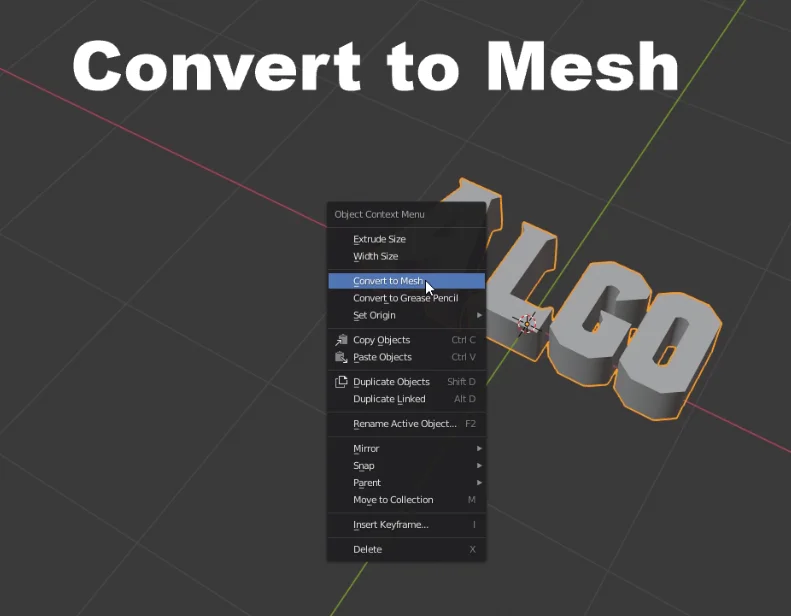
6. When we finish editing the text we return to object mode, right click on the text and choose the option “Convert To Mesh“. This will turn the “text” object into a 3D model with vertices, edges and faces that we can edit.
Detailed procedure for making 3D text in Blender
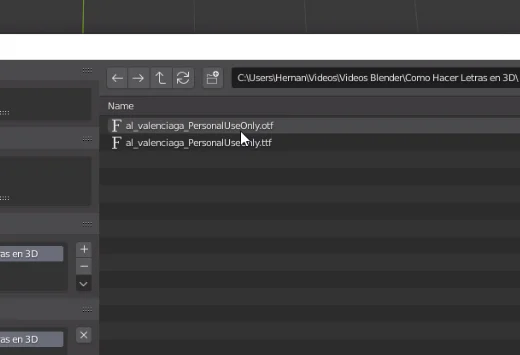
In my case I’m going to download a font from the “1001 Fonts” page. If the font you like is already installed on your system, you can find it in the path “Windows/Fonts/”. Make sure you know the location so you can locate it in Blender.
In object mode, press SHIFT + A and add a new text, as shown in figure 2. Then, with the text selected, press Tab to enter edit mode and write the text you want.
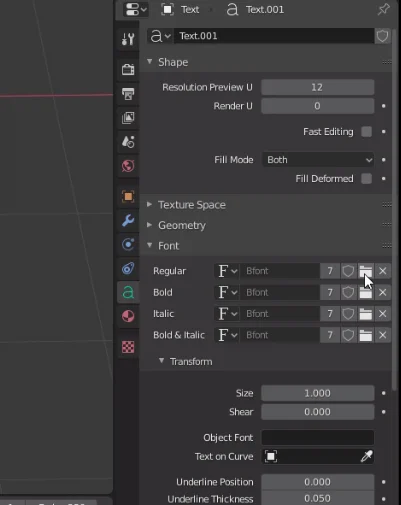
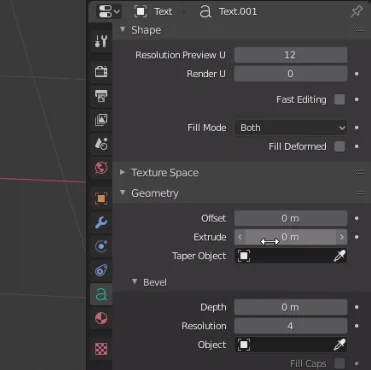
When we have a Text selected a tab appears where we can configure all the properties, we can see it in figure 4. Inside that tab we go to the Fonts section and click on the button to open (figure 5).
Using the explorer we look for the font we have chosen.
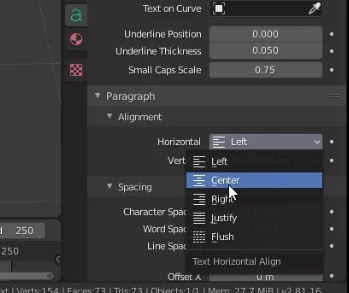
I’m going to center the text on “Paragraph – Alignment” (figure 7) and to make the letters 3D we go to the “Geometry” section and give a non-zero value to “Extrude”.
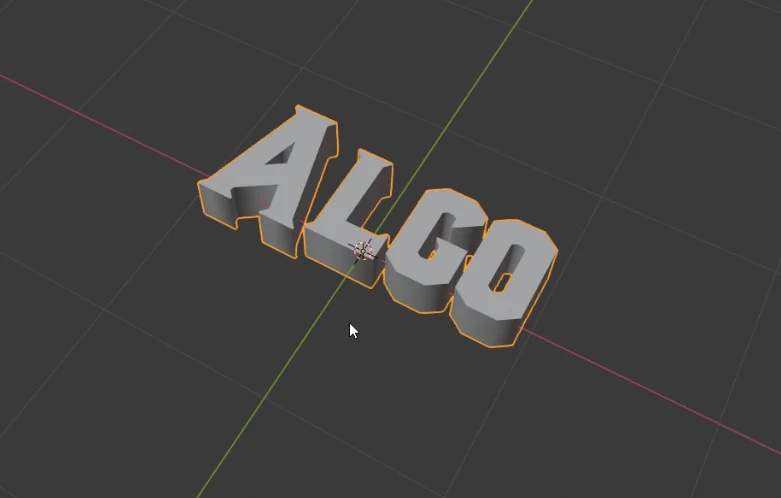
This makes the text now have depth, as we see in figure 9.
Convert Text Object to Mesh in Blender
When we finish editing the text we return to the object mode, right-click on the text and choose “Convert To Mesh”, this will make the text object become a 3D model.
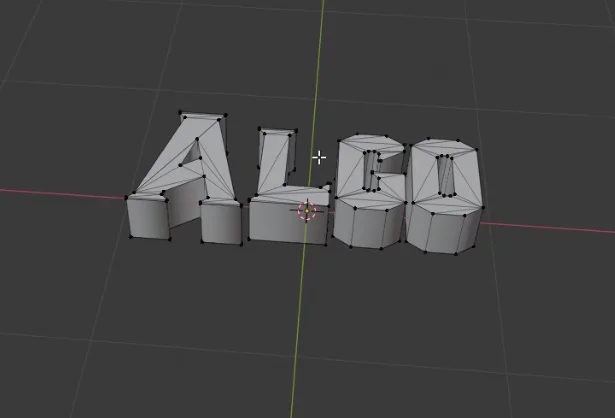
In figure 11 we see the geometry of the 3D letters.