Introduction
Creating the 3D model of a face can be a challenging task, especially when we’re just getting started in the 3D world. In this article we will see an easy and practical way to make a 3D face with a well-achieved geometry in Blender, but the technique can be applied in any 3d design software.
Timelapse of the modeling process of a 3D face
In the following video I use this process to make the 3D model of a Venetian mask. The textures were made using Substance Painter.
Topology
Topology is the discipline that studies objects and their geometric properties. In 3D models it refers to the set of vertices, edges and faces and their interrelation.
It’s very important that our 3D models have a good topology, that way the modifiers, proportional deformation, texture painting and other functions will have better results.
We achieve this by using 4 vertex faces (quads) and creating edge loops that fit the natural curves of the object we want to model. In the figure 1 we see those faces and how they are distributed in the 3d model.

Source: Blender Artist.
If we use this kind of images as reference for our modeling procces we will achieve a 3D model of a face with a correct topology.
Reuse of the 3D model for a character
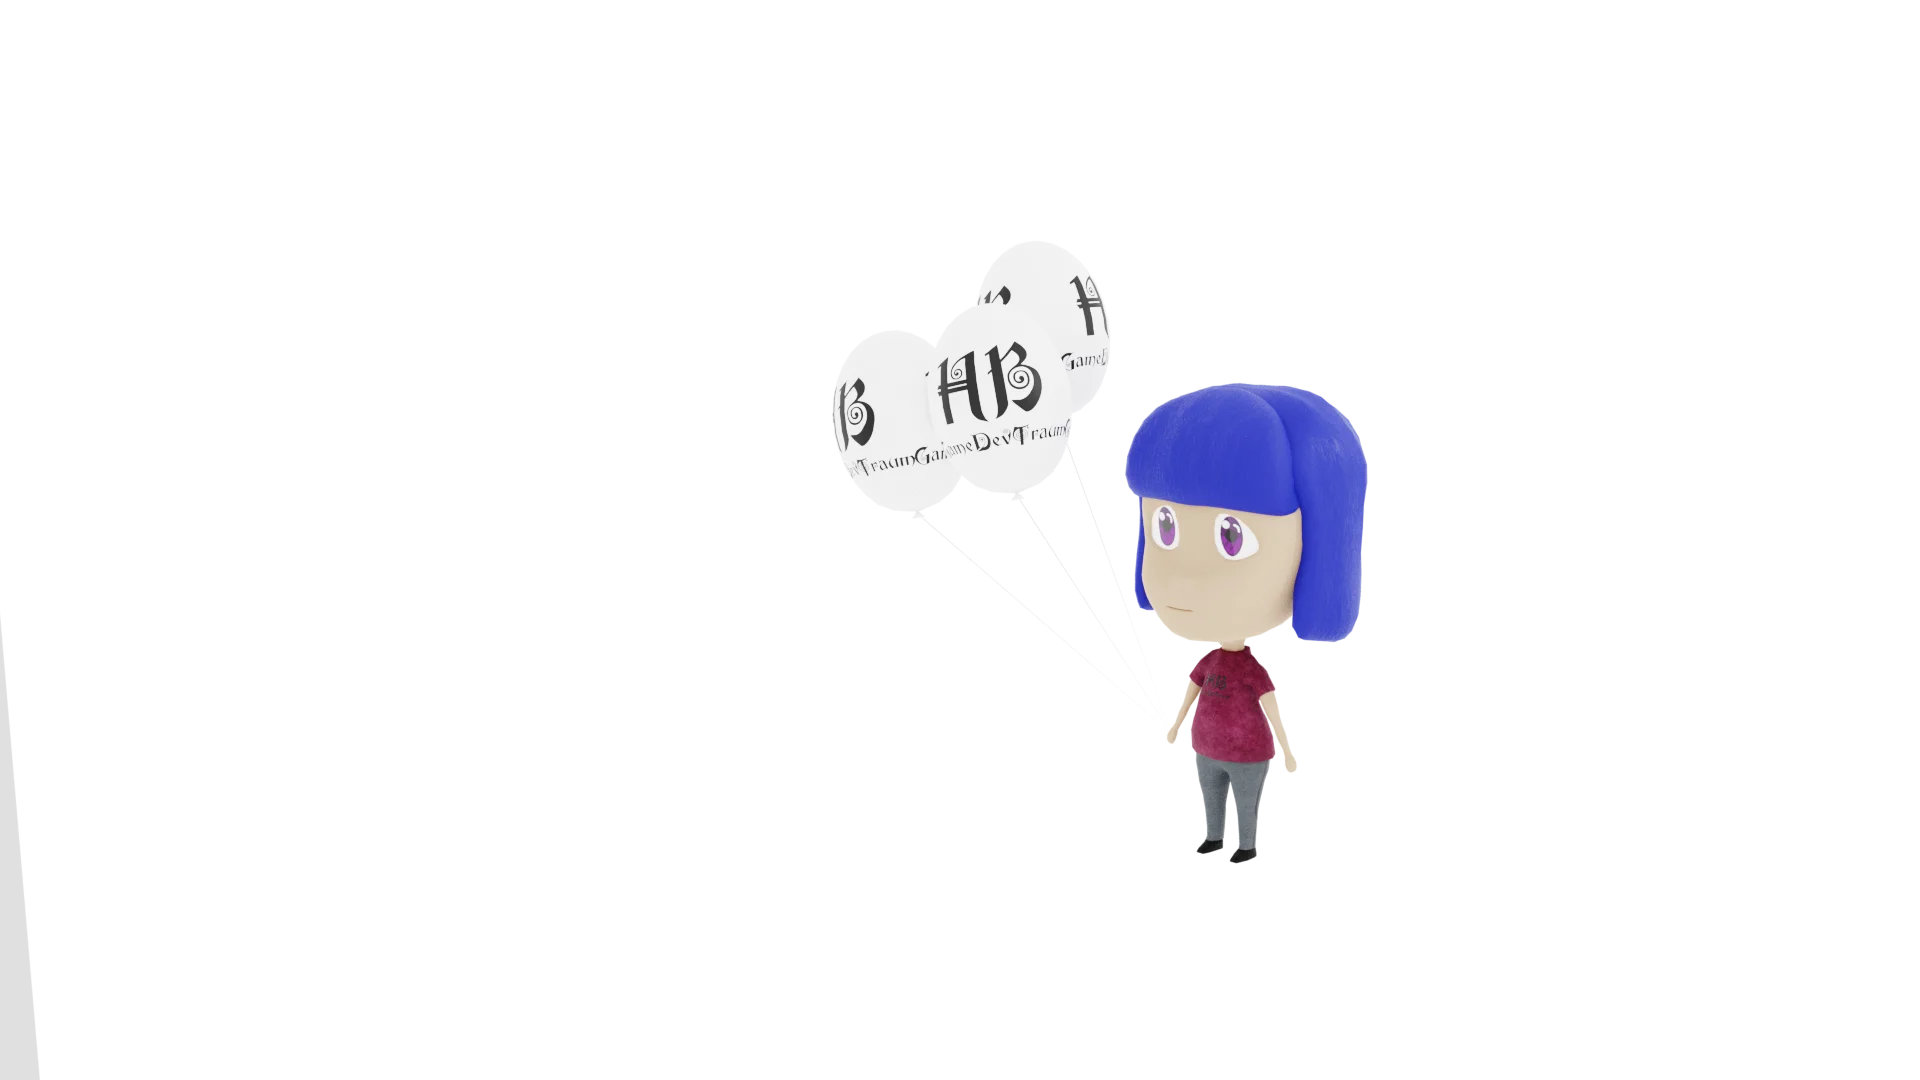
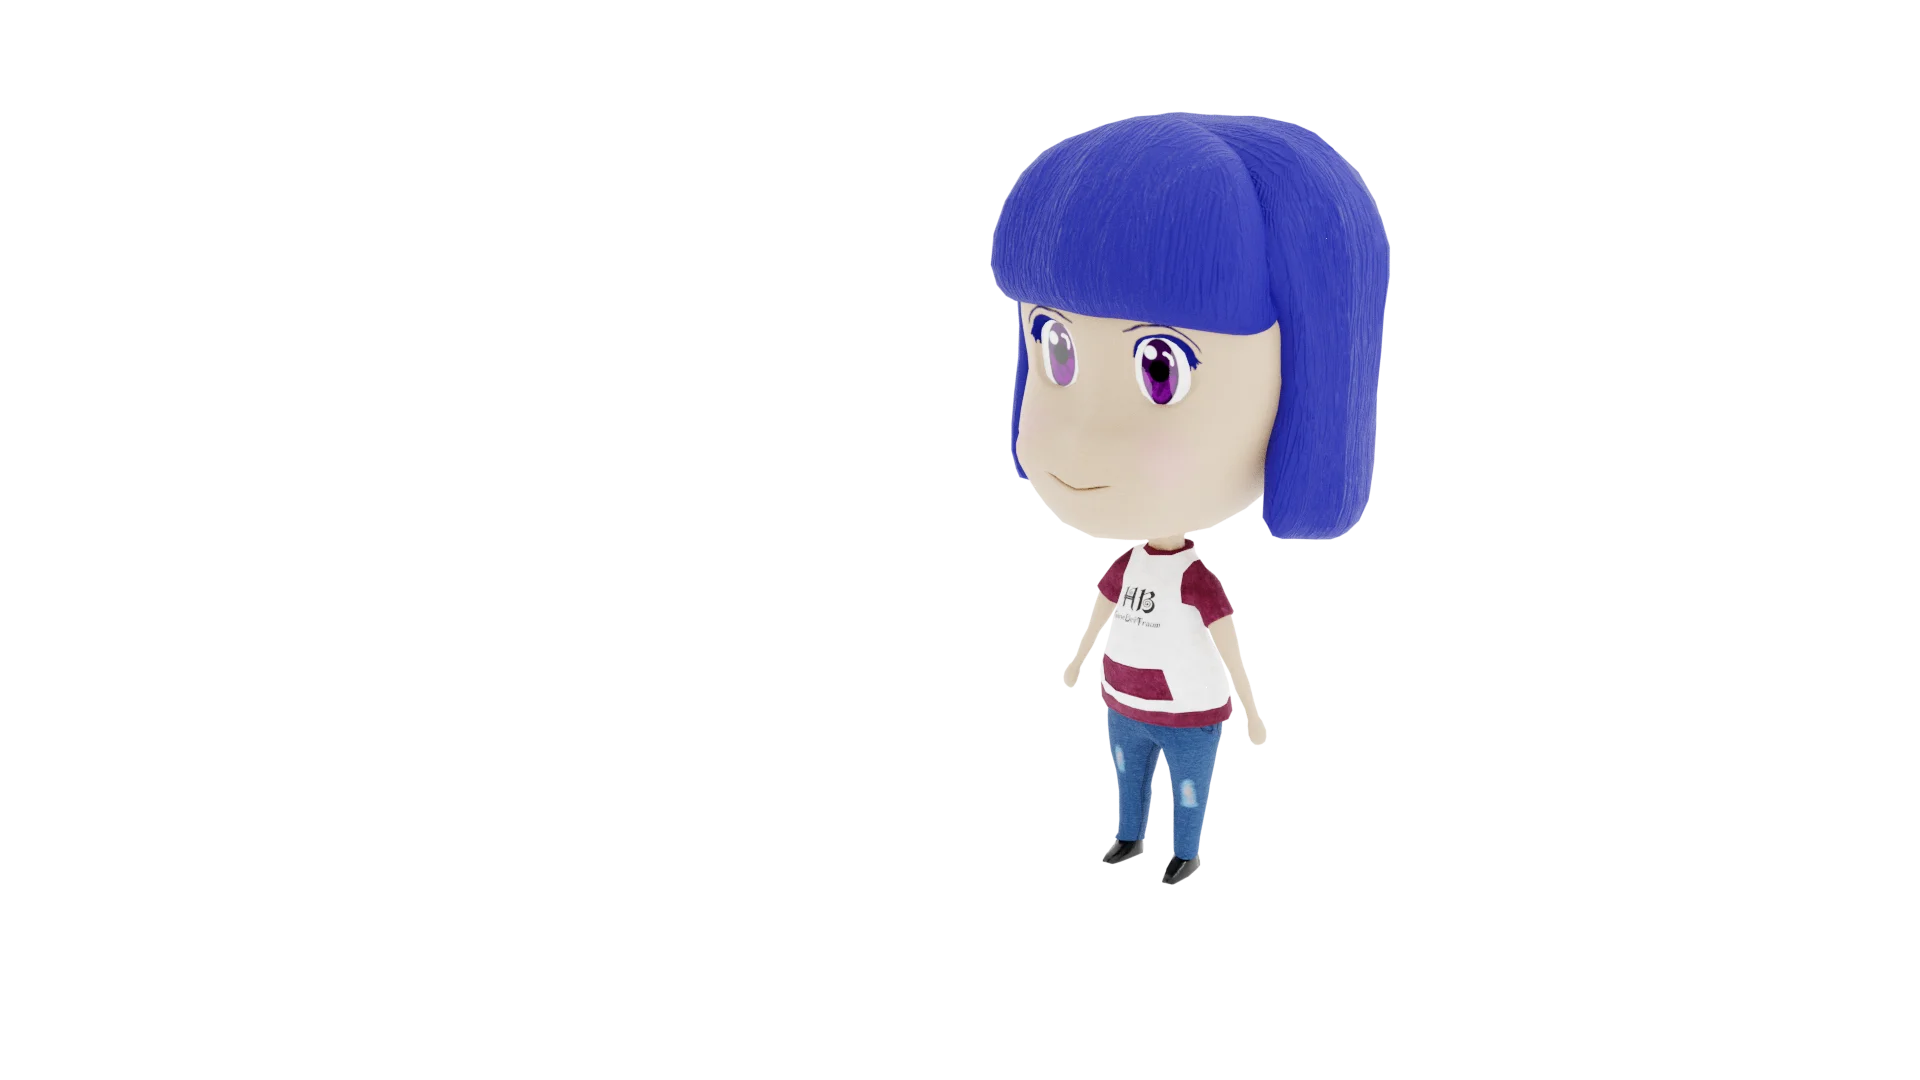
Marittie is a chibi character I made from a drawing my girlfriend made some time ago.
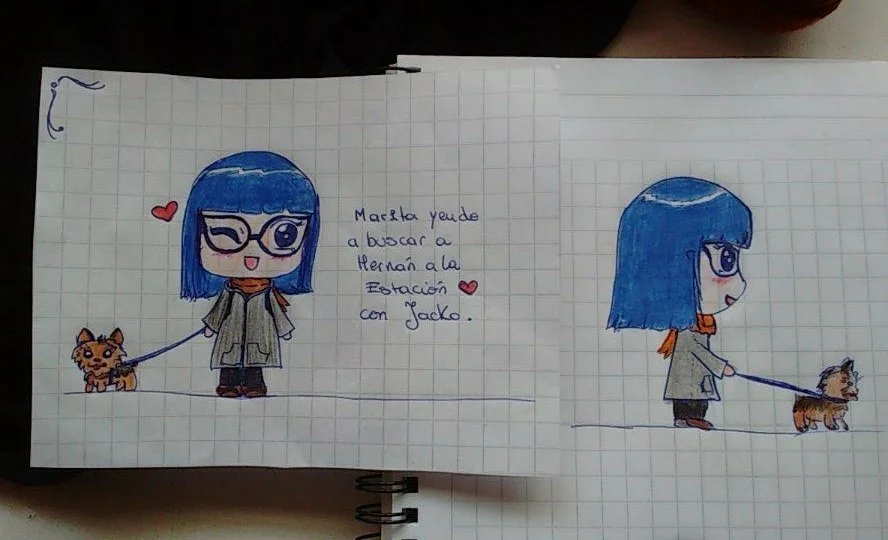
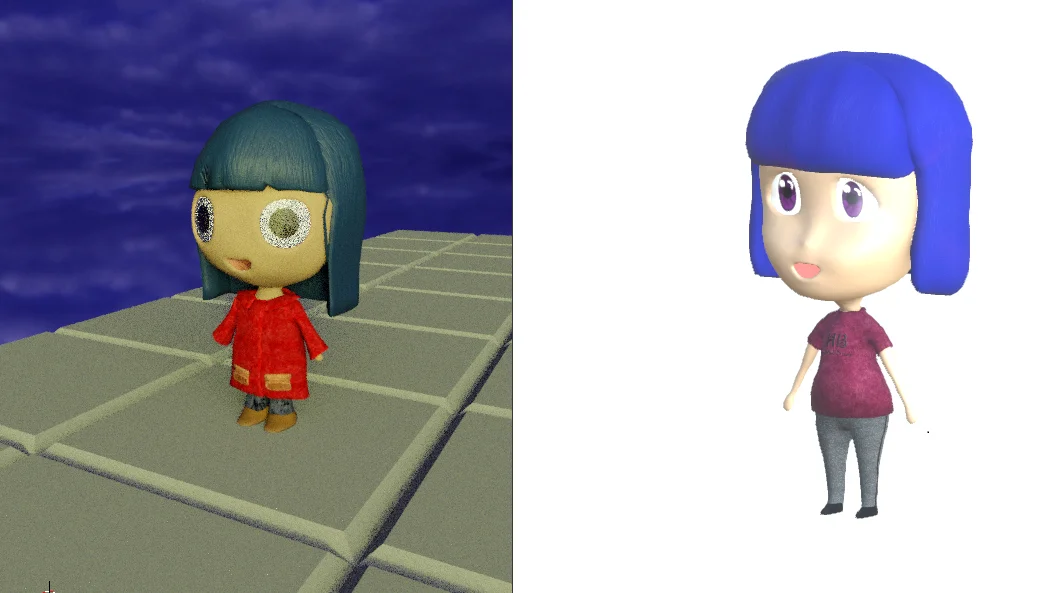
At the time, I had a year’s experience with Blender and was not yet familiar with the concept of topology. However, I managed to make a model and at that time I liked it very much.
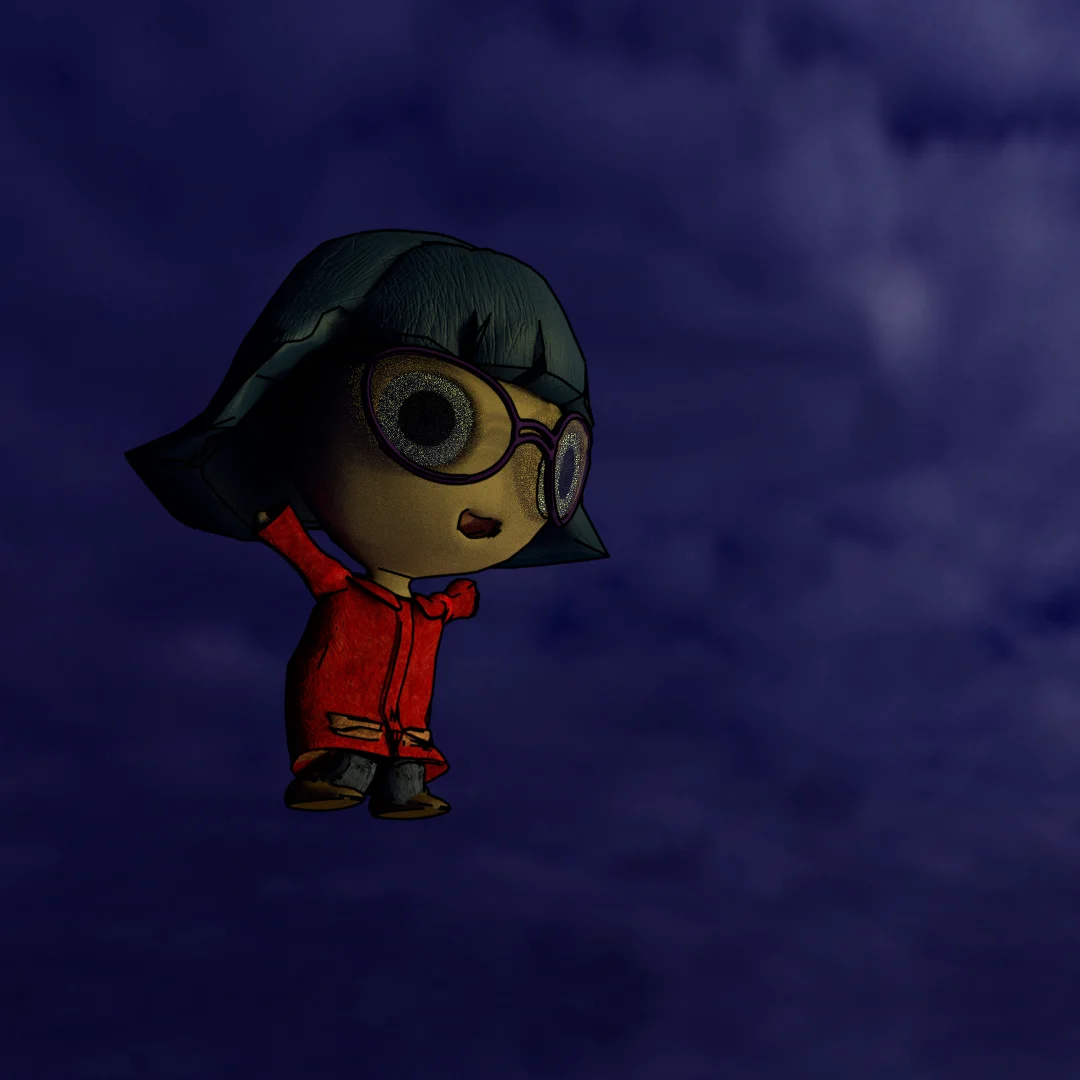
The topology of course was not good. The model had a very high number of polygons, triangles, quads and n-gons, very badly optimized.
The animation was of course difficult to achieve. There were irregularities that were difficult to correct.
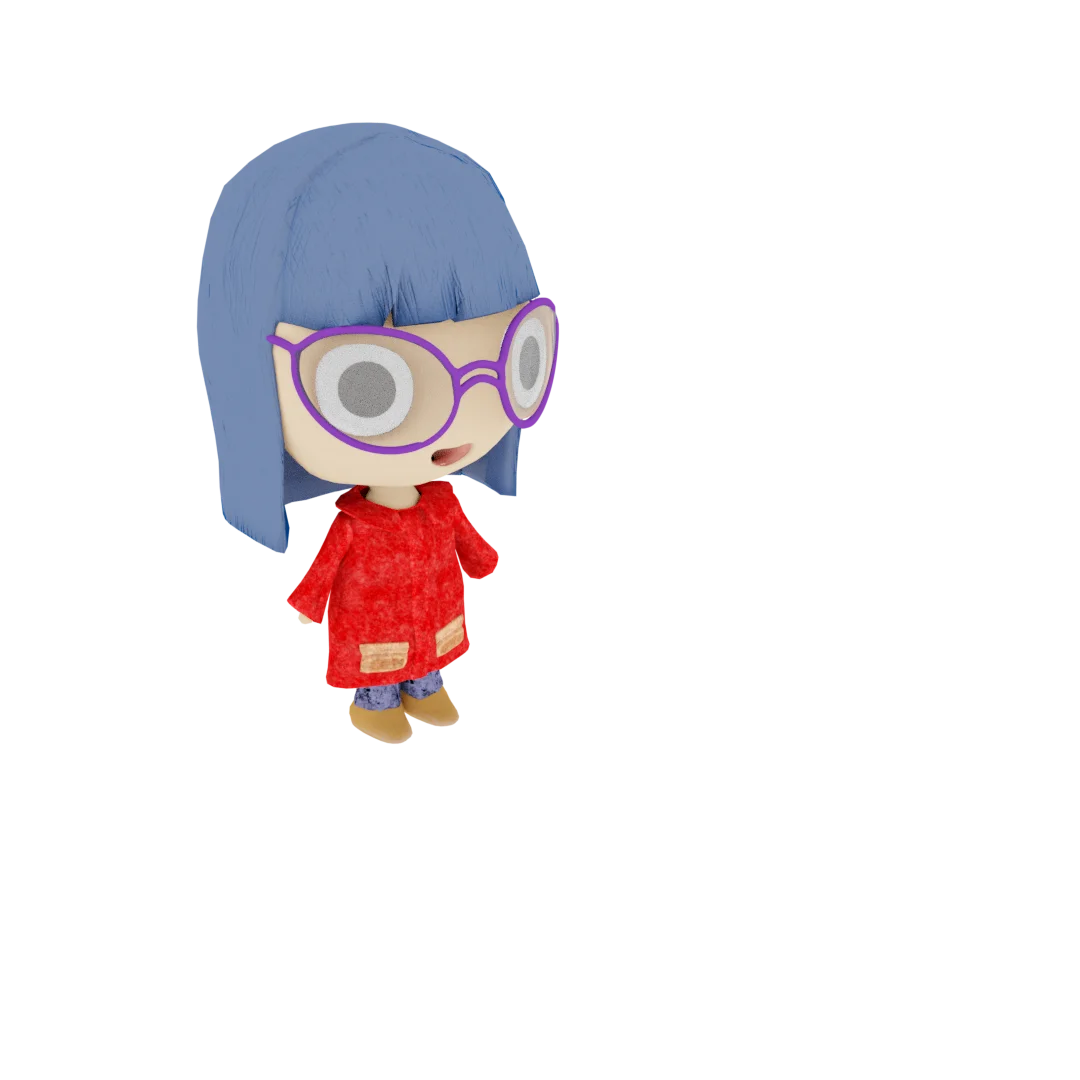
Fig. 4: Another render of the old model.
As time went by I learned to improve the geometry and it was time to remake the 3D model.
I had made the 3D model of the Venetian mask, so I thought why not use this 3D model as a starting point for my character design?
I made a copy of the mask and started applying proportional deformations. As the topology of the face was good, it was easy to transform the Venetian mask into Marittie’s new face.
Conclusion
It is important to achieve a good topology in our 3D models, because that means we can apply transformations to that mesh and it will respond appropriately.
The improved topology of the new model makes animation easier. The proportional deformation tool has better results and also the seam marking and UV unwrapping will be easier.

