I wanted to share a project I did long before I started programming and the world of video games. It’s a computer cabinet made in mdf.
History
I had been making things in mdf, such as sets of chess and boxes that my girlfriend had decorated with decoupage, I liked quite and had ease. One day I was in chemistry class in the university and I showed a friend the little jobs I had done. He was interested and told me that he needed a temporary wooden box to cover his computer because he had not yet got a cabinet and his computer covered it with a cardboard box.
Figure 1 shows a structure for the motherboard and power supply that he made.

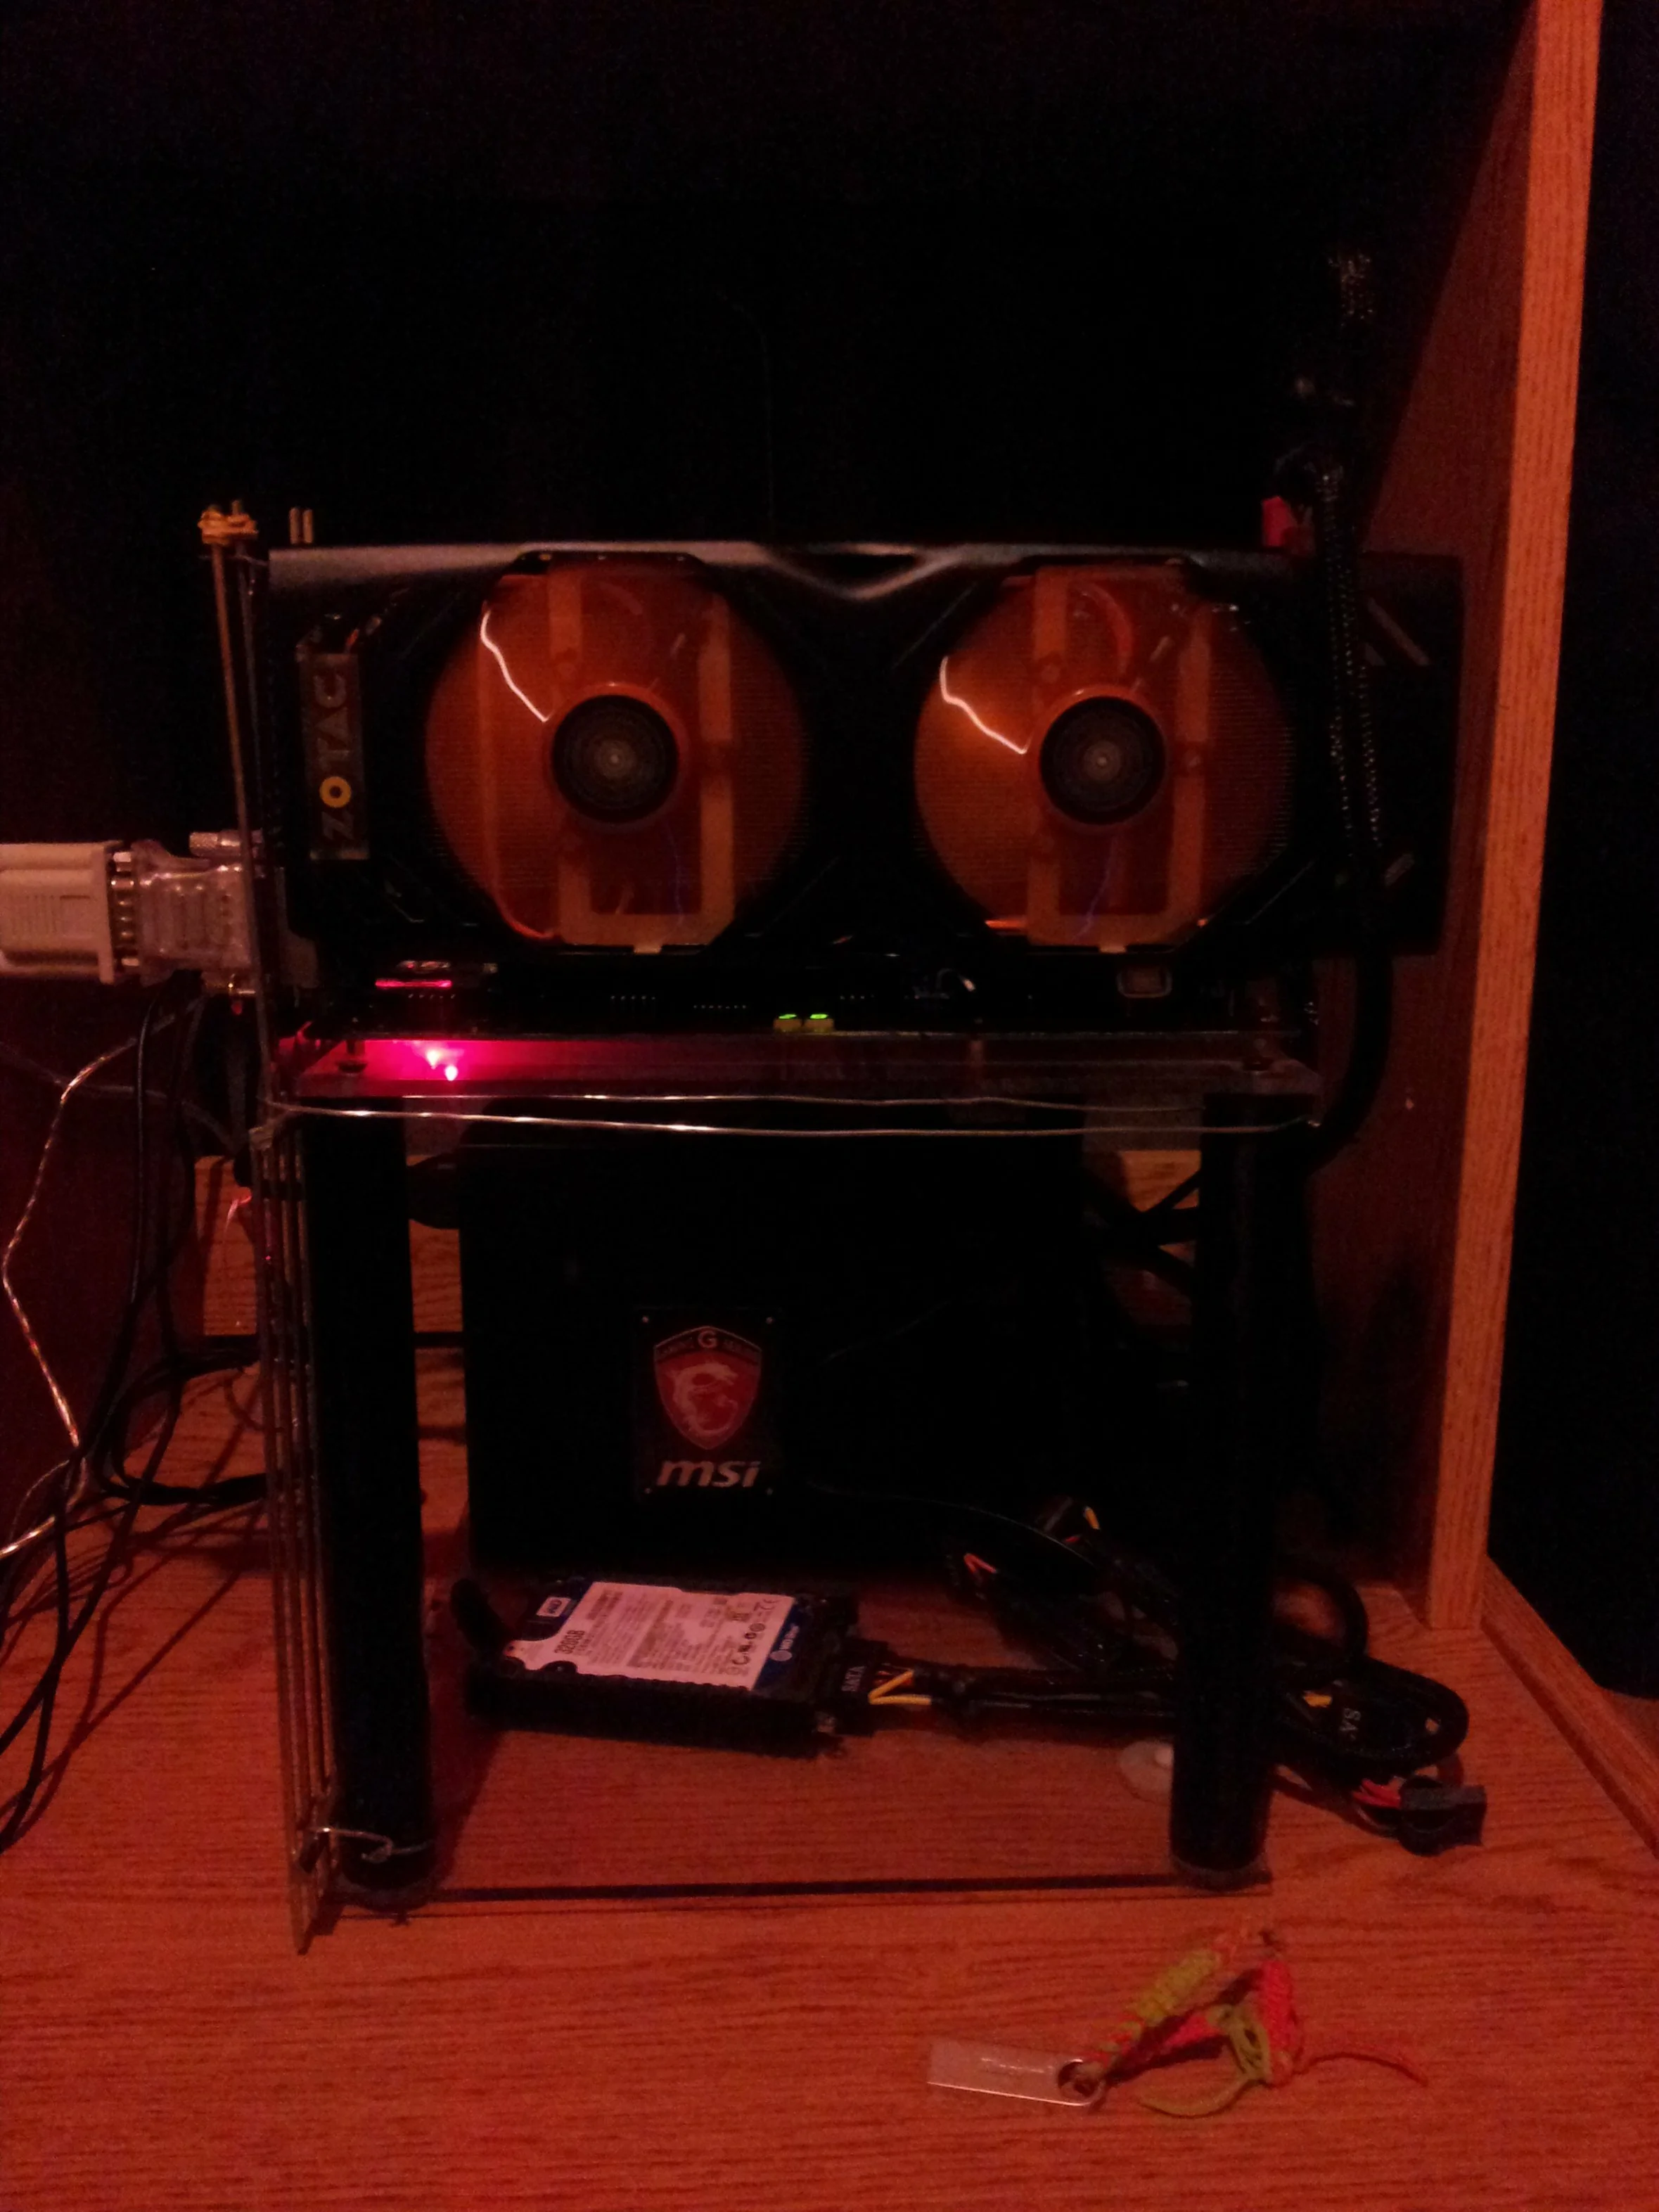
So the idea was to make a box containing that to prevent it from getting dusty.
Design of the MDF PC case
My friend made a design that seemed convenient for ventilation and from that I made a 3D design using SolidWorks (at that time I didn’t know Blender), that was my first approach with 3D modeling without counting that when I was a kid I made maps for Counter Strike using 3D Entity.
With the 3D design we were able to make some renders and adjust it until it became as my friend wanted. From that 3D design I made a plan of 6 views for the cuts of the pieces (I believe that by that time I had also made technical drawing in the university).
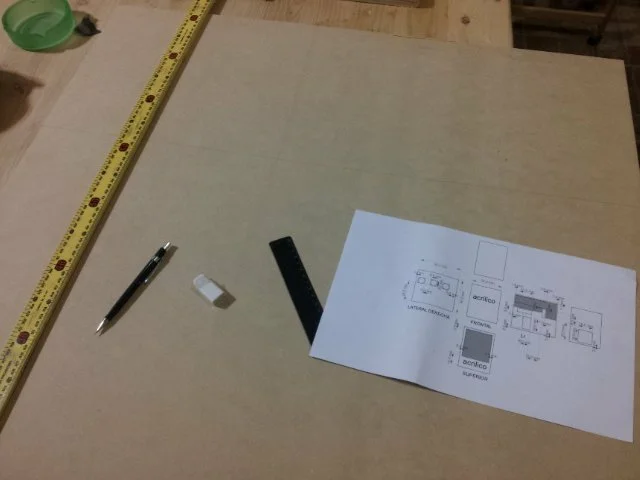
Taking as base the plans, I drew the six pieces on a plate of mdf of 5 mm of thickness, in this part the measures were taken well so that everything is to square.
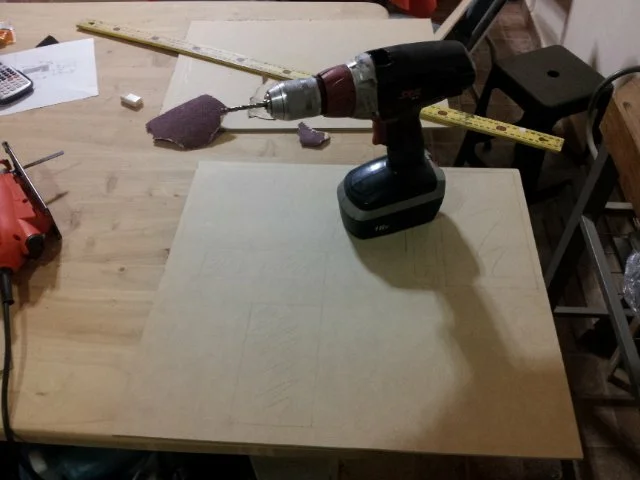
I made all the holes in the internal cuts so that the sheet of the jigsaw enters.
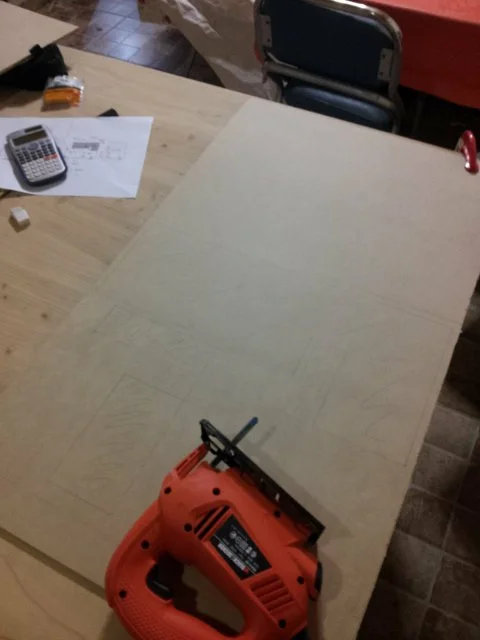
I made the simple cuts using a hand jigsaw and the precise cuts with a bench jigsaw.
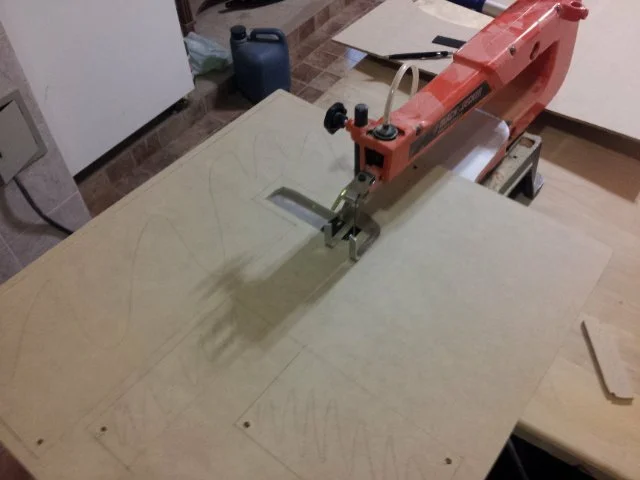
The cuts were made to measure, only not so straight because they were made by hand.
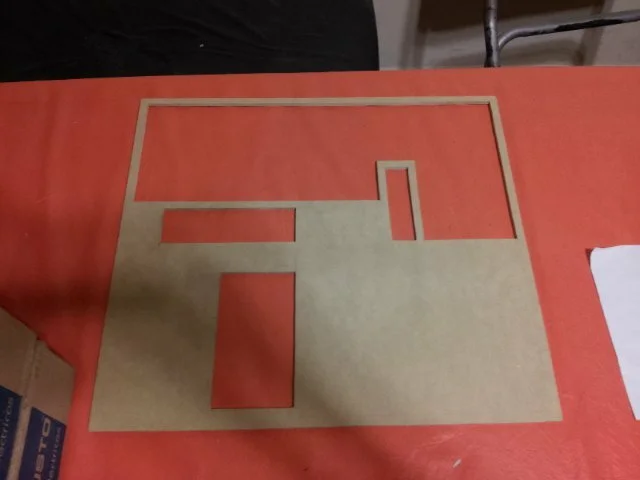
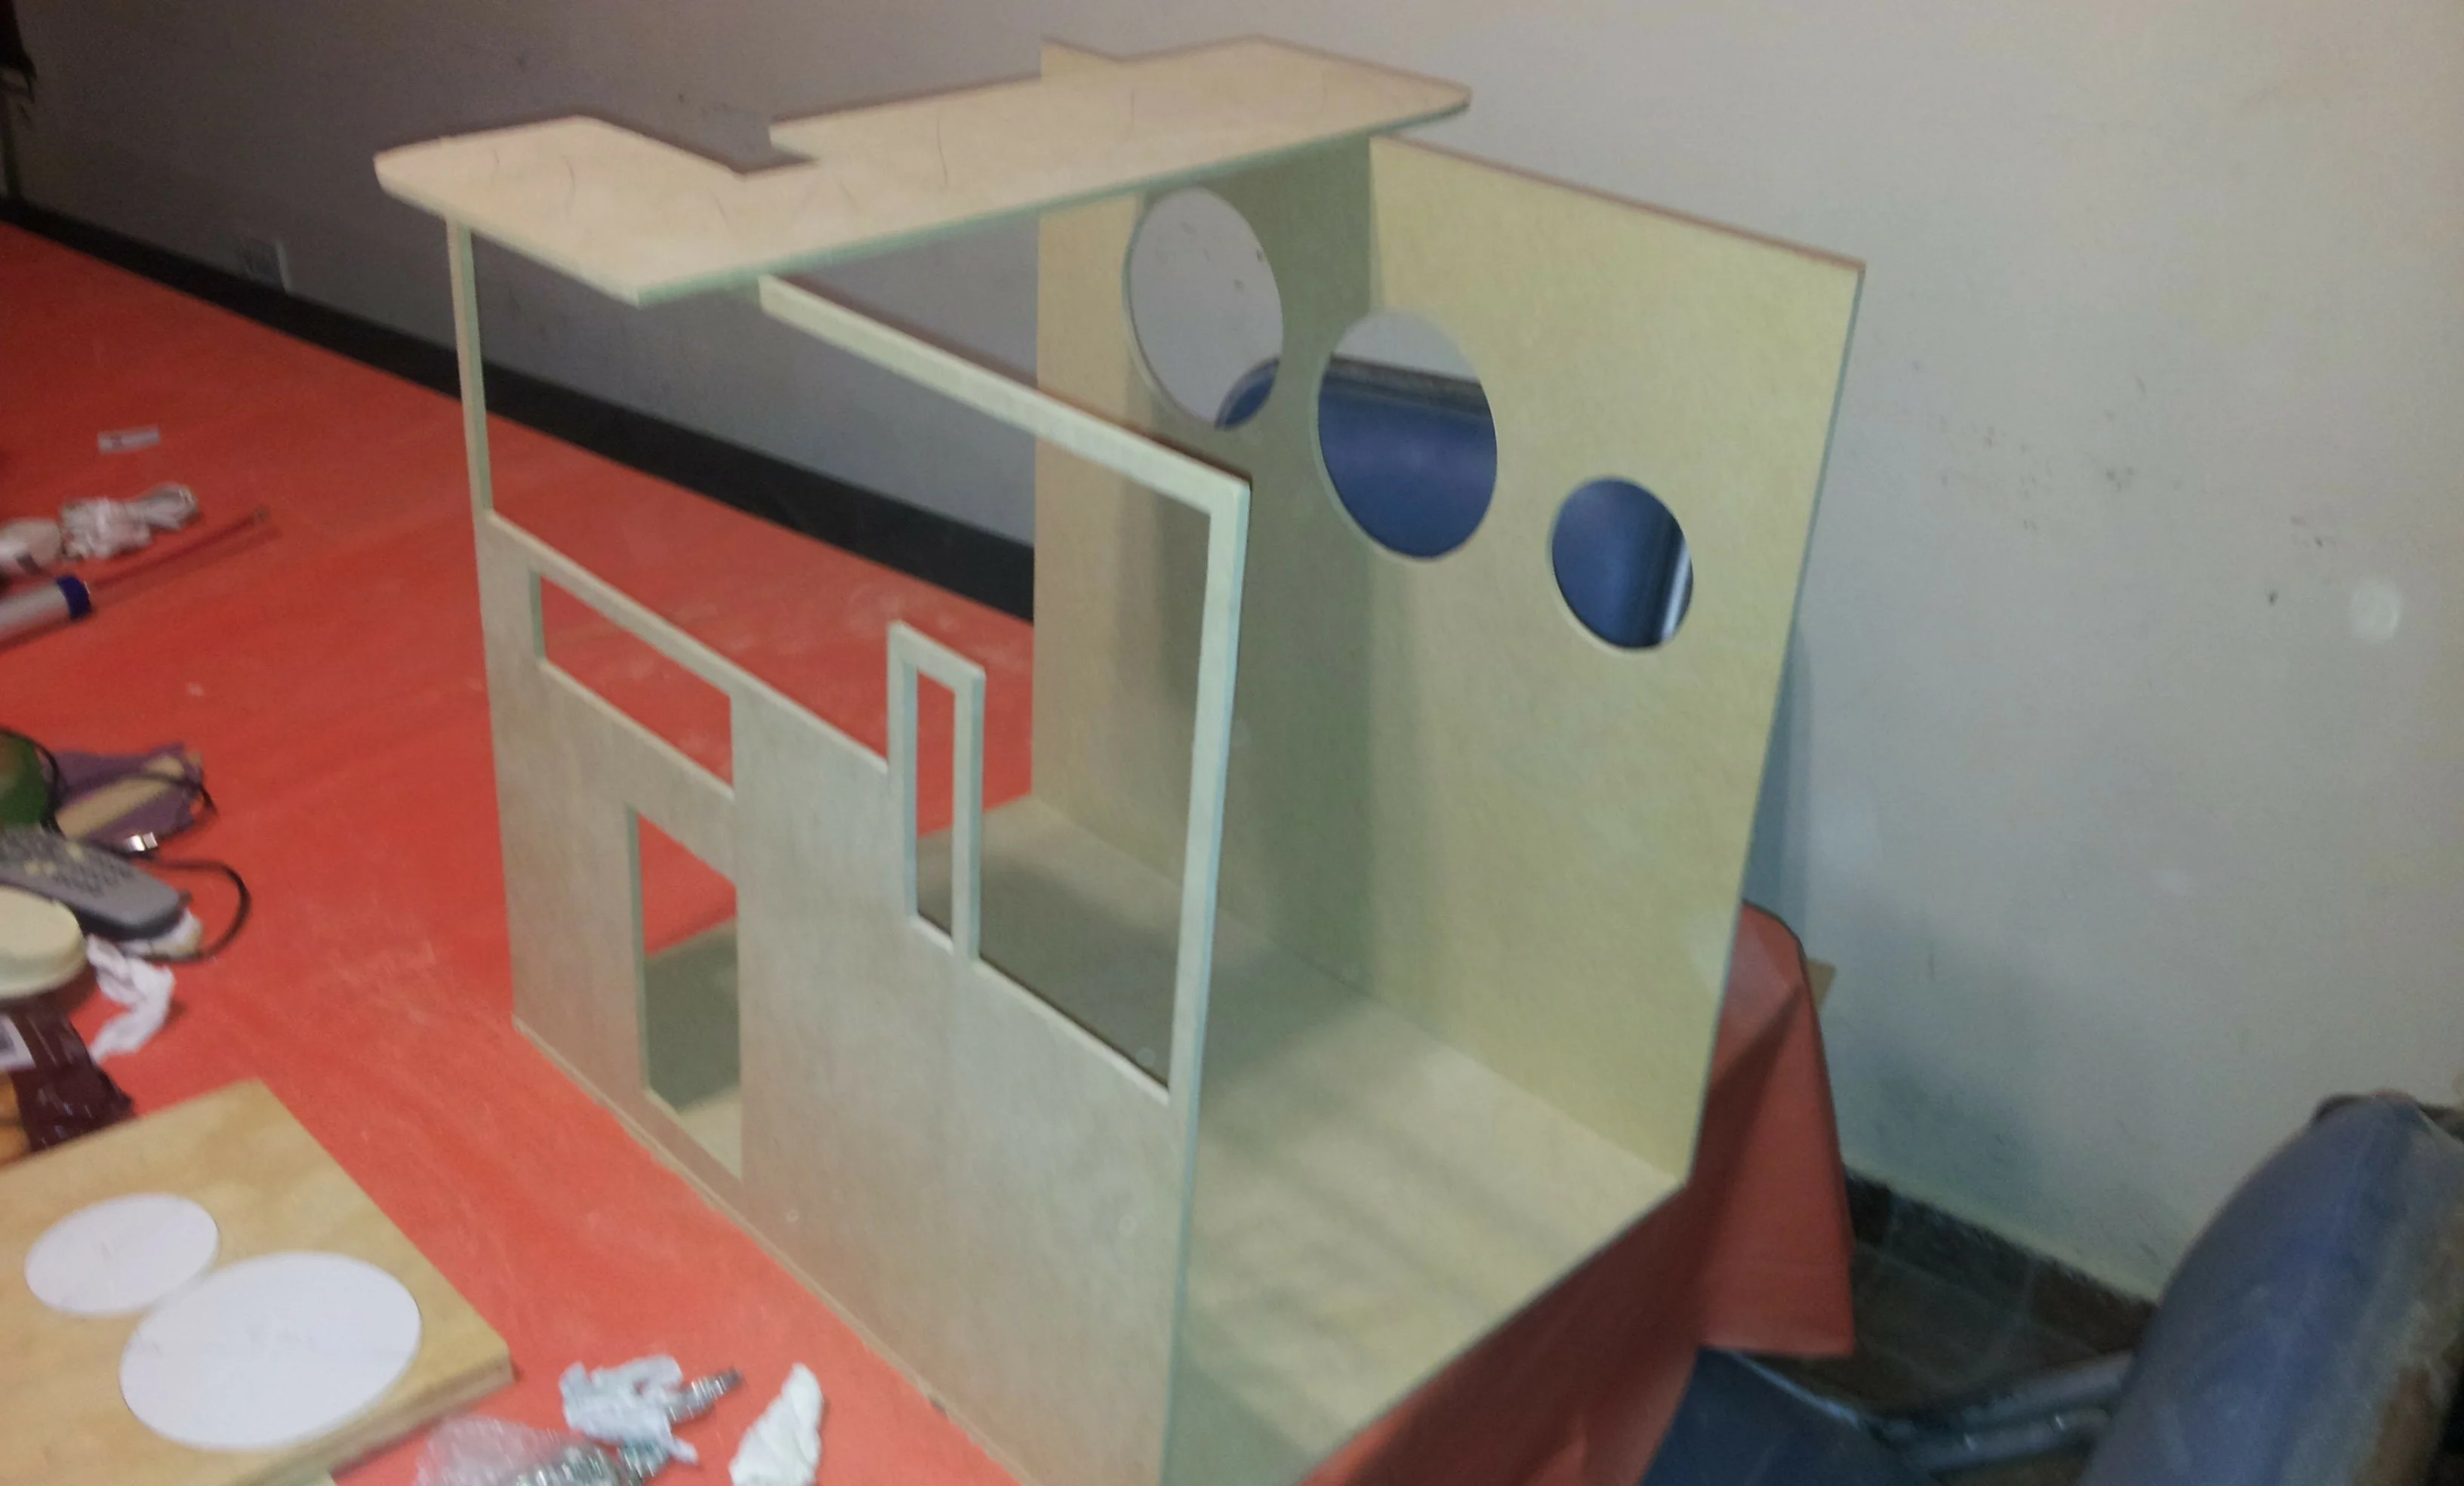
Figure 8 shows that the structure was already taking shape.
I glued the three pieces using glue and then applied a press so that the structure is very firm, then the pressing tools are observed.
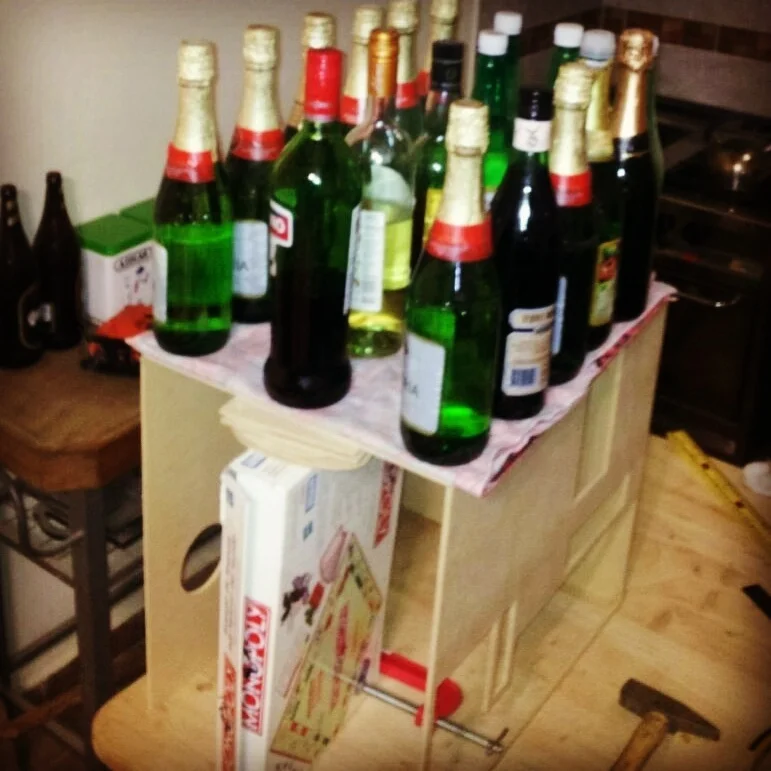
Notice how the red metal press (a press itself) is in charge of keeping Monopoly’s box armed, so the structure didn’t collapse under its own weight.
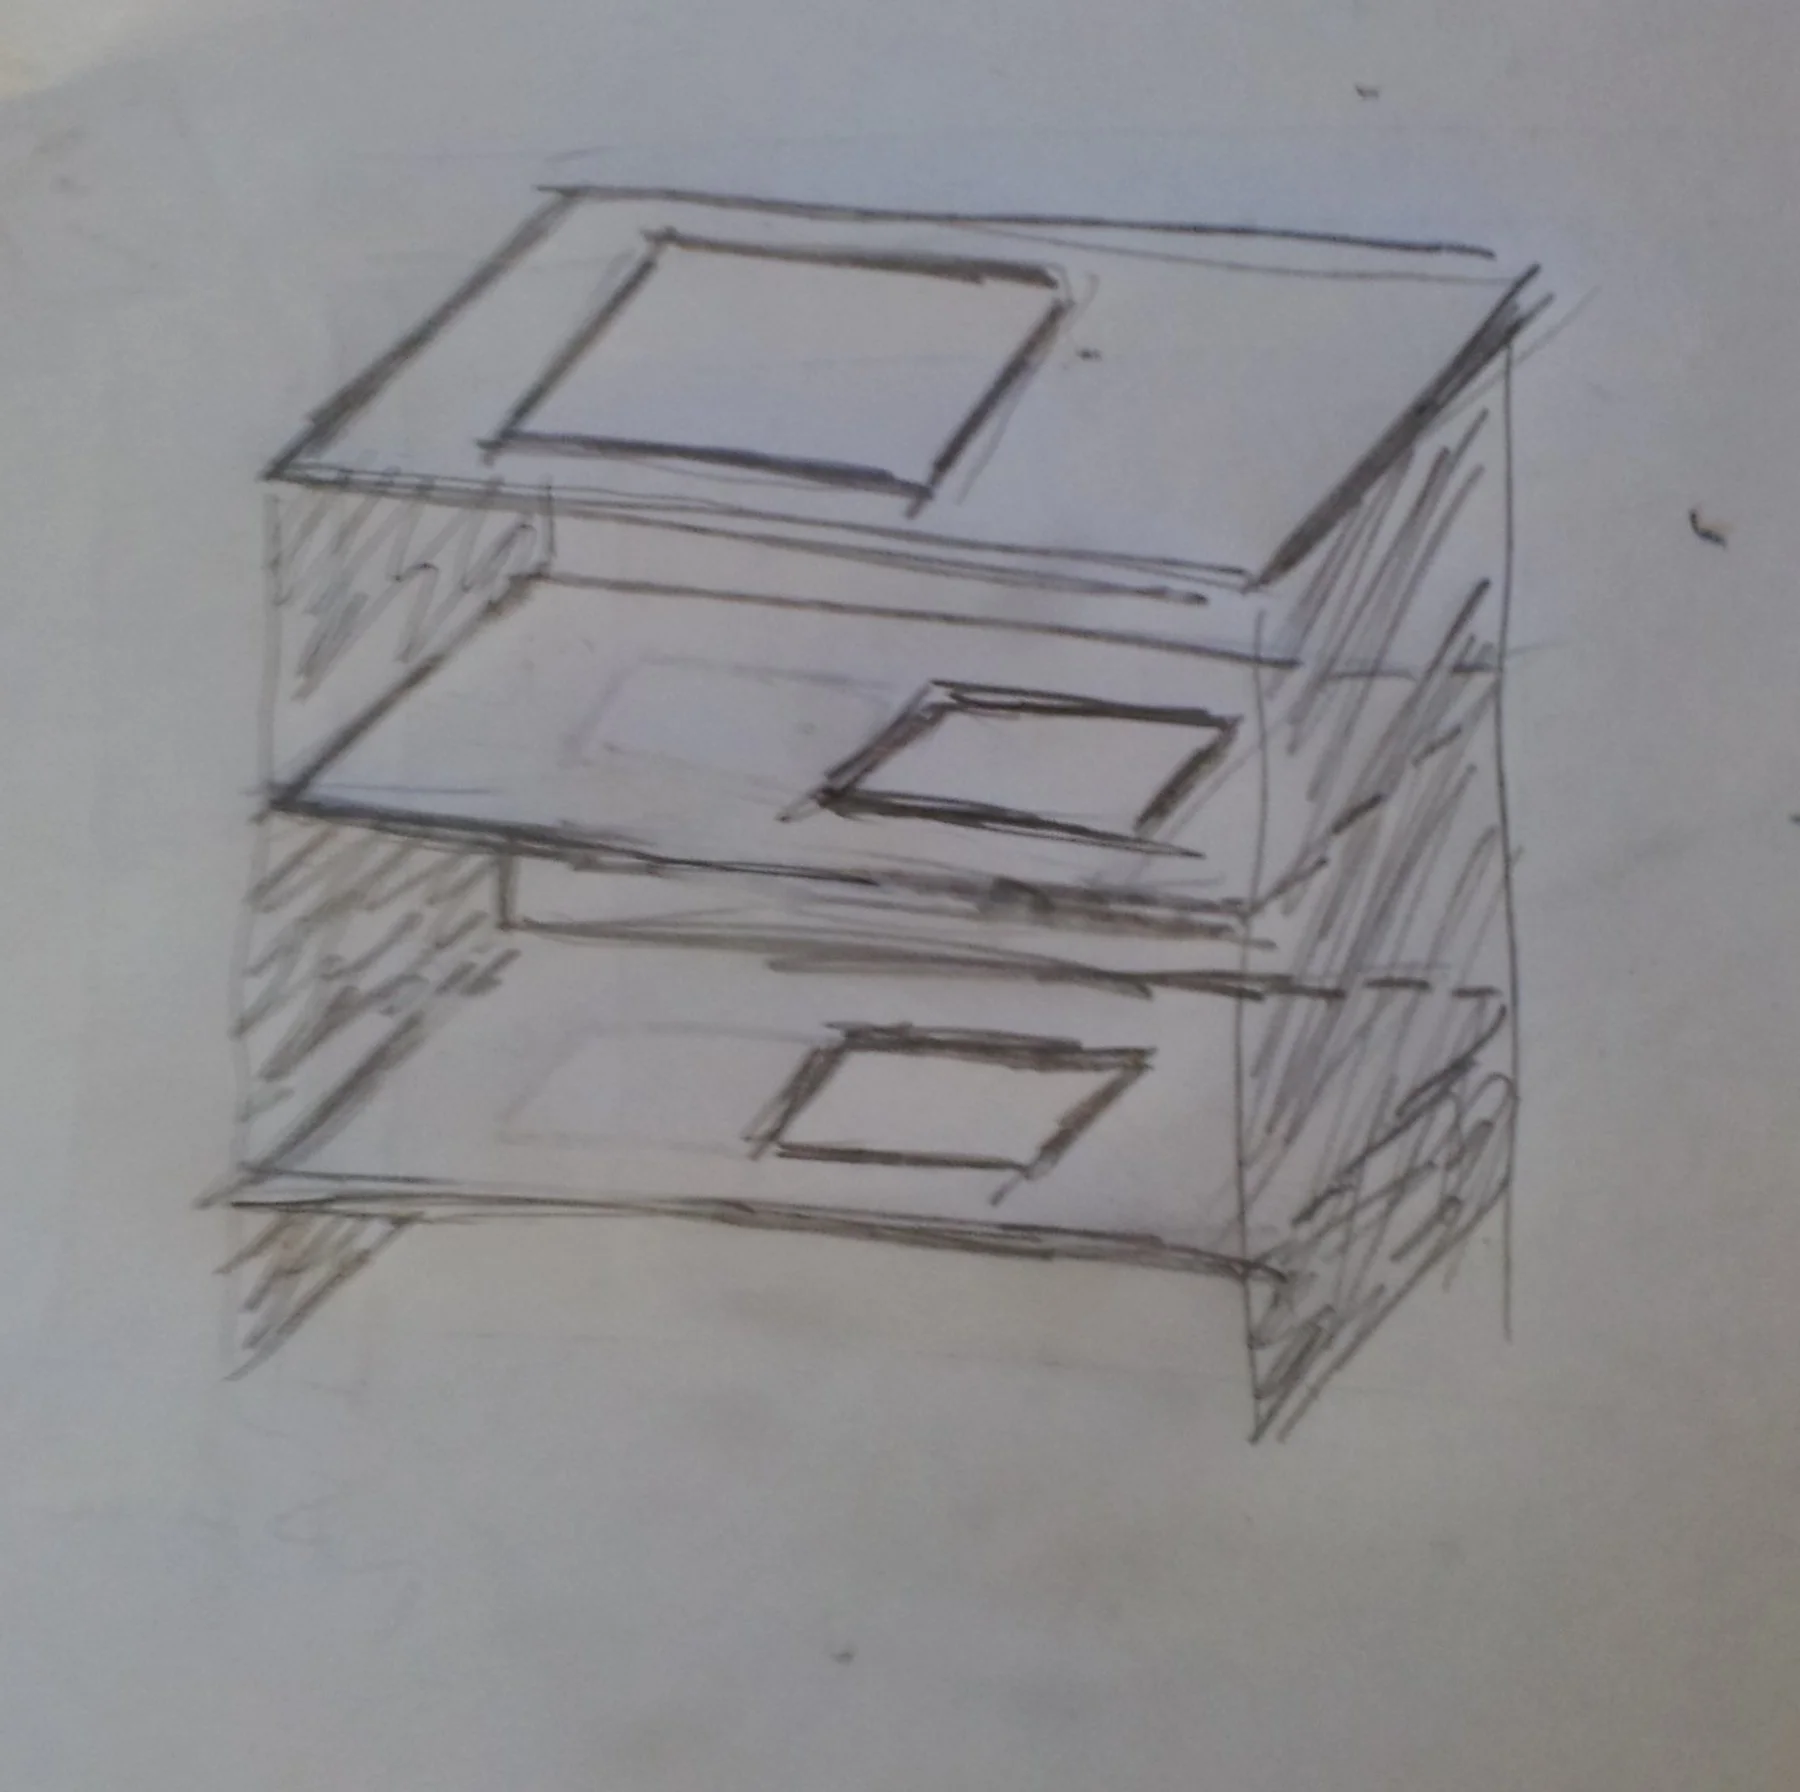
For the disk bays we made a three-storey structure, in the following figure the idea for the design is shown.
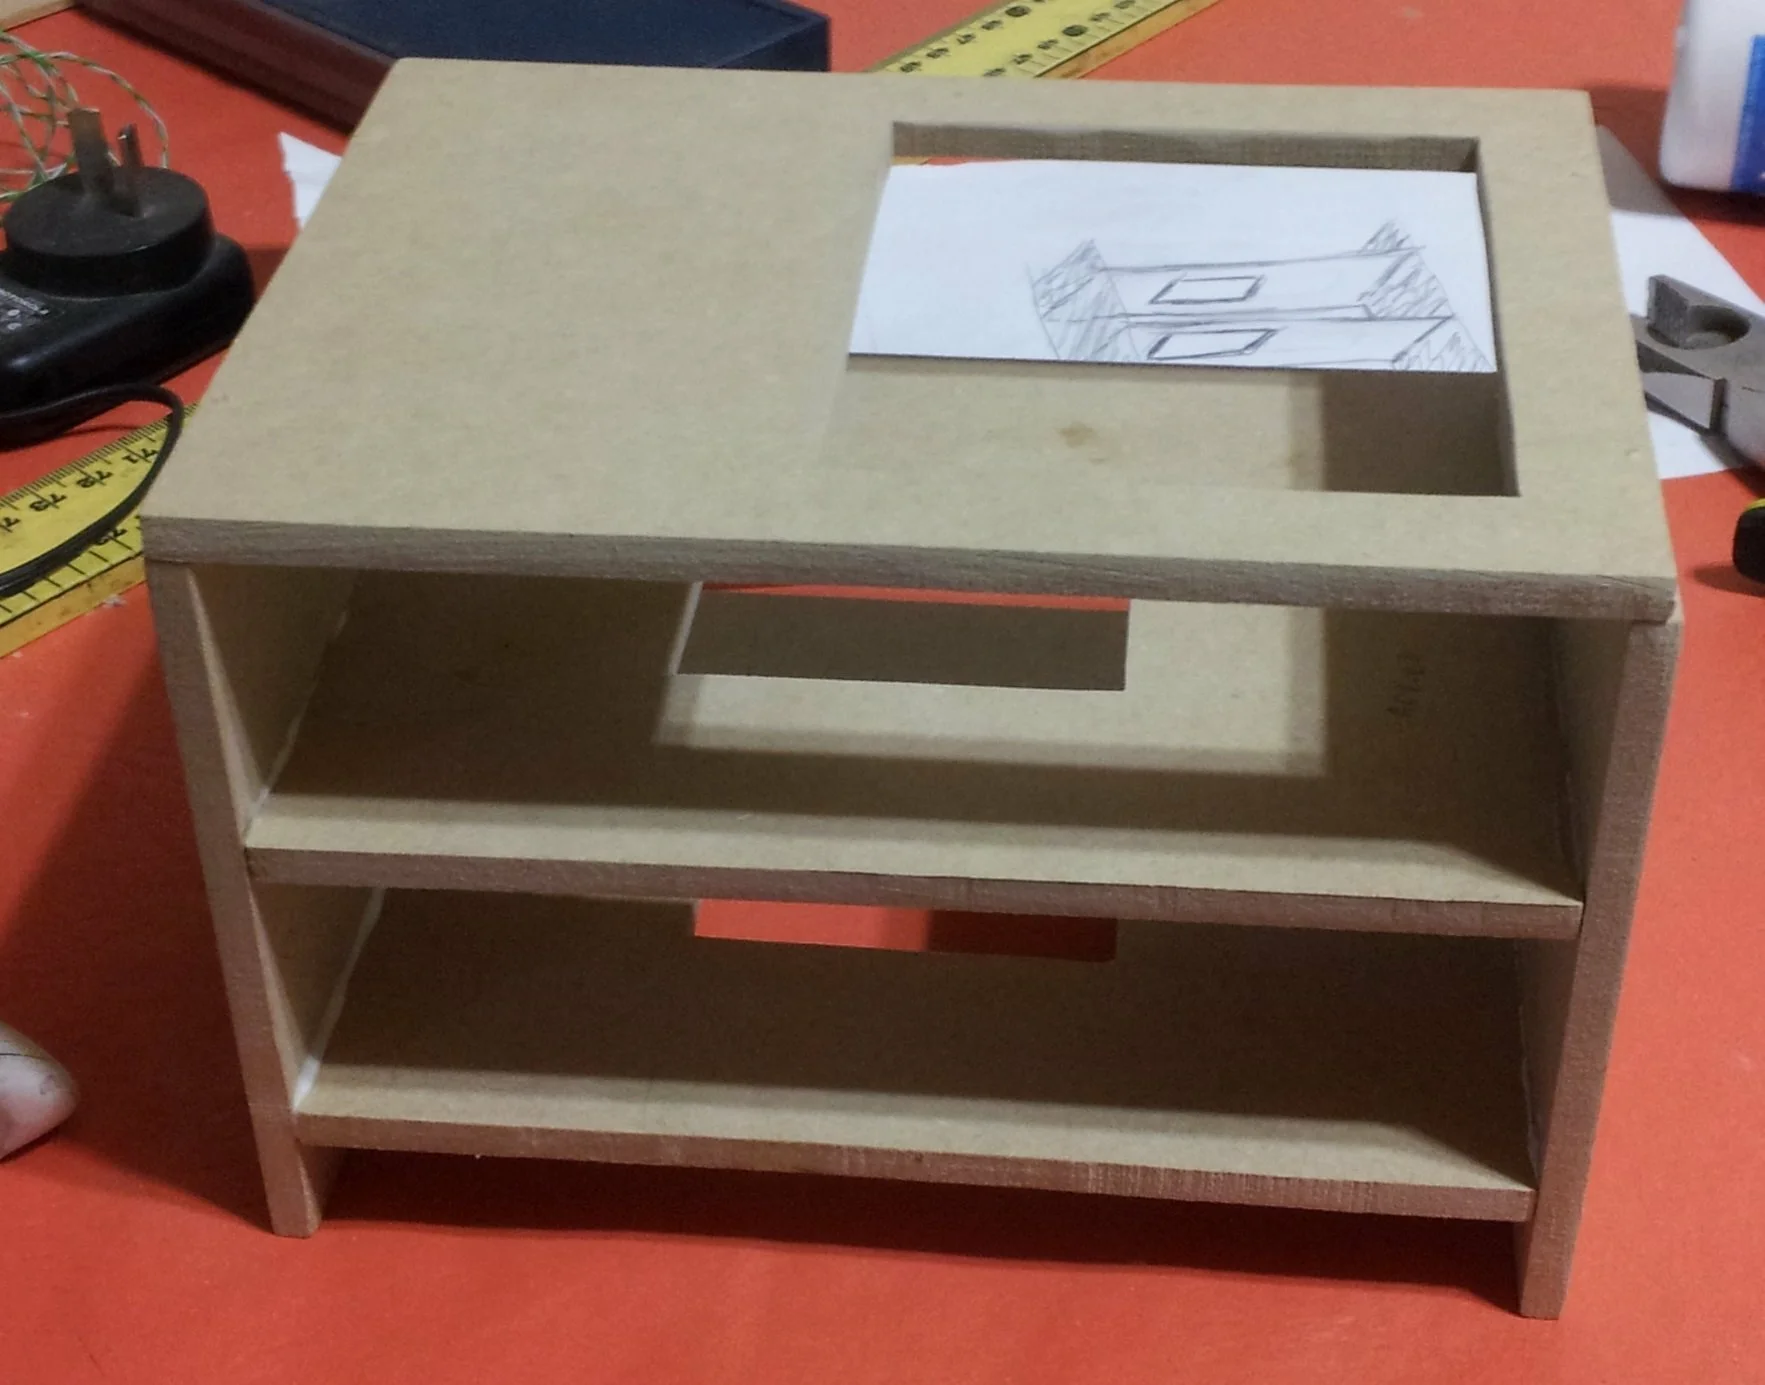
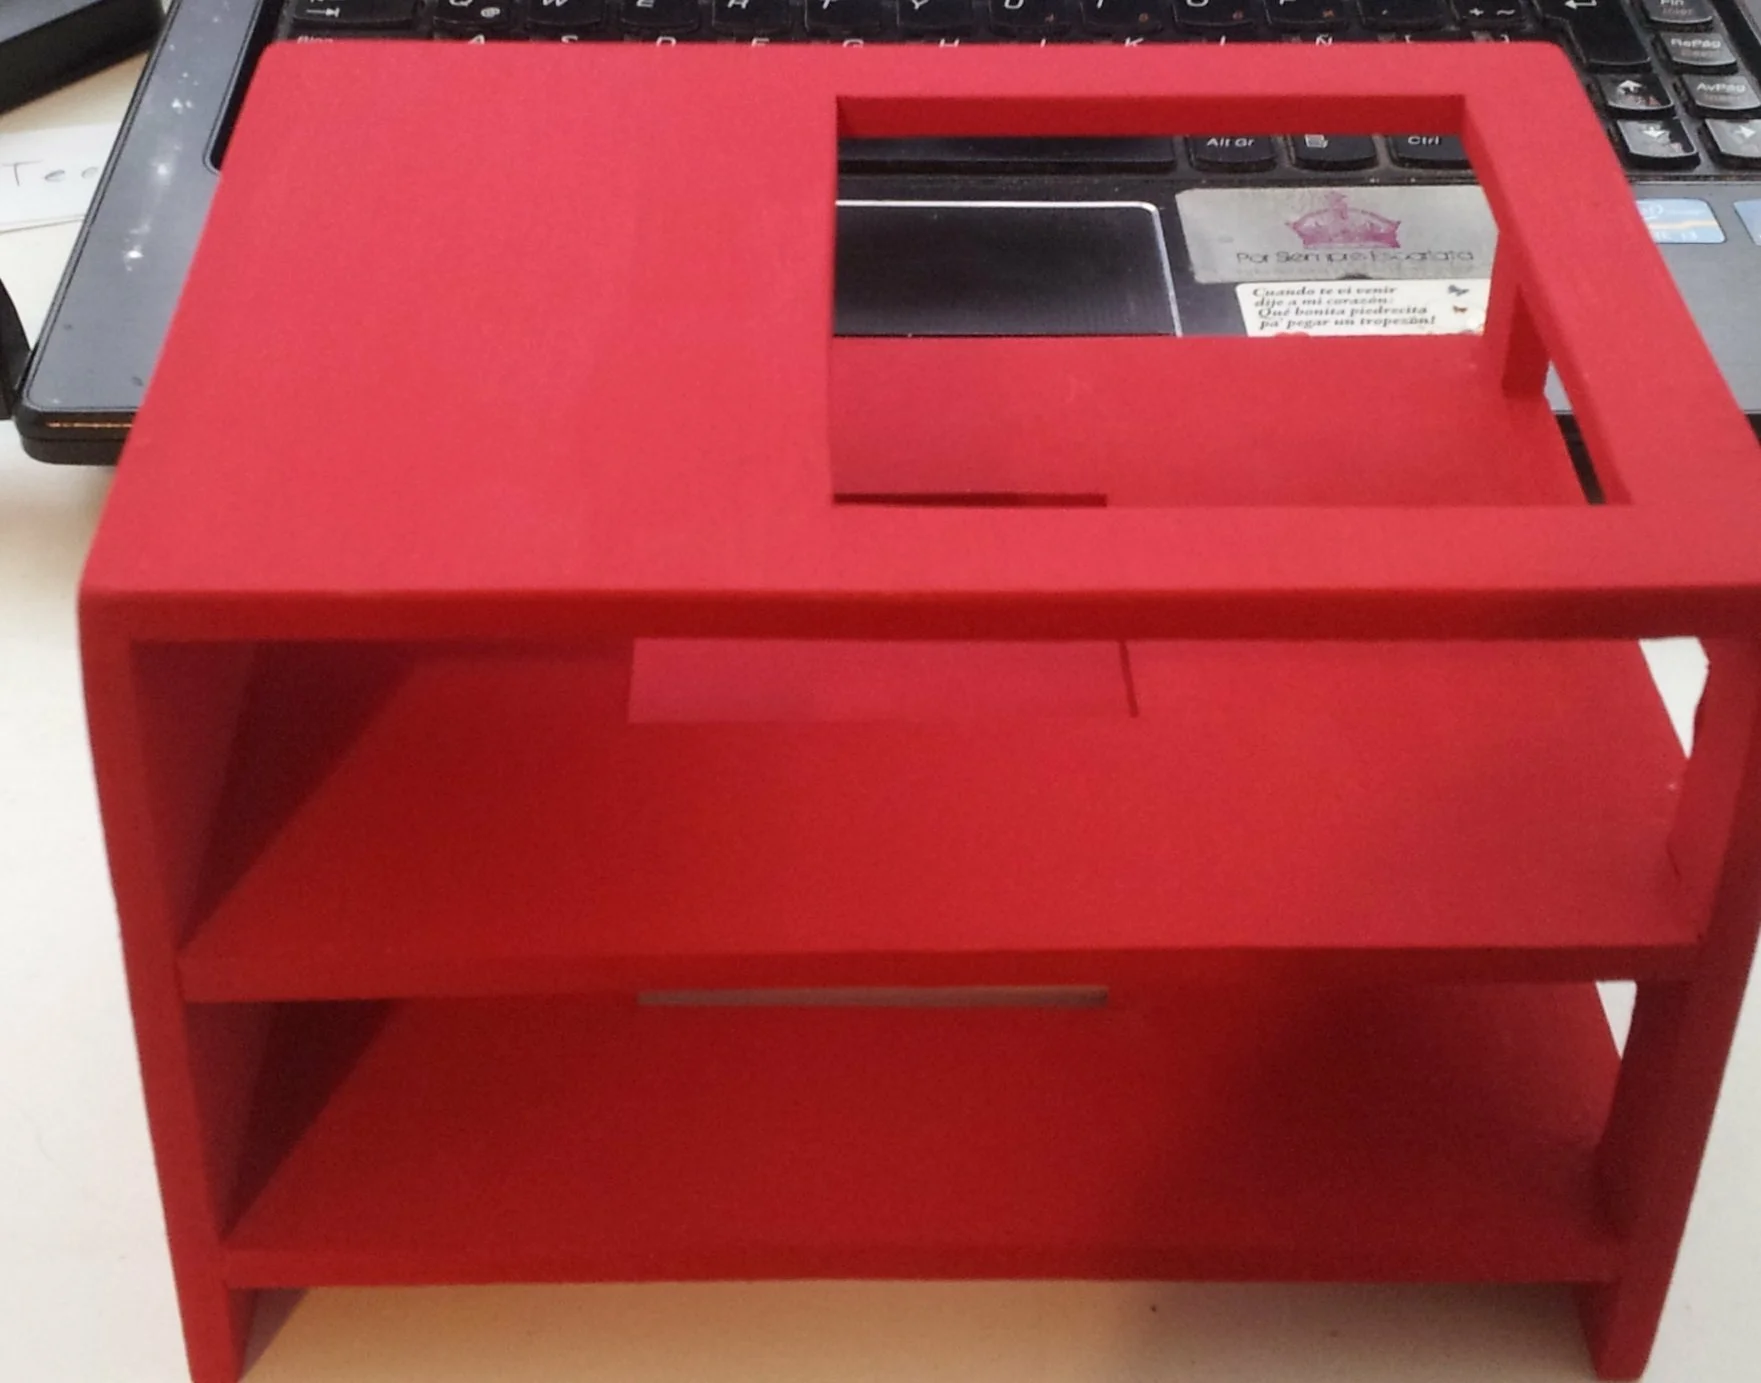
The piece was also built with 5 mm mdf and a layer of red acrylic paint.
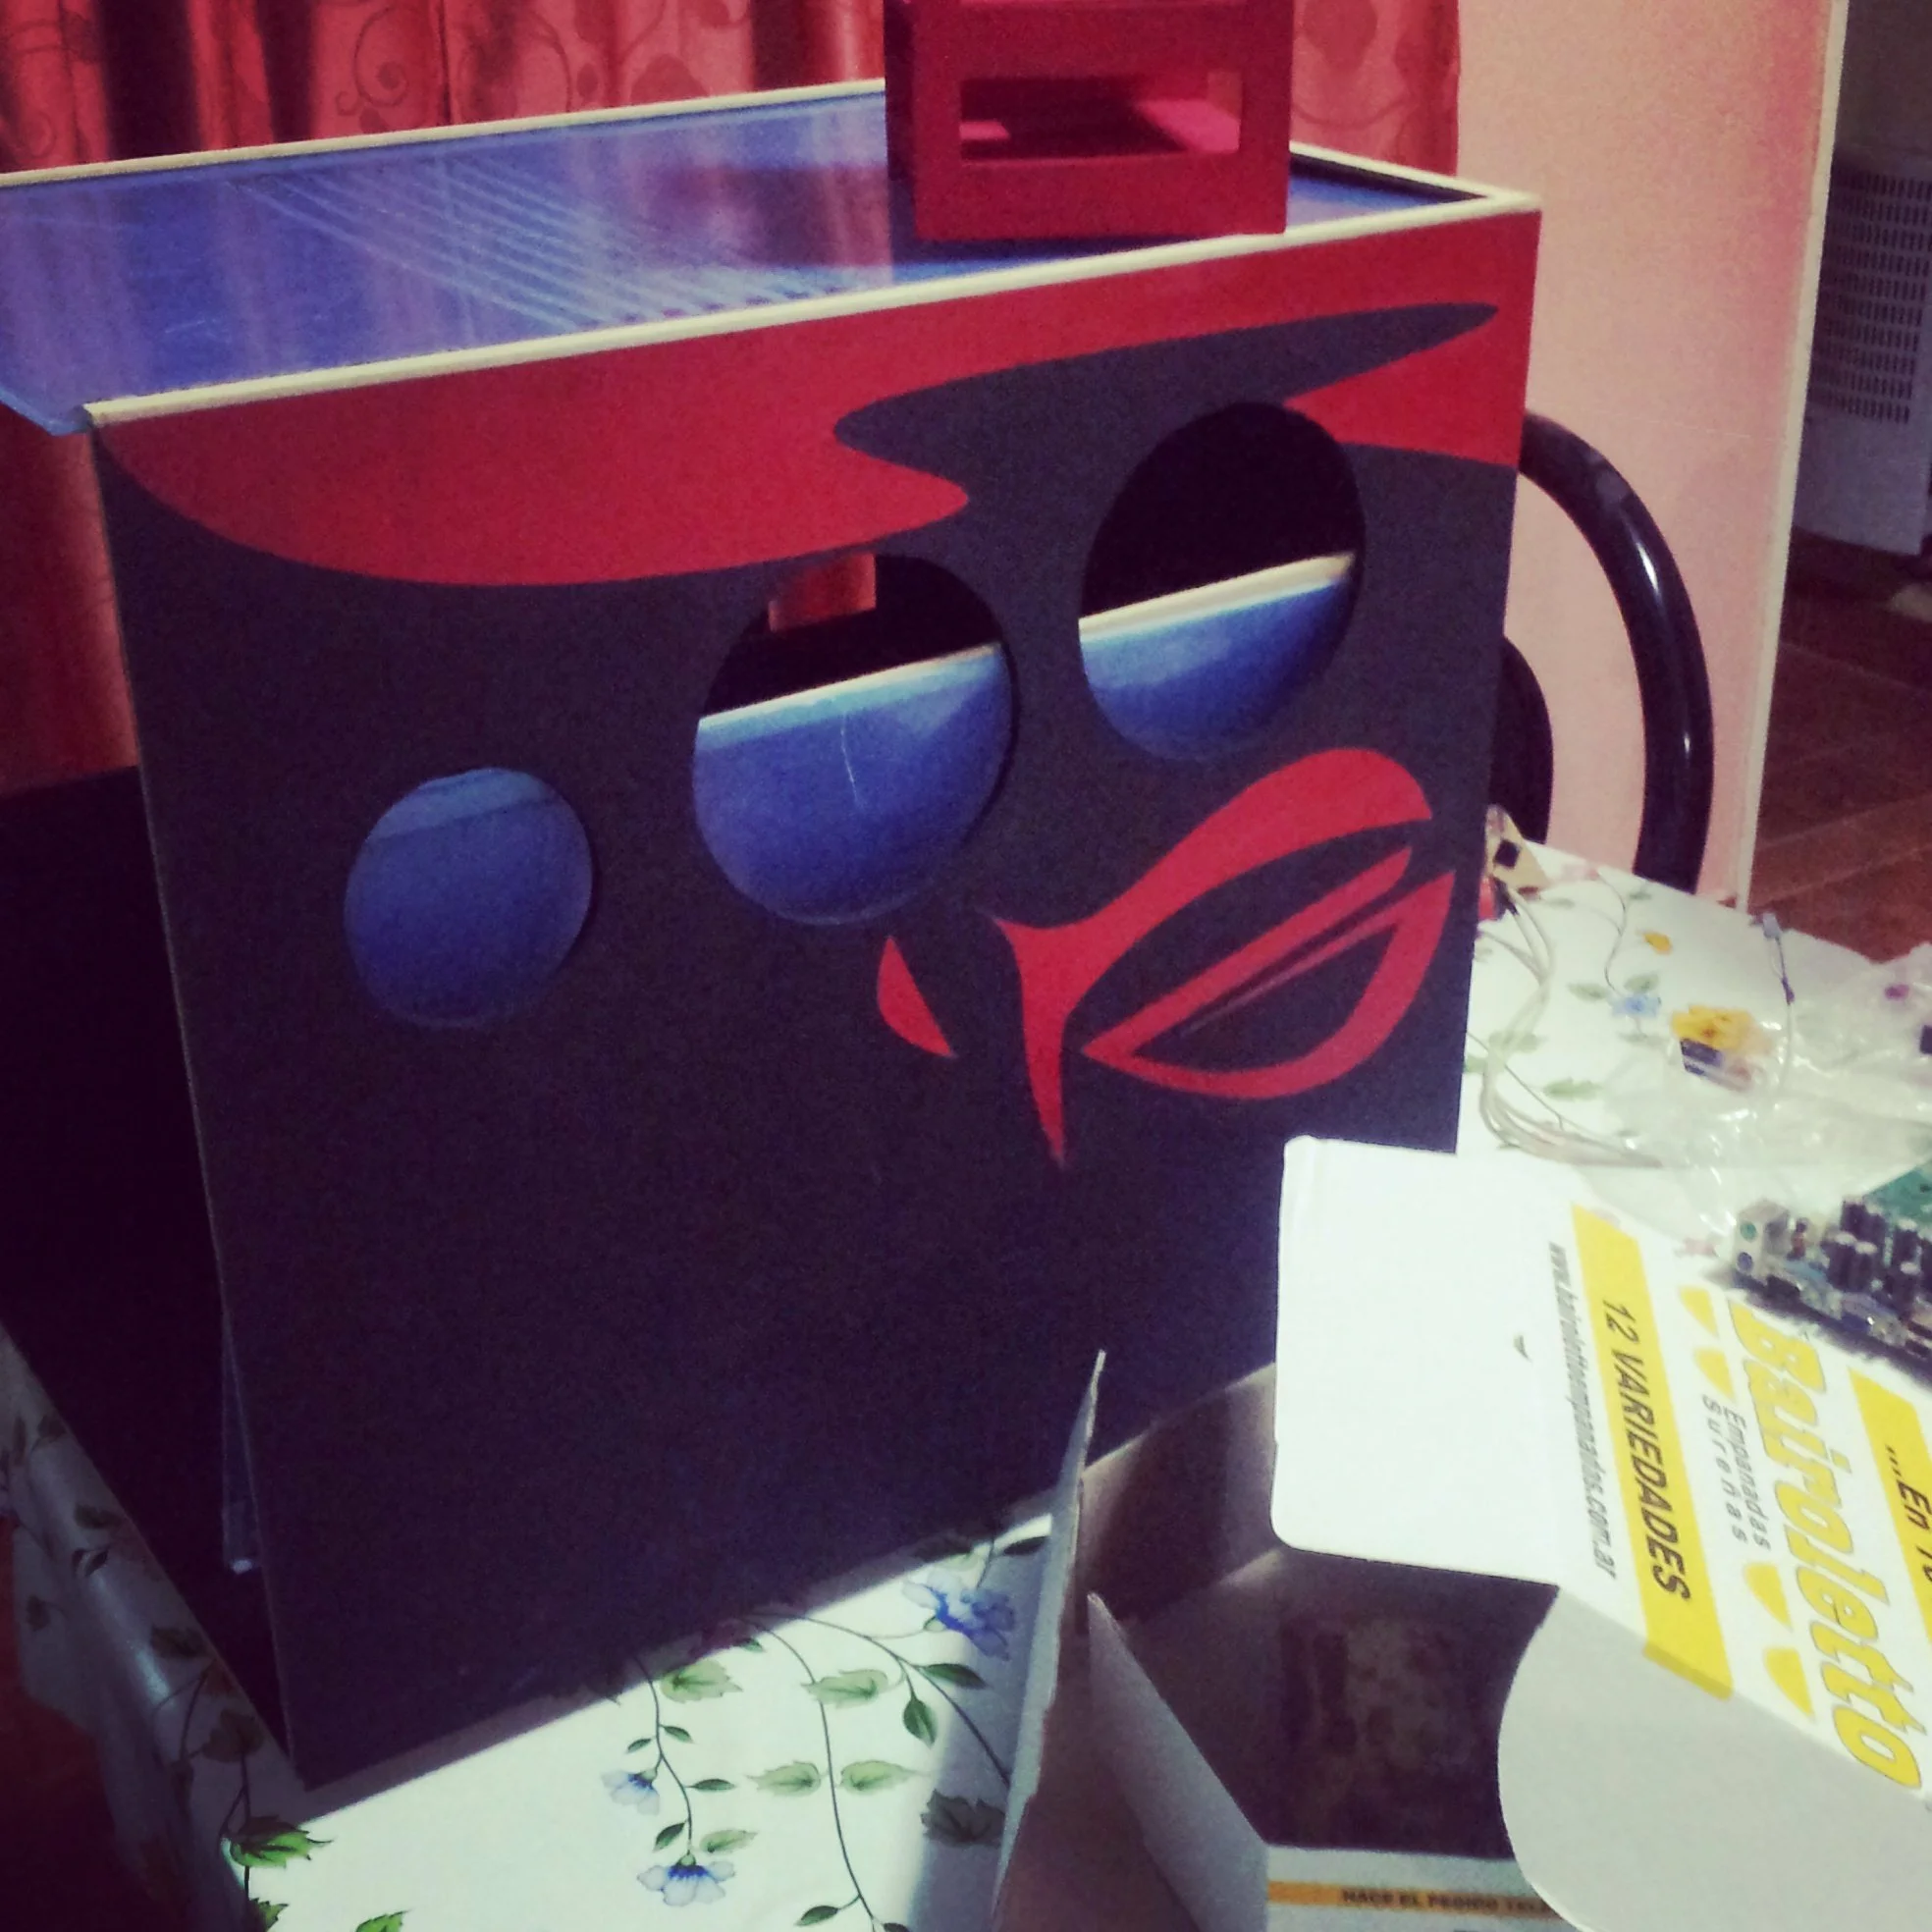
Then we started to think about the decoration of the box, because it had to have even a coat of paint. At that time I didn’t know as much about computer components and brands as I do now, however I proposed some designs that he liked.
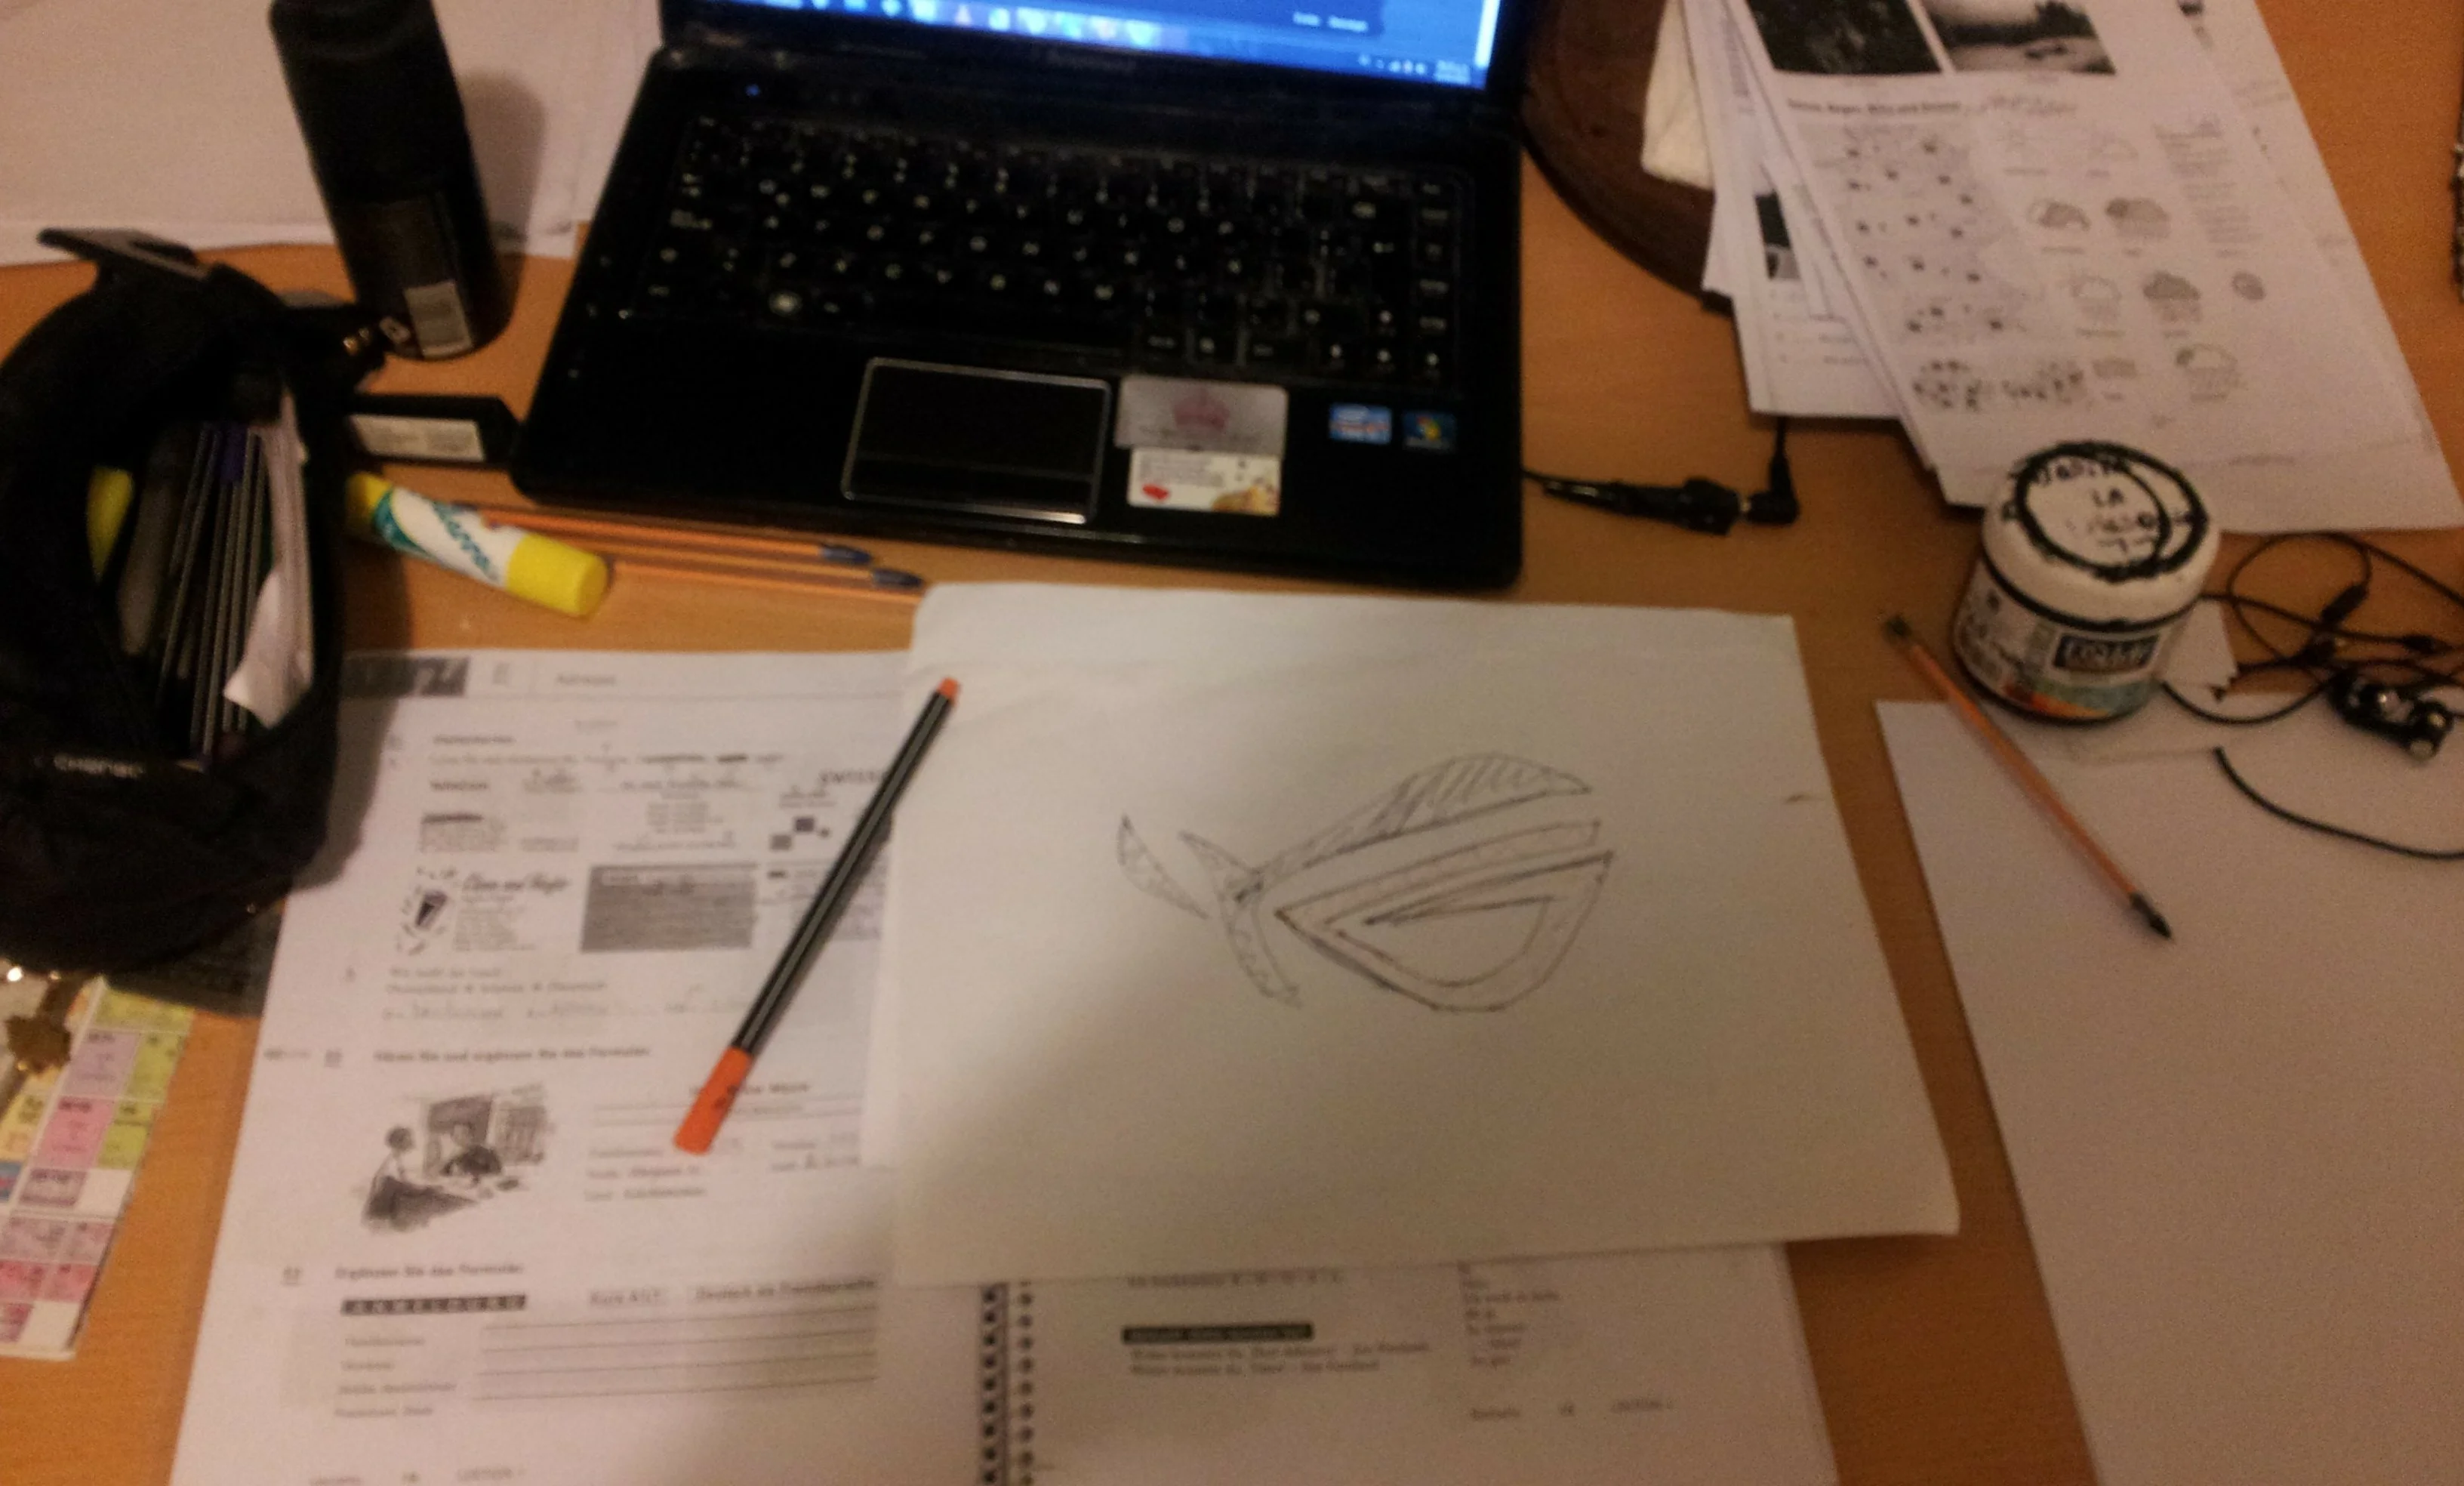
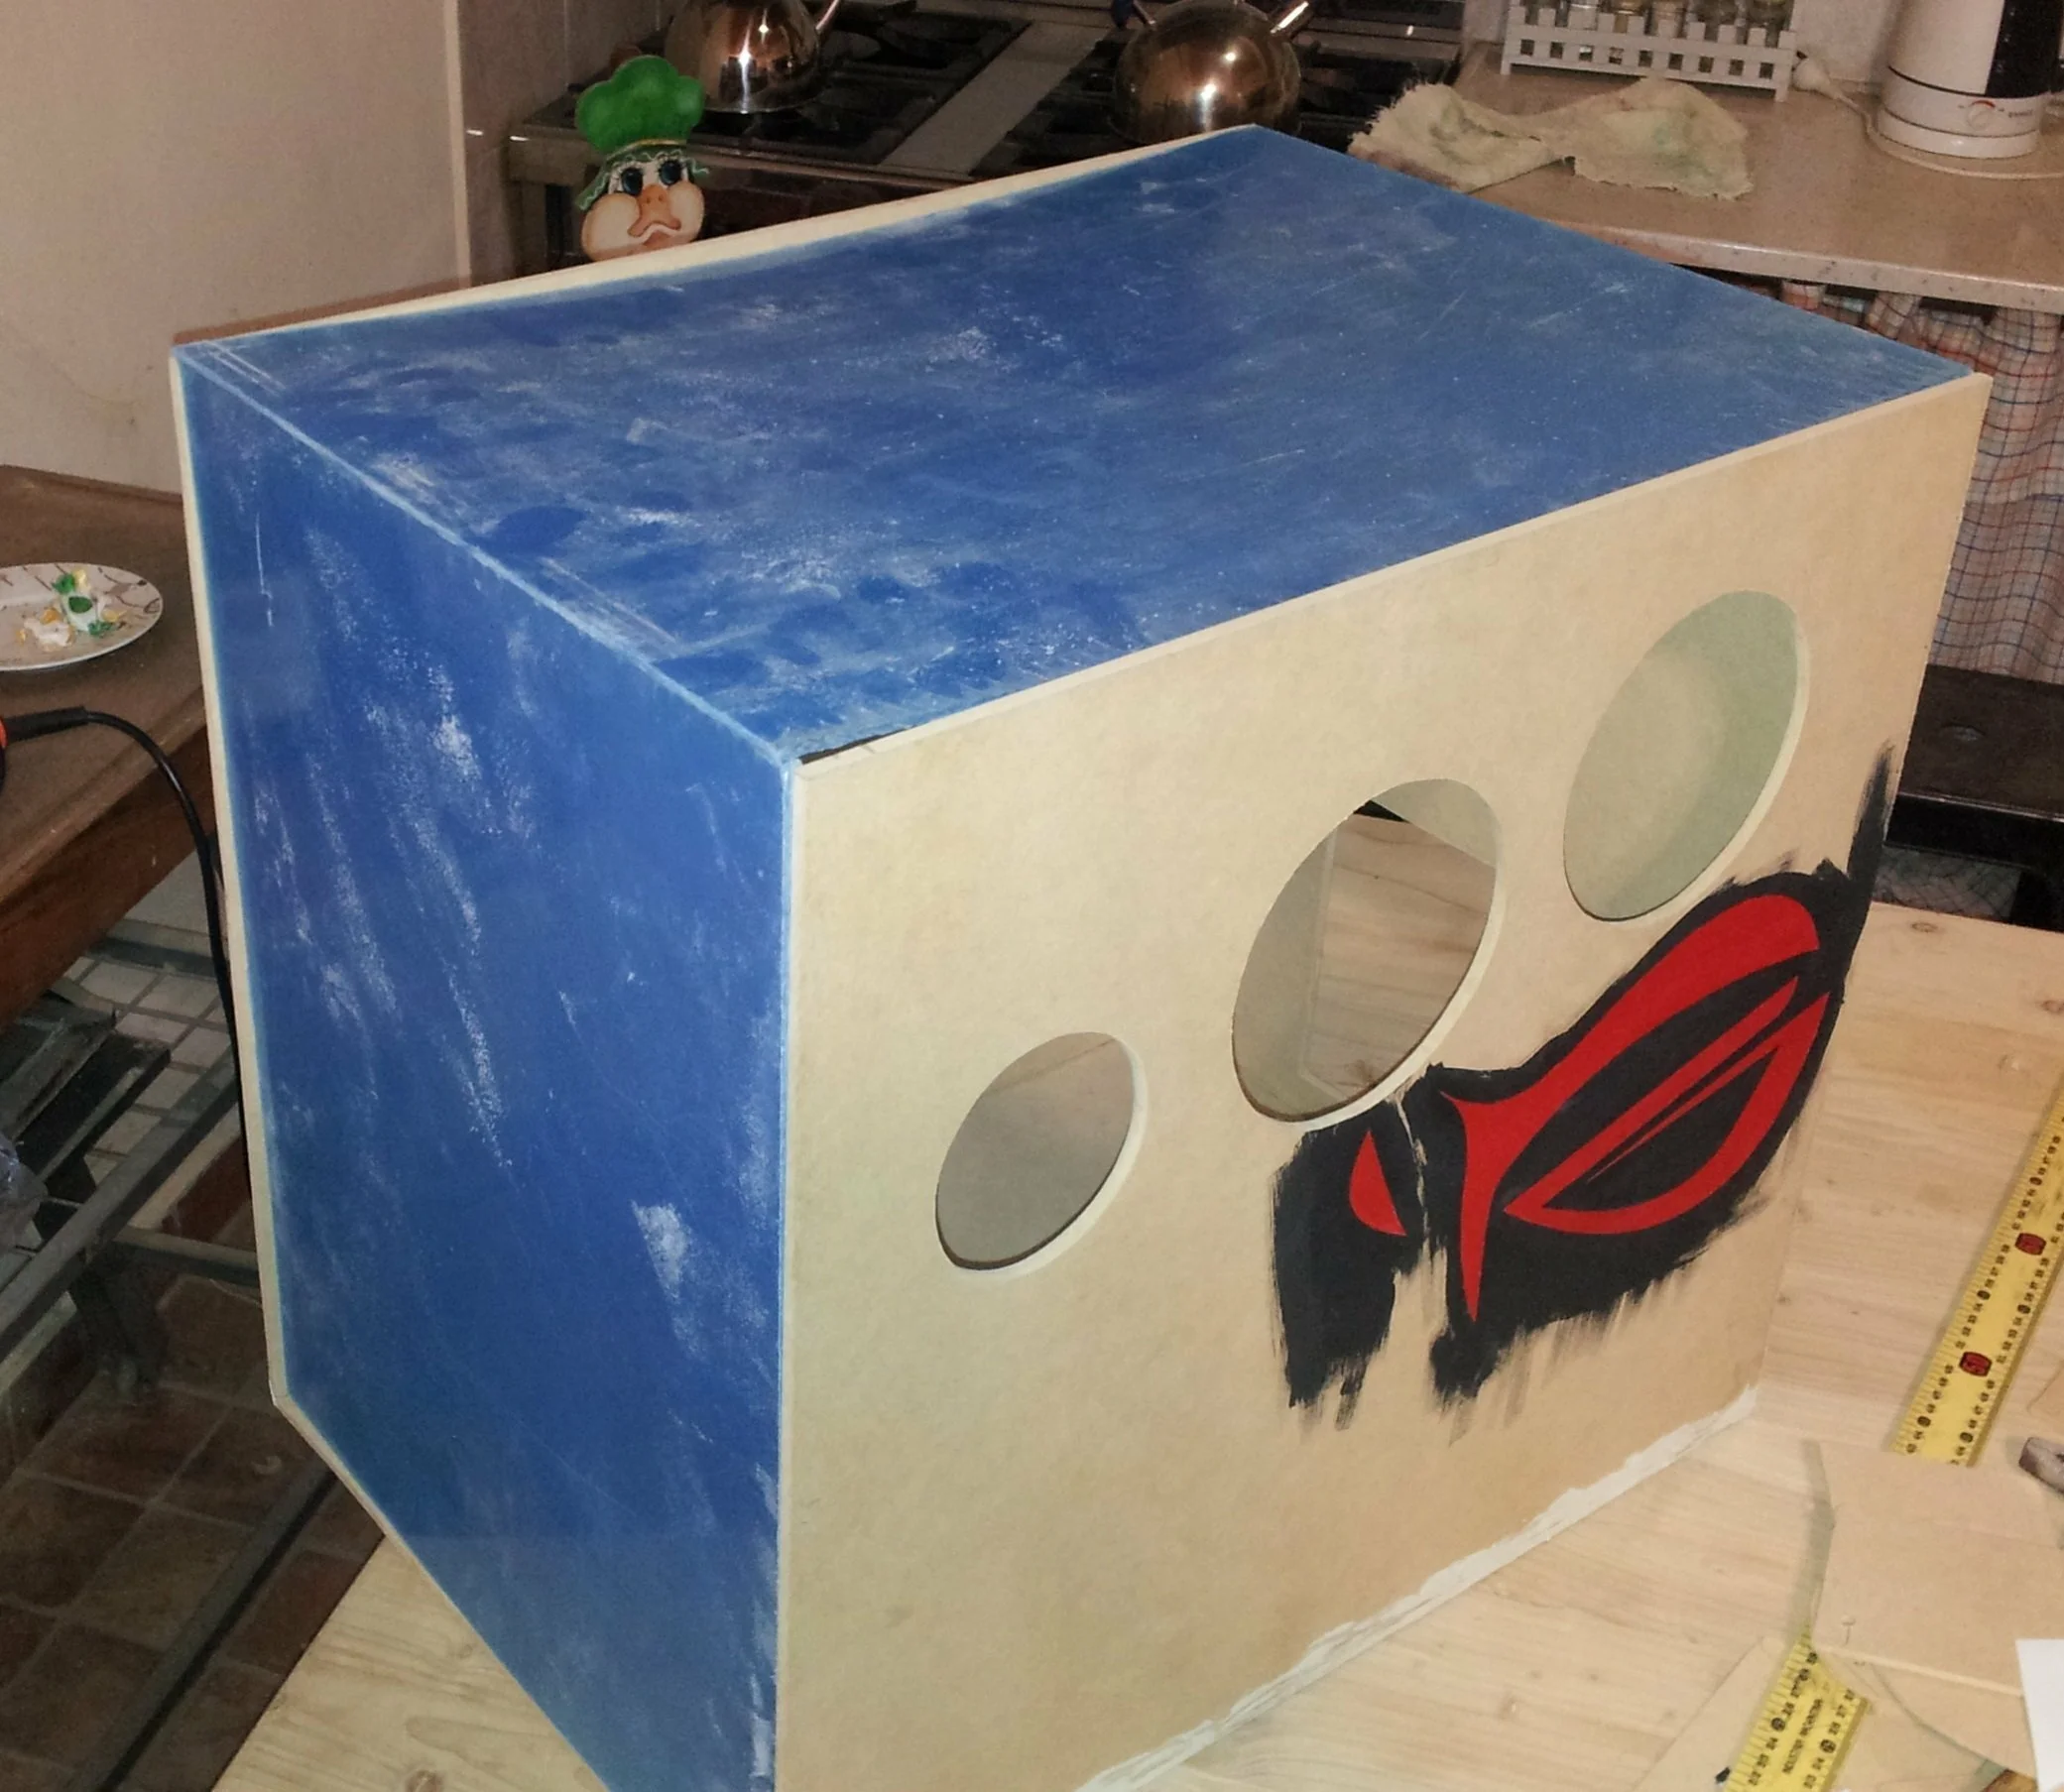
The Republic of Gamers logo for an MSI board, I know.
We had bought some meat pies to eat and it was getting late.
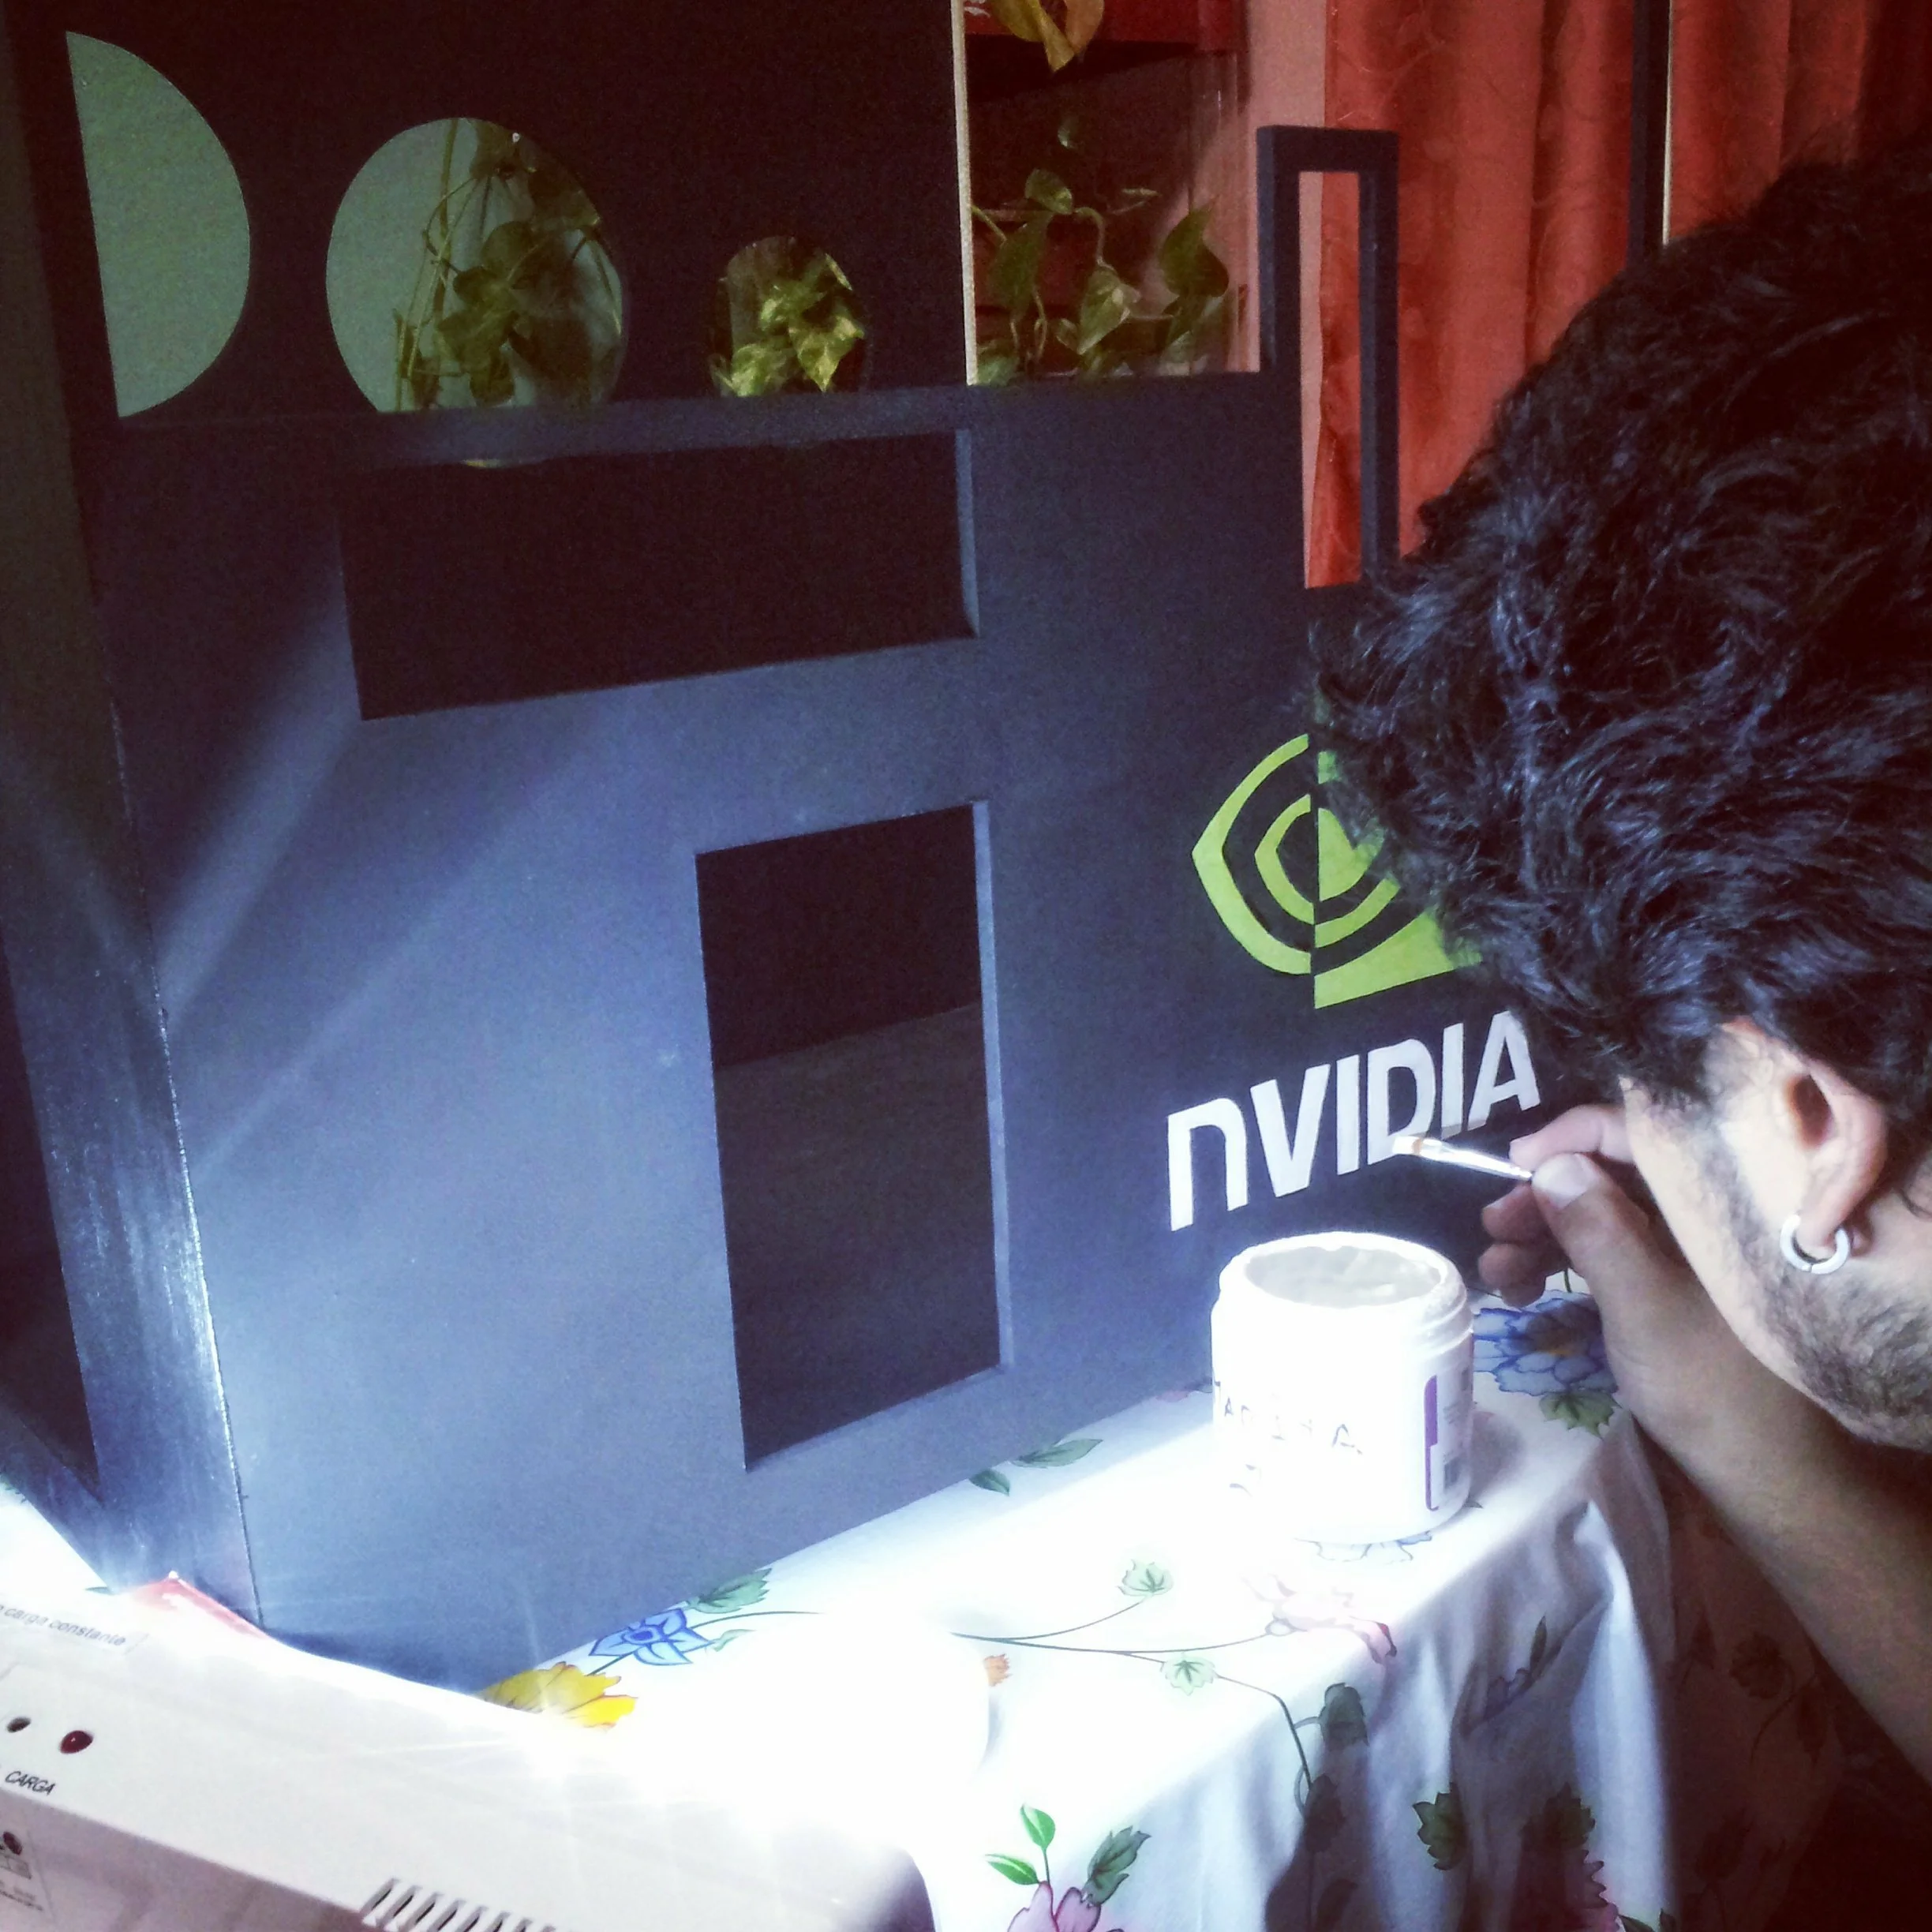
Here you can see that I’m putting the finishing touches. Our mdf cabinet was almost finished.

We screwed the coolers in place, placed the structure with the motherboard, the fountain, the disks inside and finally the two pieces of acrylic that went into grooves. This was the final result

Conclusion
We managed to finish the mdf cabinet and my friend had a small box to house his computer. It was temporary until he finally got a PC cabinet.
In my opinion the dimensions were quite exaggerated, but my friend was worried (and rightly so) about refrigeration. In a metal cabinet the heat is partly dissipated by the thermal conductivity. In addition it provides protection to the circuits against electromagnetic noise.
However, if we take into account the fact that I used to cover the computer with a cardboard box, the mdf cabinet was a small improvement.