
We’ve all been there—you start a new Unity project and hastily name it something like “New Unity Project” or “GameTest1”, only to realize later that the name no longer reflects your vision. Whether it’s for better organization, professionalism, or just personal preference, renaming your project is a common necessity.
However, renaming a Unity project isn’t as simple as changing the folder name. It requires careful steps to avoid broken references, missing assets, or engine errors. In this article, we’ll walk through the correct way to rename your Unity project without losing your work or causing technical issues.
(Tip: Always back up your project before renaming! For example using GitHub)
For a visual breakdown of this subject, you may find my video discussion helpful.
A WARNING about this method to rename a Unity project
Renaming your Unity project folder will close all scripts currently open in Visual Studio as their paths become invalid. Be sure to:
- Save all unsaved work first
- Take note of which scripts were open so you can easily reopen them after renaming
Step 1 – Backup your project
To do this, the simplest way is to navigate to your project in File Explorer (or Finder on Mac), then copy and paste the entire project folder to the desired location.
Step 2 – Remove your project from Unity HUB
To remove a project from Unity Hub without deleting its files:
- Locate the project in your Unity Hub Projects tab.
- Click the three dots icon (⋮) next to the project name (see Figure 1).
- Select “Remove Project from List”.
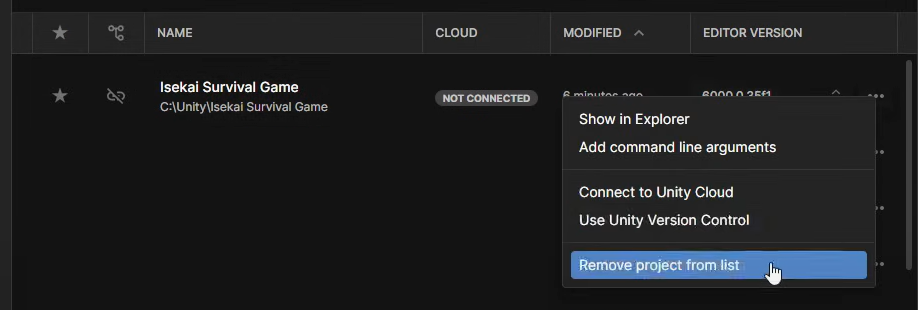
Important: This action only removes the project from Unity Hub’s interface—your project files remain untouched on disk. To fully delete the project, you’ll need to manually remove its folder from your computer.
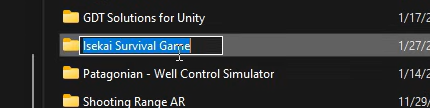
Step 3 – Rename your project’s folder
To rename your Unity project, simply right-click the project folder in File Explorer (Windows) or Finder (Mac), select Rename, and enter the new name.
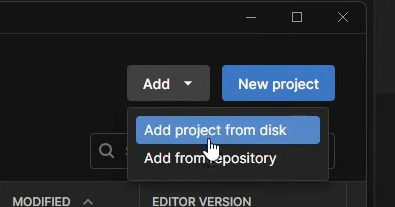
Step 4 – Add the renamed project to Unity HUB
To add your renamed project back to Unity Hub, click the Add button (see Figure 3), select Add project from disk, and navigate to the renamed project folder in File Explorer/Finder.
Once added to Unity Hub, your renamed project will appear with its new name—simply open it to continue working with all your assets and scripts intact.