Introduction
Creating realistic transparent materials in Unity is essential for glass windows, bottles, and other see-through objects. In this tutorial, you’ll learn two techniques:
- Building a basic transparent shader that reveals objects behind surfaces
- Using alpha textures for complex transparency patterns (like frosted glass or decals)
We’ve included visual examples and optimization tips to help your transparent materials look great while maintaining performance.
For a visual breakdown of this subject, you may find my video discussion helpful.
Unity package with textures
Below you can download a Unity package with all the Assets I use in an old video about this topic.
Elements to be used
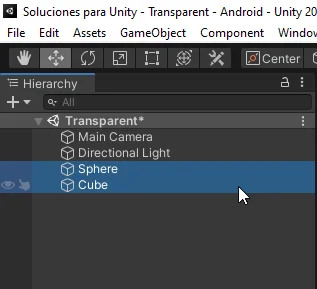
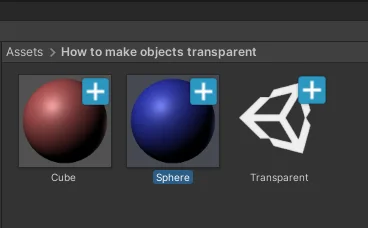
To show how to make transparent objects in Unity, I will use a cube and a sphere that will have a material applied to each one. In figure 1 we see the objects in the hierarchy and in figure 2 the materials that I have created for both objects.
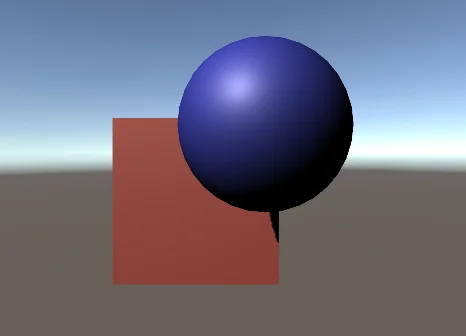
I will place the sphere in front of the cube, this will allow to know if the material of the sphere is transparent.
Steps to create a transparent material in Unity
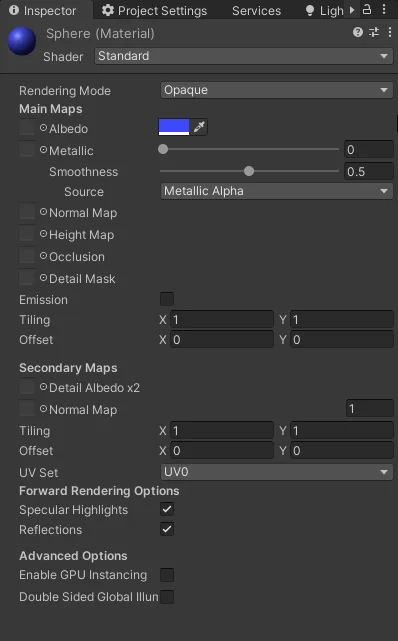
1. We select the material we want to make transparent to visualize its parameters in the inspector. The material I am using is the Standard Shader that can be created in Unity, in figure 4 we see its parameters in the inspector.
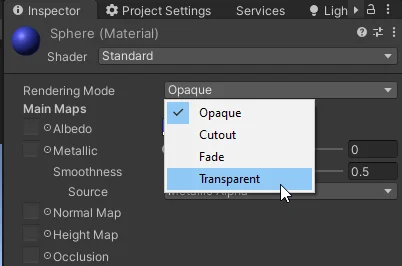
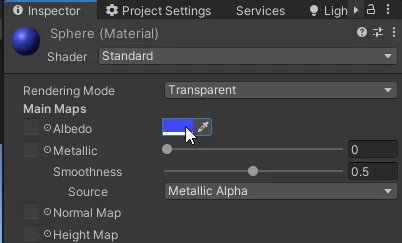
2. We changed the rendering mode from opaque to transparent, as shown in figure 5.
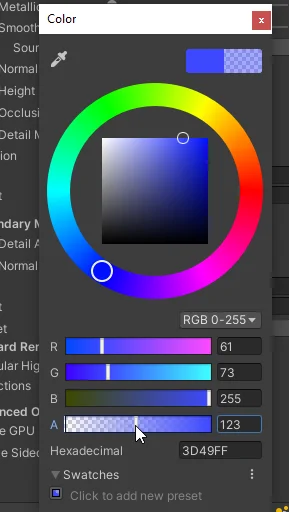
3. We modify the Albedo color of the material according to the color we want and decrease the alpha component until we achieve the desired level of transparency (figure 7).
Results
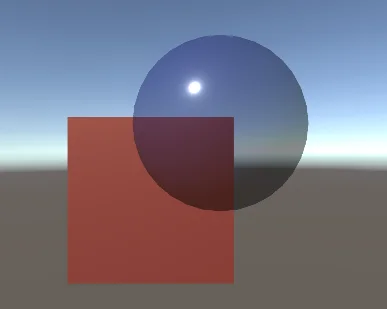
In figure 8 we see the result, the material of the blue object is transparent and allows to see what is behind.

If you want to achieve a material similar to glass you can adjust the parameter “Smoothness”, this will make the material smoother and more similar to glass.