Introduction – What are we going to do?
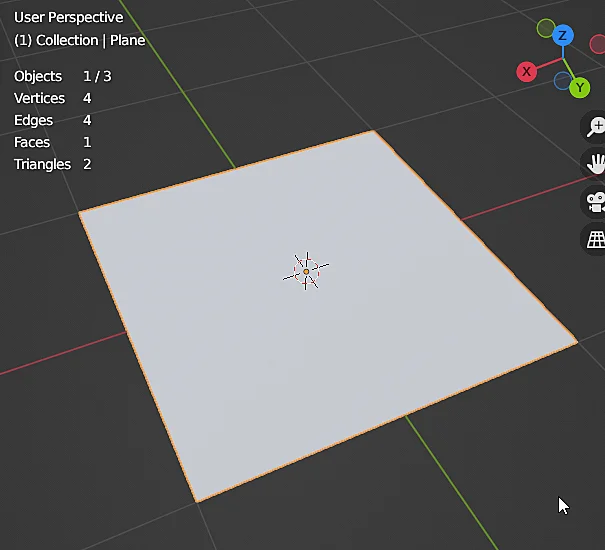
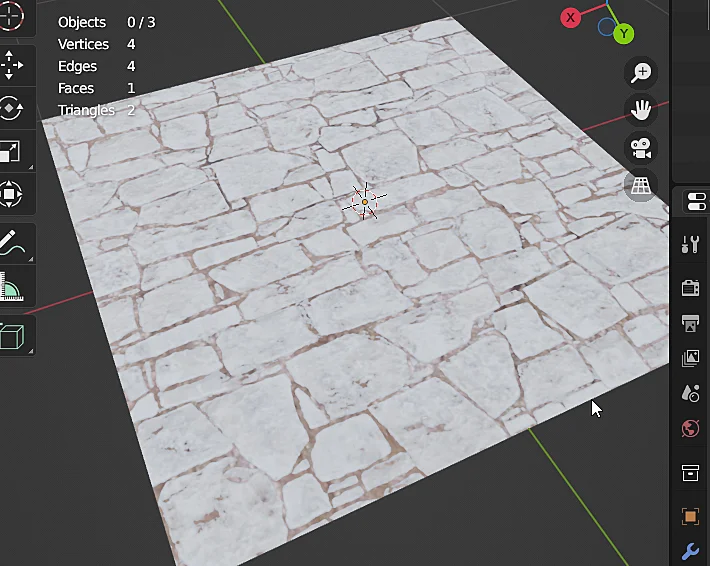
In this article we are going to see how to combine two textures in Blender to apply them to the same material using nodes, this is going to be a somewhat extensive article but with quite interesting content, we will see step by step how to go from a standard plane as in the image on the left to the result of the image on the right, in which two textures have been combined, a rock brick floor with a mud texture that is applied mostly in the spaces between the rocks, all this in a procedural way.
Download .Blend file with implemented nodes
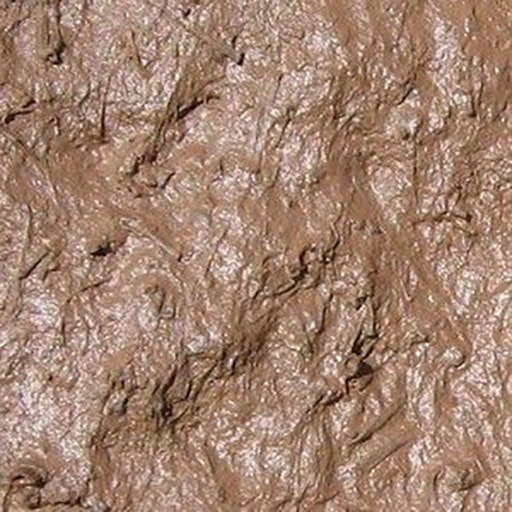
Textures from this example
If you want to follow the procedure step by step here are the images I used. Right click and save the images.

Initial configuration of the model and material
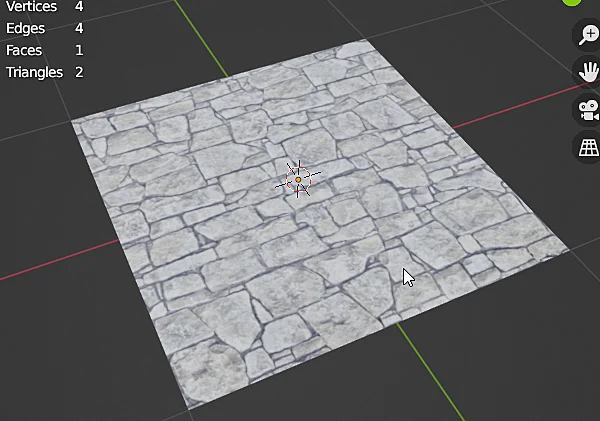
We start with the standard plane in figure 1 and create a material for it.

Configuration of the textures to be combined
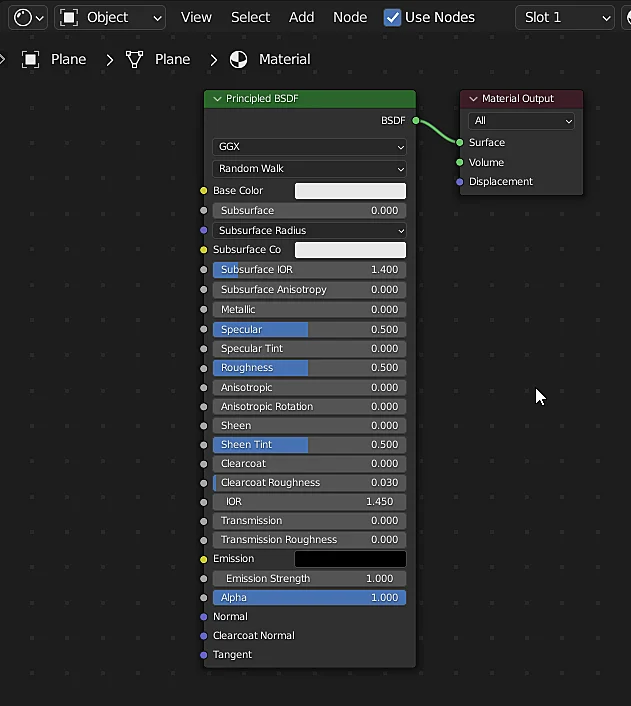
With the object and the material selected we open the Shader Editor window to visualize the material nodes, we can see it in figure 3, by default a material in blender is created with the Shader Principled BSDF, to have a very basic idea, a Shader is like a code fragment that will be executed in the graphic card and that will determine how the 3D object will be seen on screen, it is not necessary to go deeper into the subject, Blender offers us the Shader Editor to create complex Shaders in a visual and intuitive way.
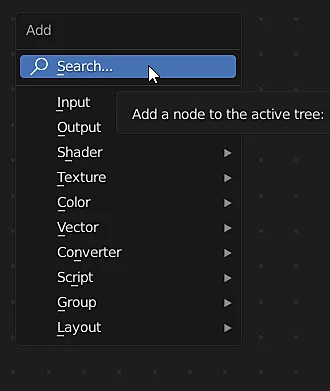
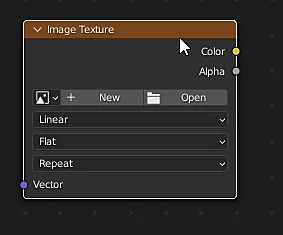
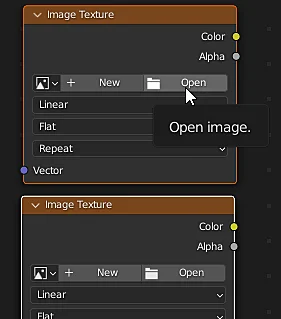
What we are going to do now is to load the two textures that we want to combine, for that in the Shader Editor window we press SHIFT+A to add a new node and clicking on “Search” we look for the “Image Texture” node and position it to the left of the Principled BSDF node, the Image Texture node should look like in figure 5.
As we are going to combine two textures we will need two image nodes so we repeat the previous step and place the second image next to the first one.
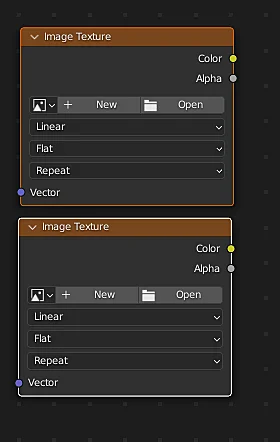
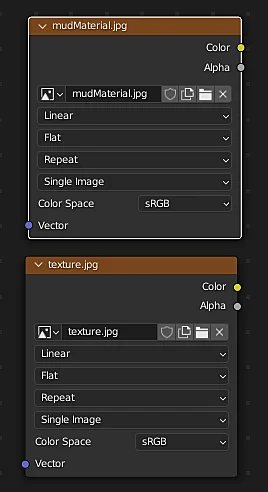
Now we load both textures, for that we click on Open and in the popup window we look for the textures we need.
Blend Node Configuration – MixRGB
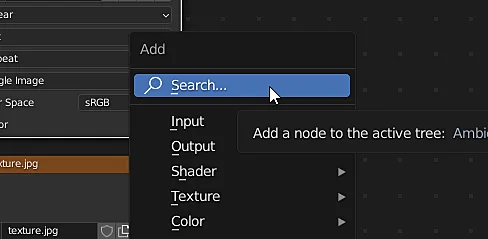
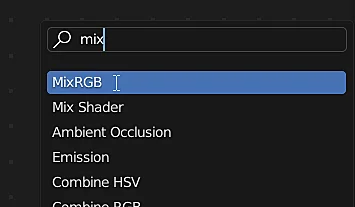
The next step is to add the node that will be in charge of mixing the textures, press SHIFT+A and click on Search to look for the “MixRGB” node, which is shown in Figure 10, place it in the middle of the images and the Principled BSDF node.
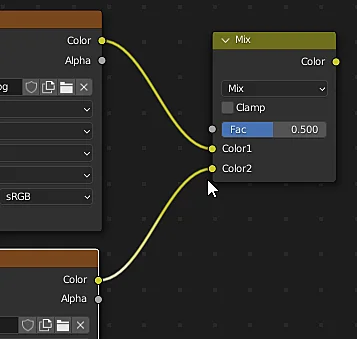
The MixRGB node combines two colors, as in this case we have textures, what it will do is to combine the colors of each texture pixel by pixel according to a mixing factor, this factor can be a constant or it can also be a black and white texture in which black represents 0 and white represents 1, being the grayscale all intermediate values. In figure 11 we see how to connect the textures that we want to combine to the mix node and in this we see the value “Fac” in 0.5, that is the mix factor, by default the textures will be mixed in a factor 50-50.
As shown in Figure 12 we connect the output of the MixRGB node to the color input of the Shader Principled BSDF.

First result of the mix of textures
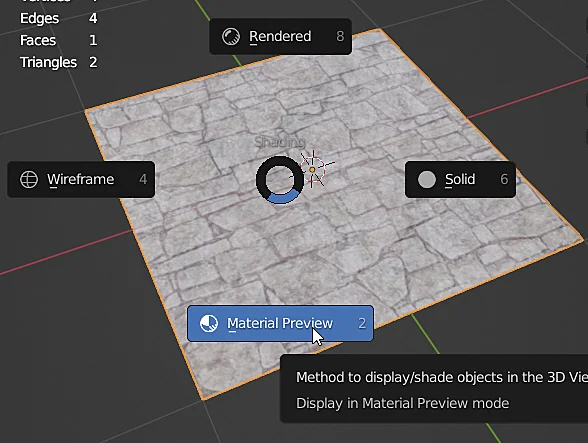
To visualize the result we go to the Viewport and with the Z key we switch to “Material Preview” or “Rendered” mode, although for the latter we must take into account the lighting. As can be seen in Figure 13, the result is a 50-50 mix between both textures in all points equally.
If we take the factor to 0 the result is that the texture connected to Color1 is completely applied, as shown in Figure 15.

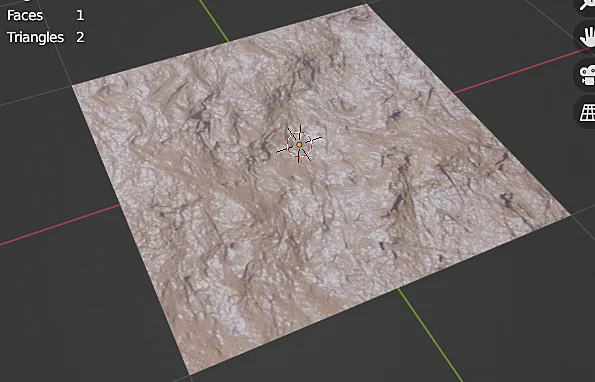
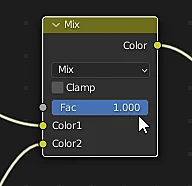
If we take the factor to 1 the result is that the texture connected to Color2 is fully applied, as shown in Figure 17.
Mixing textures using noise
Now what we are going to do is that the texture mix is not homogeneous throughout the space, we want that in some parts the brick texture is more visible and in others the mud texture, an alternative could be to use a noise node, which generates a random grayscale texture to which you can control certain parameters and generate different patterns.
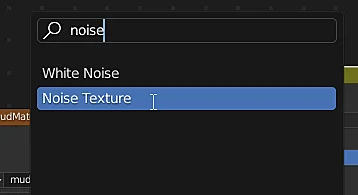
In the Shader Editor window press SHIFT+A and click on Search to find the “Noise Texture” node.

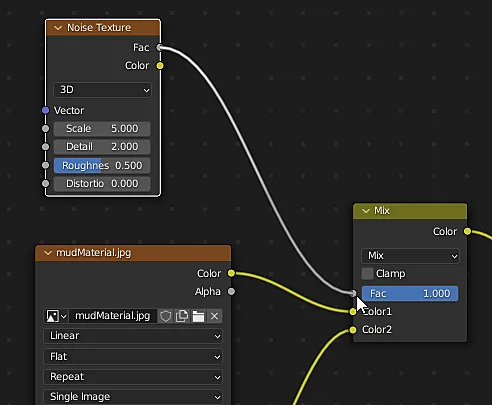
We place the node in a comfortable place that allows us to connect it to the mixing node, we make the connection as shown in figure 20.
In the material view you will notice the first results, however I am going to add an intermediate brightness and contrast node so that the grays of the noise texture are shifted to white or black.


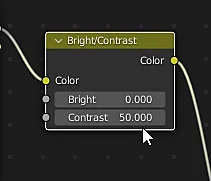
The brightness and contrast node is placed between the noise texture and the MixRGB node (Figure 25 shows how it is connected). In this case I am going to increase the contrast a lot so that there are almost no grays, in figure 23 we see that it has the value 50.
The result is that the model has some parts where the brick texture is applied and others where the mud texture is applied, as shown in Figure 24, you can play a little with the texture node parameters shown in Figure 20 to see how the texture mix behaves. You can also combine different noise textures with different scales to create large areas of a texture that has micro details. However we will leave it here and continue with the final step.

Mixing textures using another texture as a factor
What we want to do now is to use the rock brick texture itself to determine how to blend the textures, note that conveniently it is a grayscale texture in which the whiter areas are rock while the darker areas are the cracks, we are going to use this information to make the mud texture blend into the cracks of the brick texture.
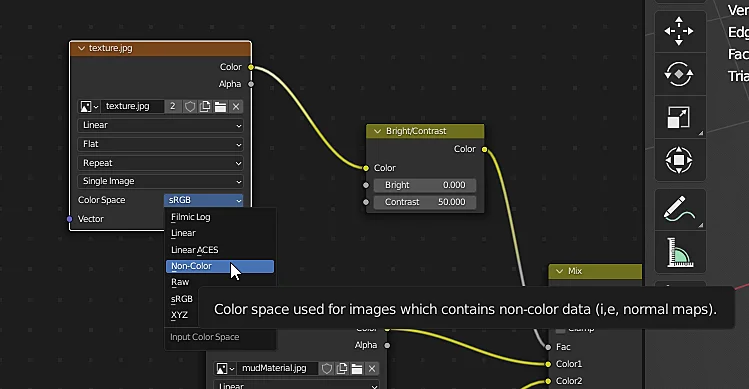
For convenience we can select the brick texture node, duplicate it with CTRL+D and position it where the Noise Texture node was. As we are not going to use this image as if it were the color of a material but as a factor we must change the “Color Space” parameter to “Non-Color” as shown in Figure 25.
By adjusting the values we can get a result like the one in Figure 26, in which the mud texture has been combined with the rock texture in such a way that it appears mostly in the cracks of the rocks.