
Introduction
Want to create glass-like materials in Blender’s EEVEE? This beginner-friendly tutorial shows how to use the Principled BSDF shader to make objects transparent. You’ll learn the essential settings for windows, bottles, and other see-through surfaces, with a simple example that anyone can follow.
In particular we see how to set up the Principled BSDF Shader to make transparent objects in Blender.
For a visual breakdown of this subject, you may find my video discussion helpful:
Download a Blender file with the transparent shader already applied.
Prepare the scene – Elements to be used
In this demonstration,
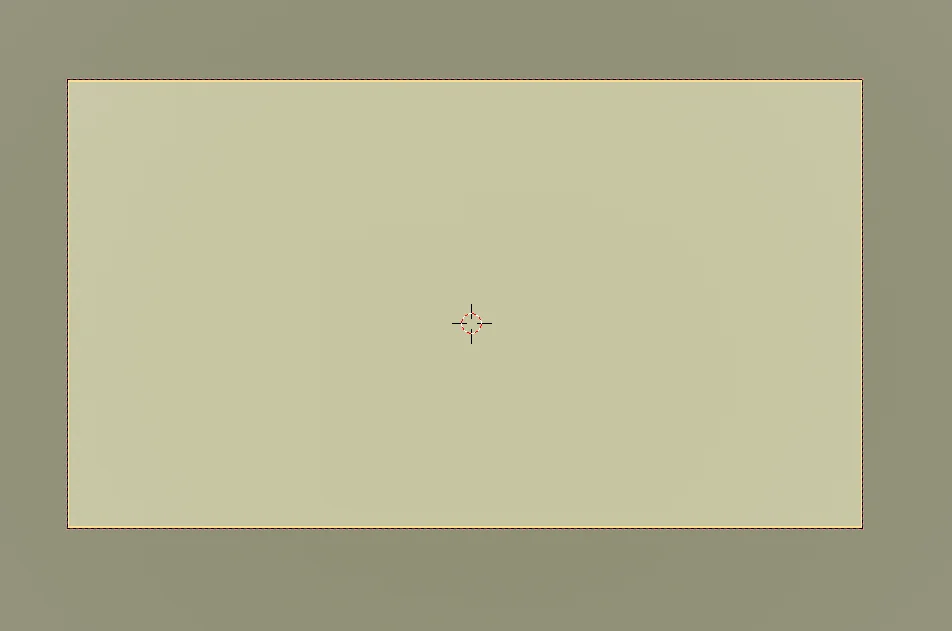
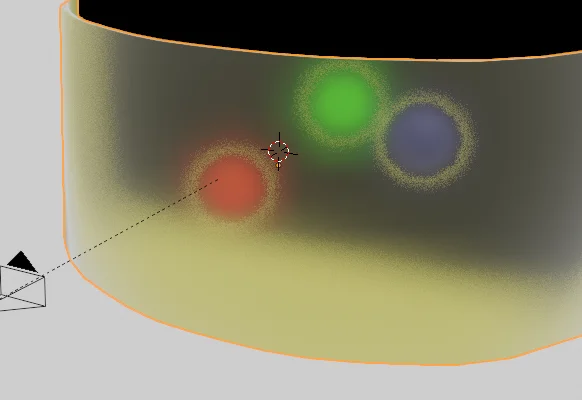
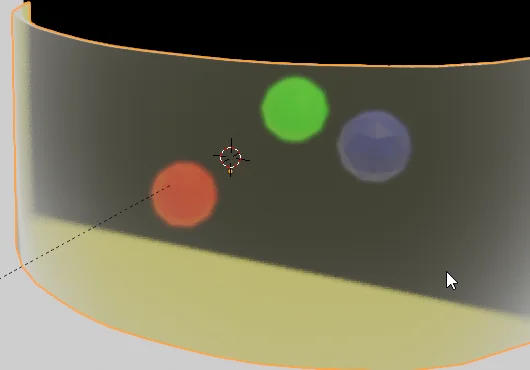
To show how to make transparent objects in Blender, we’ll use three colored spheres (Figure 1) to showcase transparency effects in Blender. The front object will be our focus as we transform it from an opaque obstruction (Figure 2) to a transparent material, revealing the objects behind it. This simple setup clearly illustrates how transparency affects both the object’s appearance and scene composition.

Create a transparent object in Blender Eevee step by step
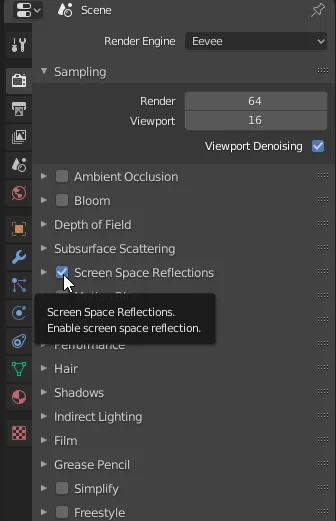
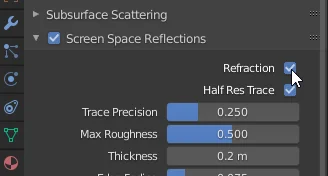
First we go to the rendering properties and activate the option “Screen Space Reflections” and inside this option we activate the “Refraction” checkbox, as shown in figures 3 and 4.
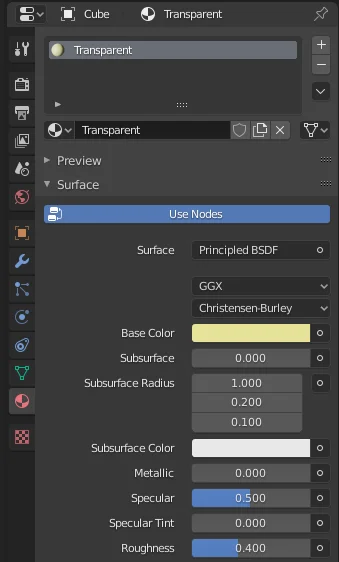
Select the object to make transparent and go to the material configuration, if it does not have any material assigned create a new material. In “Surface” choose “Principled BSDF”, as shown in figure 5.
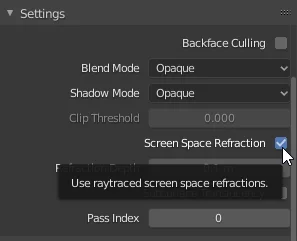
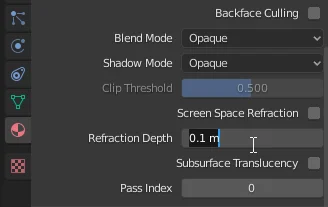
3. In the material properties we scroll until we reach the “Settings” part, activate the “Screen Space Refraction” option (figure 6) and write a value for the “Refraction Depth” parameter (figure 7), this value is used to calculate the path of the light inside the material.
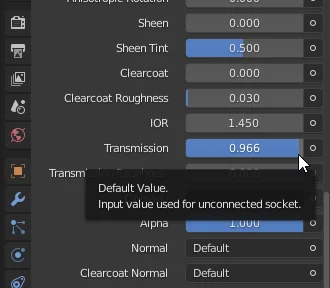
4. In the “Principled BSDF” Shader properties we increase the value of the transmission parameter.
Results
If you follow these tutorial step by step we get a transparent material applied to the object, as you can see in the following picture.
To make the material more translucent we can decrease the value of the “Roughness” parameter. That way the objects behind are not so distorted, in figure 11 you can see the result. You could also use a texture to give it roughness.

You have reach the end of the article, if it was useful consider subscribing to the channel!