Introduction
In this article we see how to reuse the same material in different objects in Blender, that way when we modify the material that change is automatically applied to all the objects that are using the same instance of the material.
In the following video we see how to APPLY the SAME MATERIAL to MULTIPLE OBJECTS in Blender

Creating and assigning material to an object in Blender
The first step will be to create the material, if you have already created a material continue down to “How to reuse a material in Blender“.
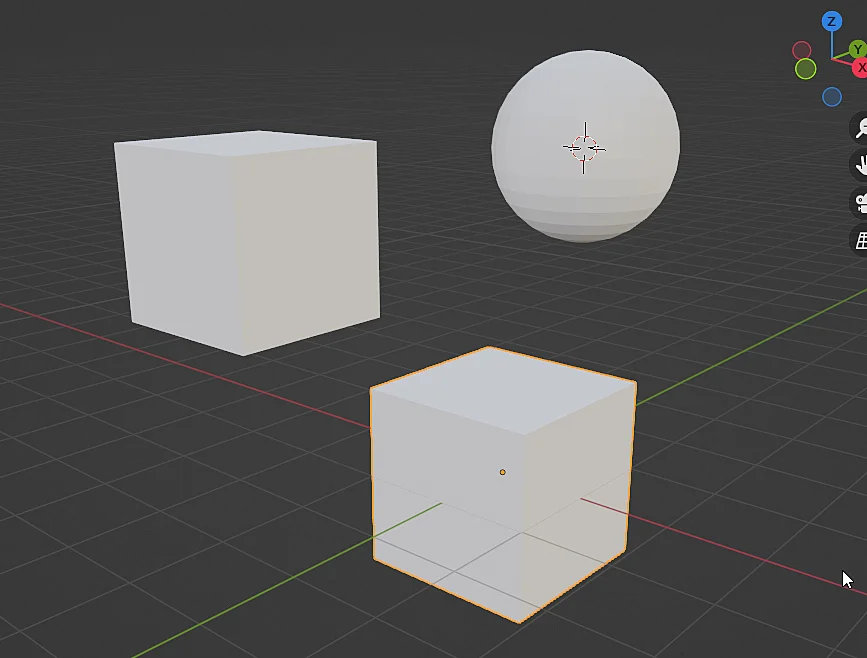
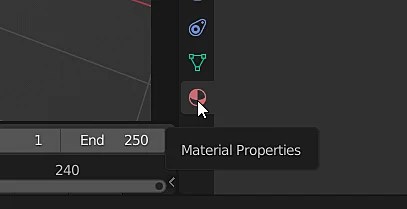
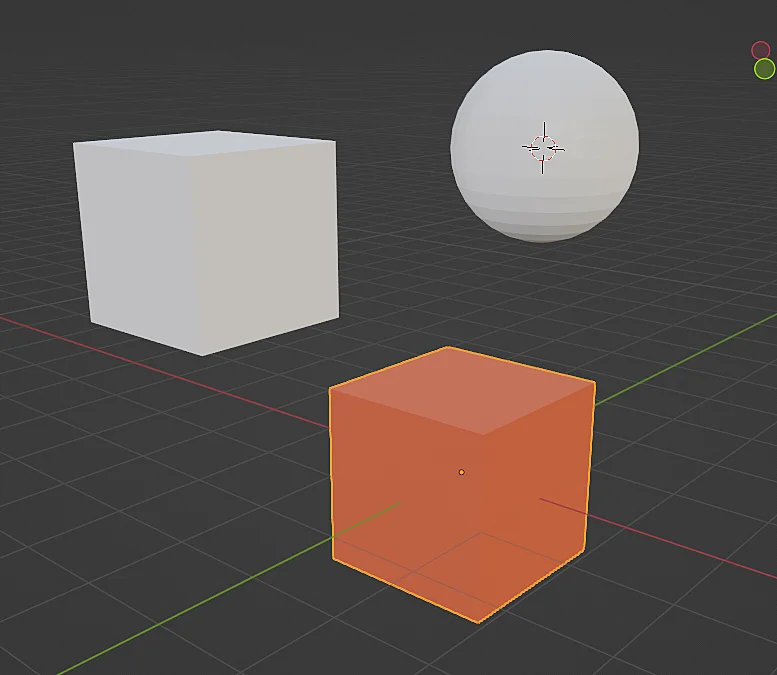
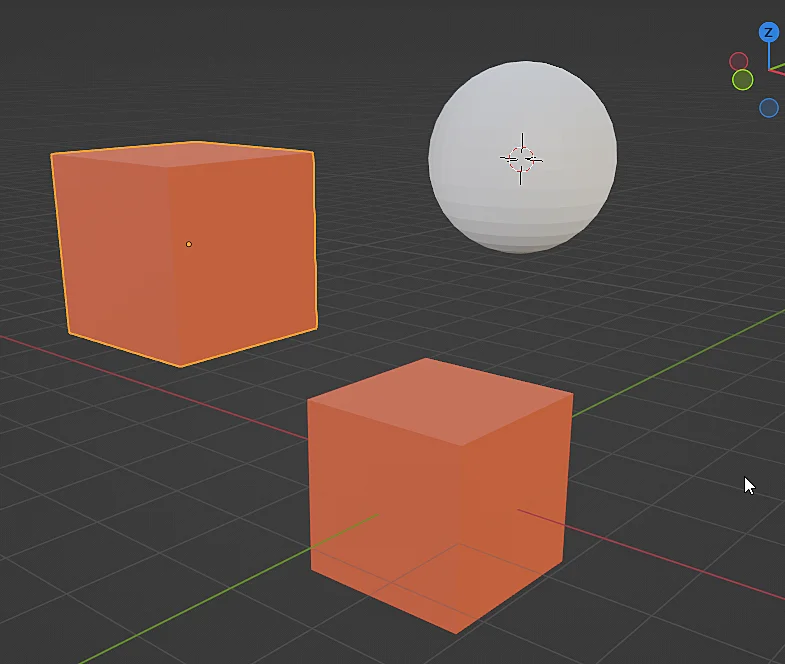
We start with the objects shown in figure 1, these have not yet been assigned any material so we will select one of them and go to the material tab with the icon shown in figure 2.


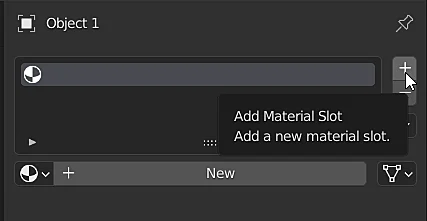
Now let’s add a new Material Slot by clicking on the + button shown in figure 3. An object can have multiple materials assigned to different faces of the model, so you can add as many slots as you need.
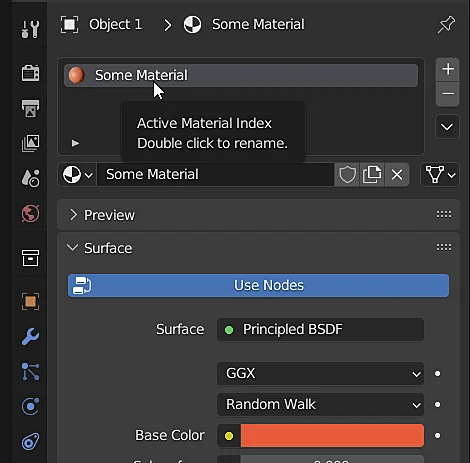
The next step is to create the material by clicking on the “New” button, at this point we are creating the instance of the material, this step must be done only once if we want to reuse the same material.
Figure 4 shows the material I have created and assigned a name and color to it.


How to reuse a material in Blender
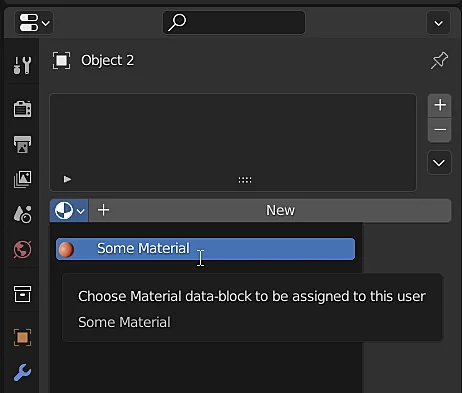
To reuse the material that was created in the previous step in another different object what we are going to do is select the other object and in the materials tab, instead of adding a new slot and creating a new material, we directly click on the materials icon (the sphere to the left of the new button in figure 6) and select from the list the material we want to reuse. In figure 7 we see the result, both objects have the same material assigned.


Modificar el color en un objeto en Blender cambia el color en otros objetos
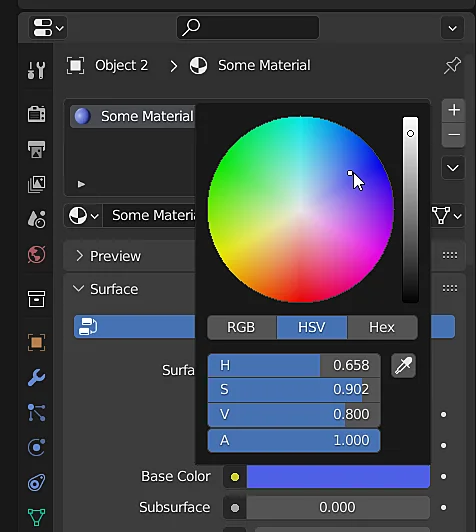
This happens because both objects are assigned exactly the same material, precisely this is the concept of instance, a material has been defined in the scene and that same material has been assigned to different objects, the objects are simply using that material, so that when we modify it, for example if we change the color as shown in figure 8, all objects that are using that instance of the material will change their appearance, as shown in figure 9. If you want each object to show a different material you will have to create new materials as shown at the beginning of this article.