

Introduction
In this tutorial, you’ll learn how to subdivide a 3D model in Blender—a fundamental technique for adding intricate detail while preserving flexibility. Using non-destructive methods like the Subdivision Surface modifier, you can work on a low-poly base mesh and preview high-resolution results in real-time. This approach keeps your scene lightweight and lets you adjust subdivision levels at any stage of your workflow.
For a visual breakdown of this subject, you may find my video discussion helpful.

How to subdivide the faces of a 3D model in edit mode
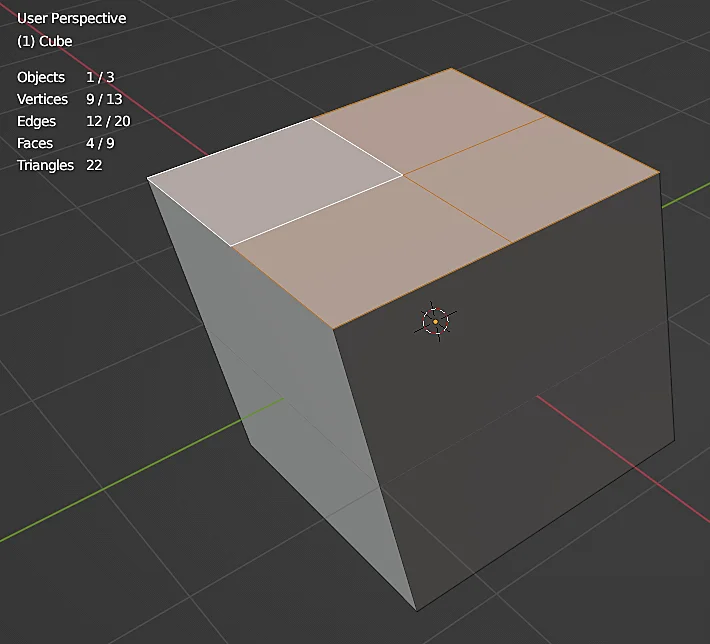
We’ll begin with a default cube (8 vertices, 6 faces) as shown in Figure 1, which also displays the polygon count. To subdivide it:
- Enter Edit Mode (press
Tab). - Select all elements (
Akey). - Right-click and choose Subdivide (see Figure 2).


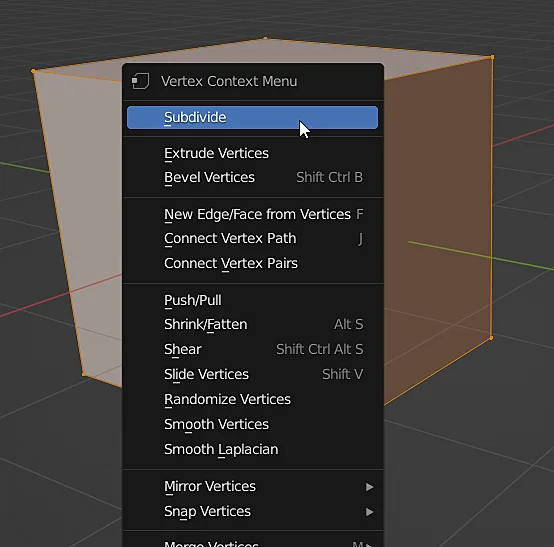
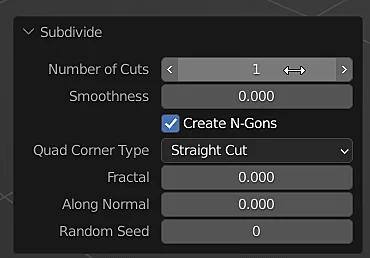
After subdividing, a configuration panel labeled Subdivide will appear in the bottom-left corner of the Viewport. Here, you can adjust parameters like Number of Cuts to control the density of new geometry.

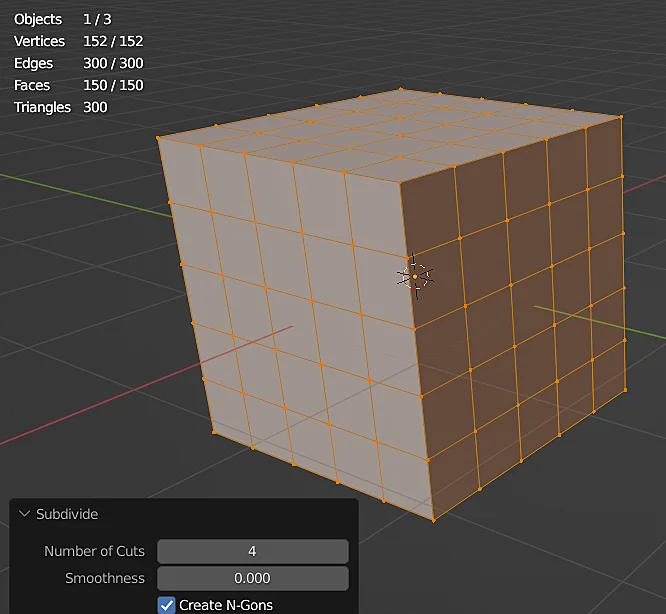
As shown in Figure 4, applying four subdivision cuts to the original cube significantly increases the vertex count, creating a denser mesh while maintaining the overall shape.

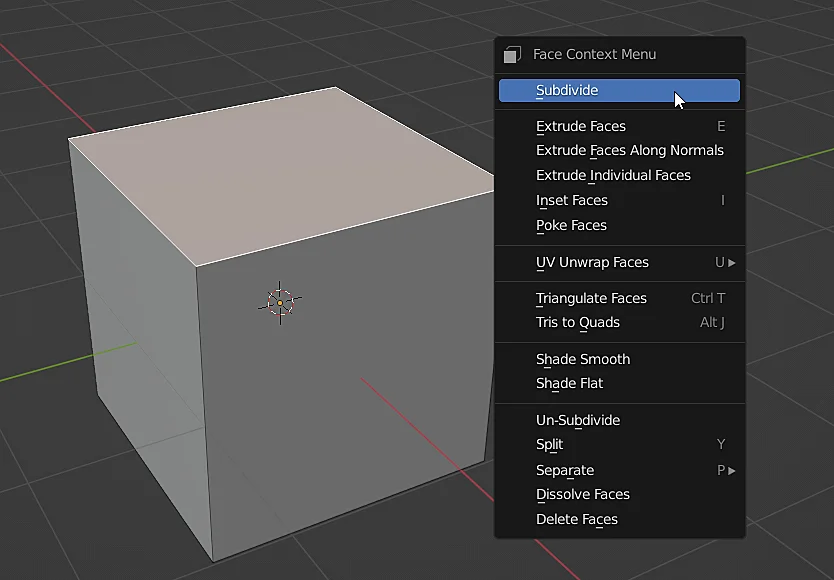
A subdivision can also be made on a single face or a selected set of faces.


Subdivisión con modificador Subdivision Surface
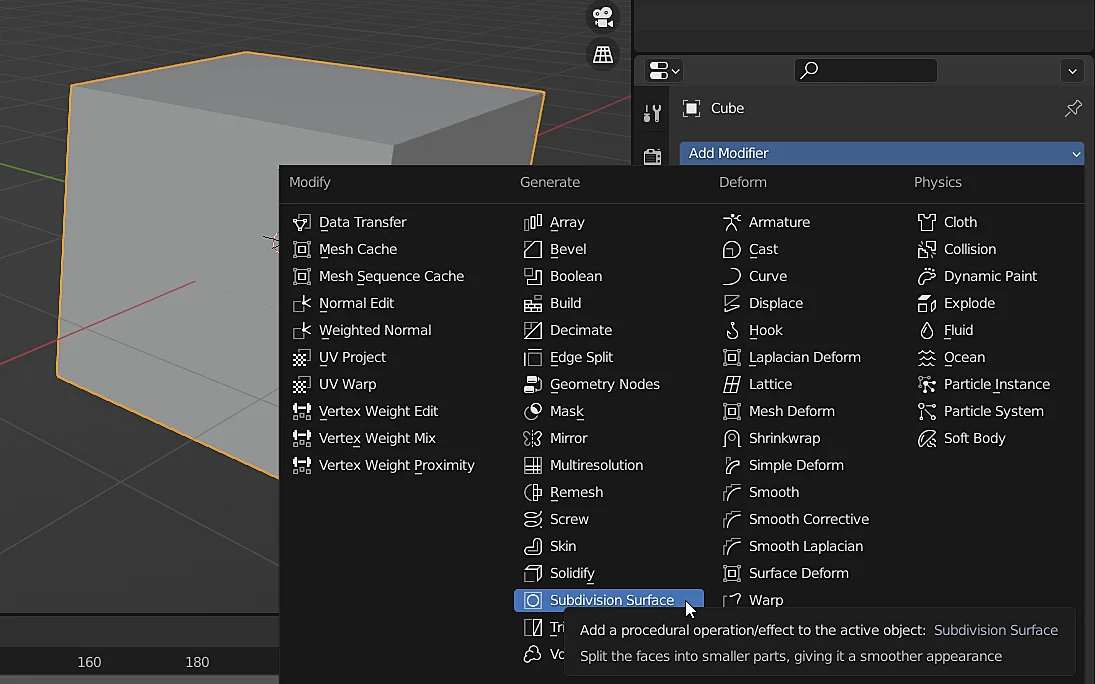
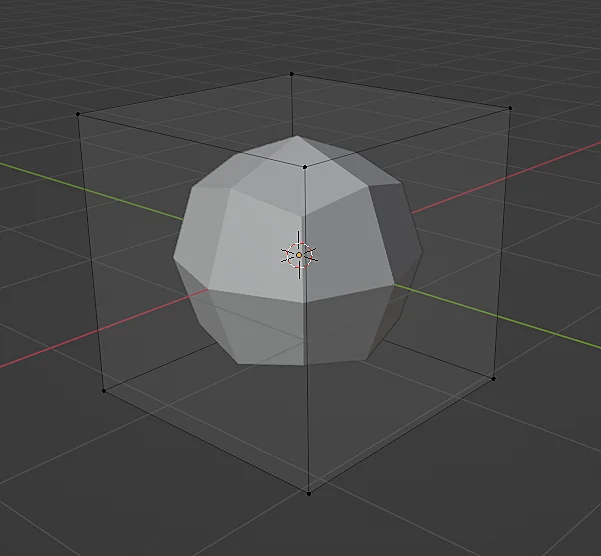
Another way to subdivide an object in Blender is by applying the “Subdivision Surface” modifier which not only subdivides the mesh but also executes a smoothing algorithm, to apply this modifier we select the object, go to the modifiers tab, click on “Add Modifier” and look for the “Subdivision Surface” modifier as shown in figure 7.

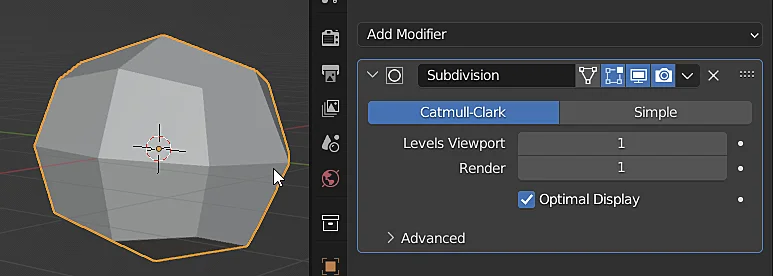
EIn figures 8 and 9 we see the result of applying the subdivision with this modifier, the new faces appeared but also the cube had its corners rounded. When we use this modifier it is important to define the level of subdivision, a very high level could slow down the computer or even make it crashes.
An alternative to not slow down the computer is to use a level of detail while we are working and for rendering take a higher value, this with the “Level Viewport” and “Render” properties shown in Figure 8.


As it is a modifier applied to the object, the subdivisions are procedural, i.e. the final 3D model is the result of the application of a computational algorithm that has as input the initial 3D model. If we enter the edit mode of the object we see that it is still a cube with 8 vertices.

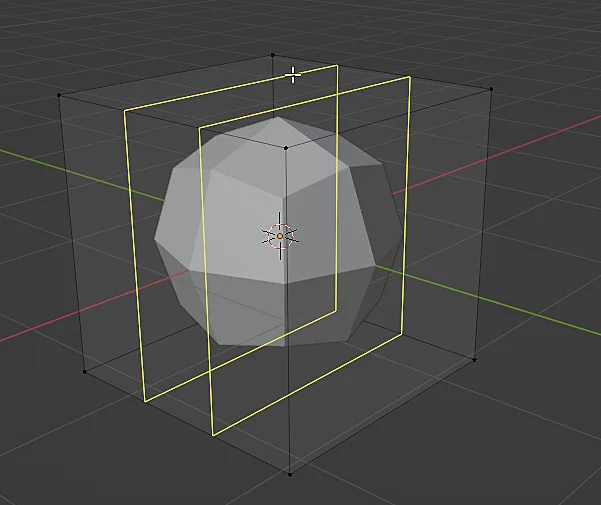
In figure 11 what I do is to press CTRL+R and add two cuts to the cube, then I scale these cuts to obtain the result of figure 12, notice the shape that the object took when doing this because it has applied the Subdivision Surface modifier that is now applied on the new faces.


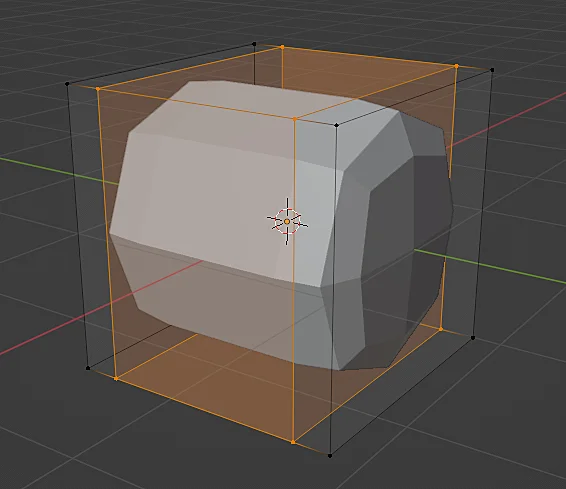
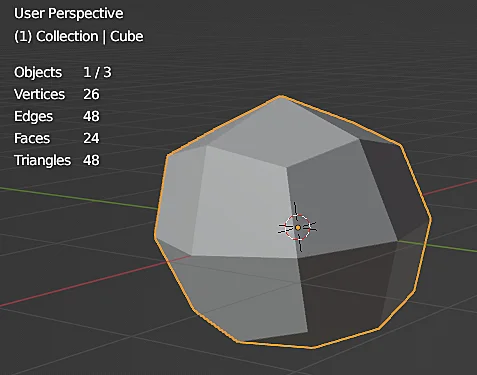
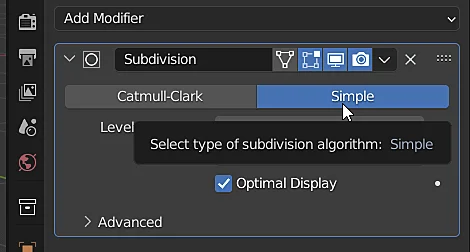
In the properties of the Subdivision Surface modifier we can configure it so that it does not round the objects, simply add new geometry, for this we click on the “Simple” button shown in Figure 13. The cube in figure 14 seems to have 8 vertices at first glance but if we see the information of the polygons it tells us that it has 26.


Finally, if we want to keep the 3D model with the geometry subdivided to make modifications we can apply the modifier by clicking on the arrow above the single button in Figure 13 and put the option “Apply”, but be careful, once we apply the modifier and make several changes there will come a point where we can not go back by undoing changes. You should consider this carefully before applying a modifier and it may be useful to save a backup copy of the object with the modifier.