Introduction
In this article we see the procedure to bevel a model in Blender on an edge and on multiple edges. The bevel is an oblique cut on one or more edges of a model.
Bevel on one edge
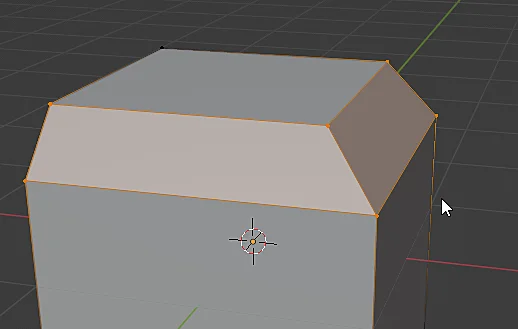
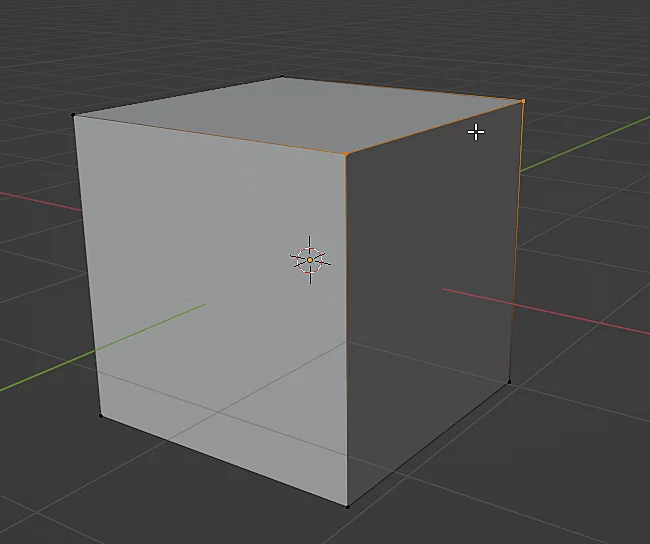
To make a bevel on an edge we have to be in the edit mode, then we select the edge, press CTRL+B and move the mouse slightly, with this we get a result as in figure 2, we can change the size of the bevel by moving the mouse to one side or the other, when we have the result we want we click to confirm.


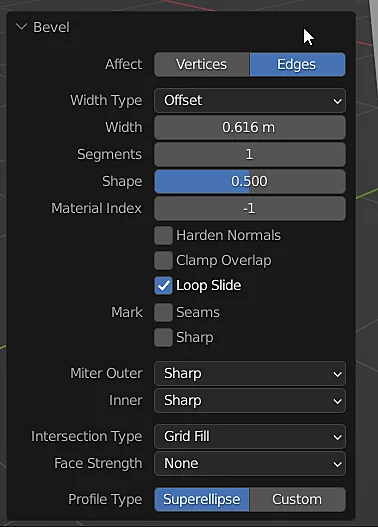
When confirming the bevel, a window with options appears in the lower left corner of the 3D view window, where we can change different parameters such as bevel width, subdivisions, among others.
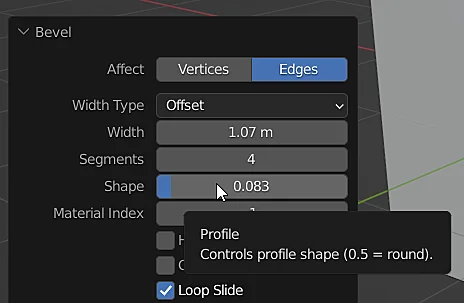
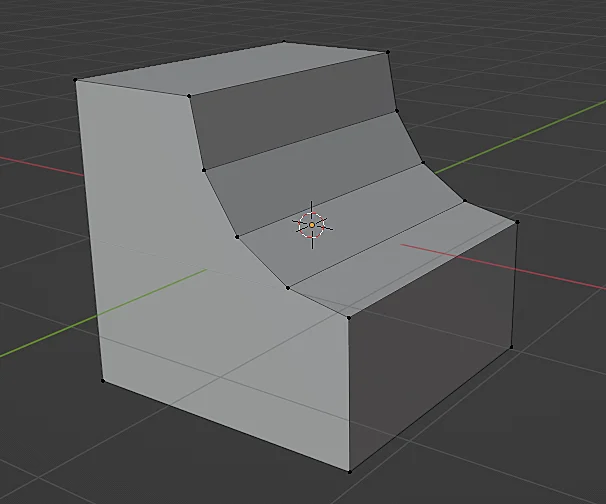
In figure 4 I increased the number of segments to 4 and reduced the Shape parameter, which made the cut on the part have the curvature shown in figure 5.


Bevel on multiple edges
If we select two or more edges and press CTRL+B the bevel is made on all edges and normally taking as reference the midpoint of the selection, depending on the pivot point we have selected.