Introduction
In this article we will see how to show only the selected object in Blender and hide all the other objects, this is a simple trick that works for objects and also geometry, that is to say, we can select a couple vertices or faces and isolate that geometry from the rest and work better.
For a visual breakdown of this subject, you may find my video discussion helpful:

Procedure to isolate objects and geometry in Bleender
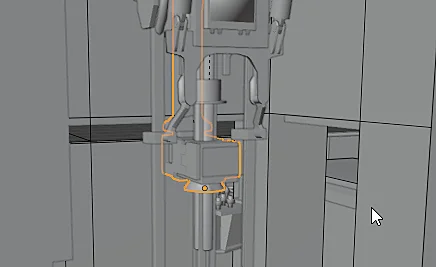
Let’s consider the situation we have in figure 1, in which we have a selected object that is surrounded by other objects, we would like to be able to visualize only the object we have selected and hide the rest, for that we can use the shortcut SHIFT+H, which results in what we can see in figure 2. To make visible again all the hidden objects we press ALT+H.