Updated information about this project
This article belongs to a series that consist on making a first person game about finding objects inside a maze. It’s one of my very first series from the channel. Now I reworked this project and you can download it to import in your own Unity project. Some day I will make a new series about this project, subscribe to my channel to see all the fresh content about Blender, Unity and programming.
Follow me on itch.io and download the source code of this project

YOU CAN TRY THIS GAME HERE, IT MAY TAKE A LITTLE WHILE TO LOAD
🔻
MOVEMENT: WASD CAMERA LOOK: MOUSE
Introduction of the old article
In this article we are going to analyze in detail the video 5 of the labyrinth series, in this video we create a simple interface with the minimum functionality so that the user can interact with the game.
This article covers the design of the graphical interface, the programming of the operation is done in the following article.
Go to the project’s Main Page
Video related to this article

User interface
The user interface of our game will allow the player to configure parameters such as resolution, volume, load and save games, start playing, see your score and so on.
In our case we will focus on making a graphical interface with the minimum functionality we need for the project, which is first a “Main Menu” where the game starts and from there we can start the game.
The second thing we need is a graphical interface that is shown while we are playing, for the moment we want to visualize the countdown.
User interface functionality
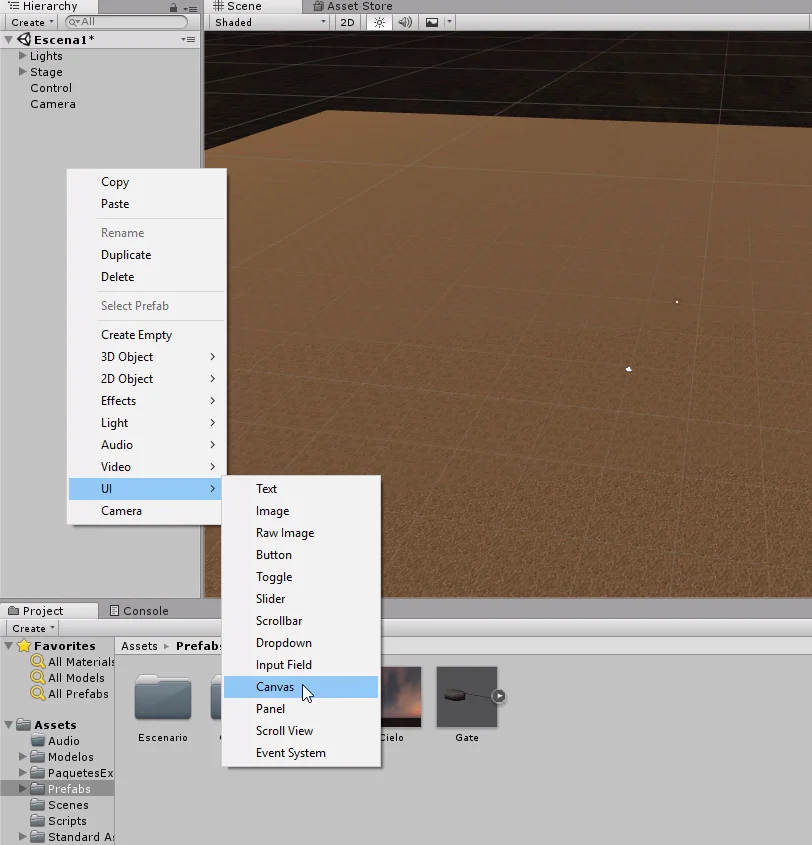
What we’re going to do is create a Canvas type GameObject that is a basic element in the GUI and then two empty GameObjects that will contain all the elements of the main menu and the game.
When the game starts the graphical interface of the main menu will be active, which will only show us a button to start the game.
Pressing the button will turn off the graphical interface of the main menu and turn on the game which shows the remaining time to complete the mission.
When the game is over, we’ll turn off the game’s graphical interface and turn on the main menu interface again.
This way we don’t need a second separate scene for the game and we can solve everything in the same scene.
Procedure
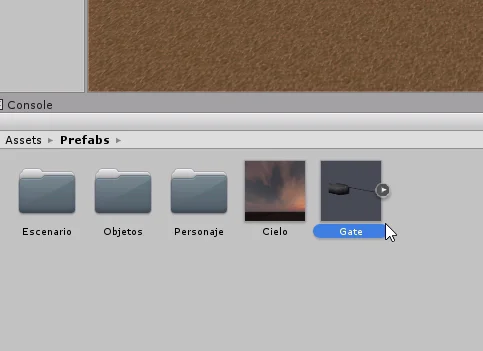
Before we start making the graphical interface we will create a prefabricated object of the door to be able to replicate easily. We took the scene as it was at the end of the previous video (figure 1) and eliminated three doors and three points of appearance.


We take the point of appearance we have left and make it the son of the door.

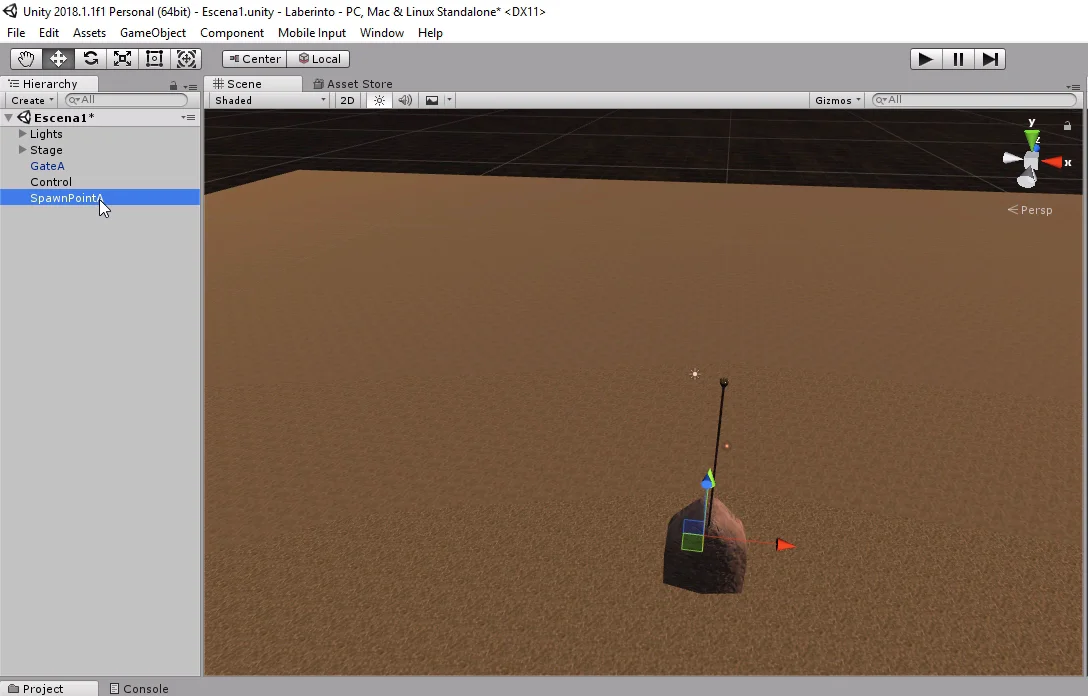

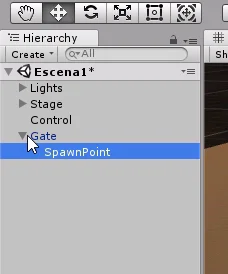
Then we take the GameObject Gate from the hierarchy and drag it to the Prefabs folder of our project, with this we create a prefab that we can place as many times as necessary in our game.


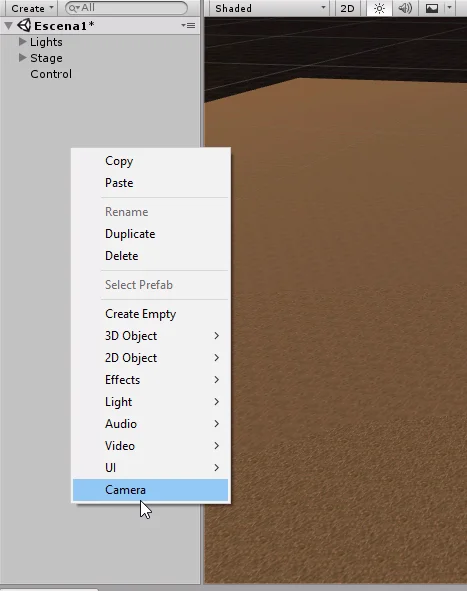
We are going to create a camera that will be initially active for when we show the graphical interface of the main menu.
This camera will be turned off when the game starts so that it doesn’t conflict with the camera included in the character’s prefab.

User interface design
Now we begin to create the necessary elements for the graphical interface. First a Canvas where the elements will be placed.

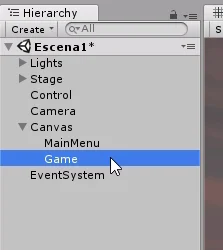
Como se dijo en la introducción, creamos dos Empty GameObjects para que contengan los elementos de cada pantalla.

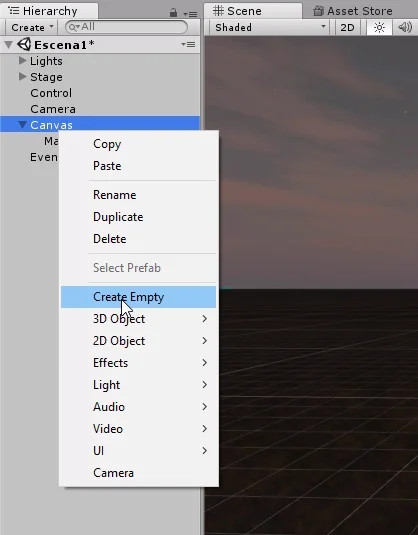
Vamos a nombrar a estos objetos “MainMenu” y “Game” para identificarlos fácilmente, como se observa en la figura 9.

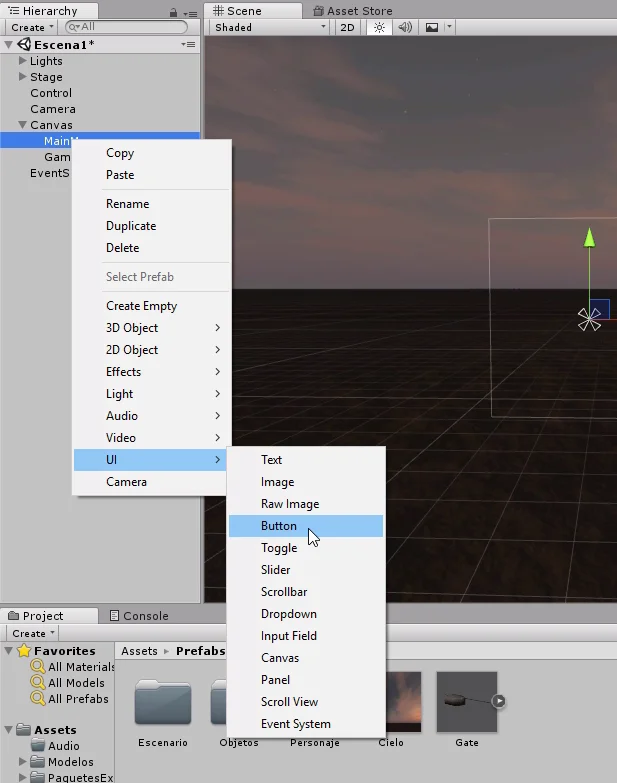
Right-click on the GameObject “Main Menu” to create a button.

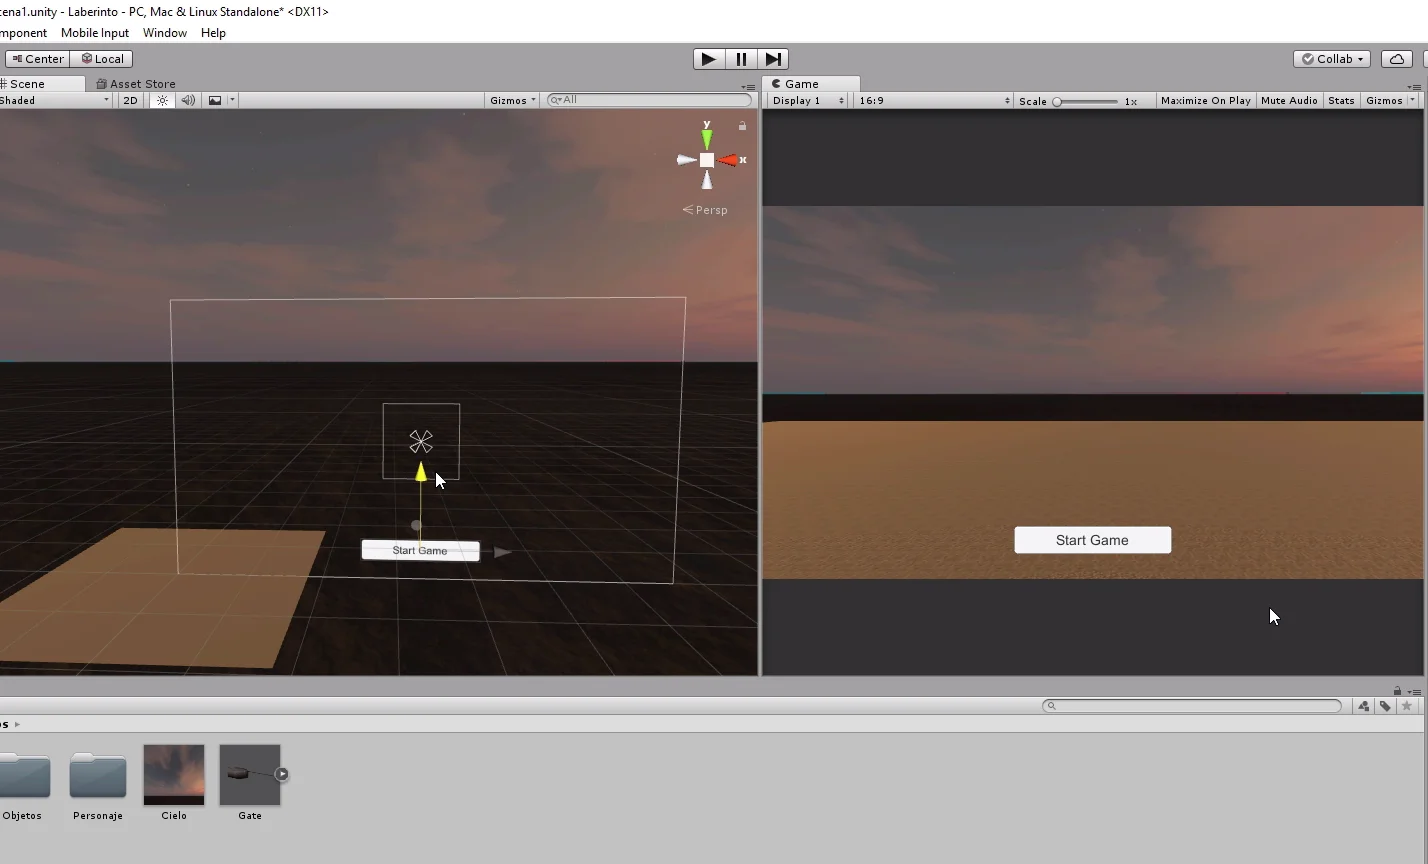
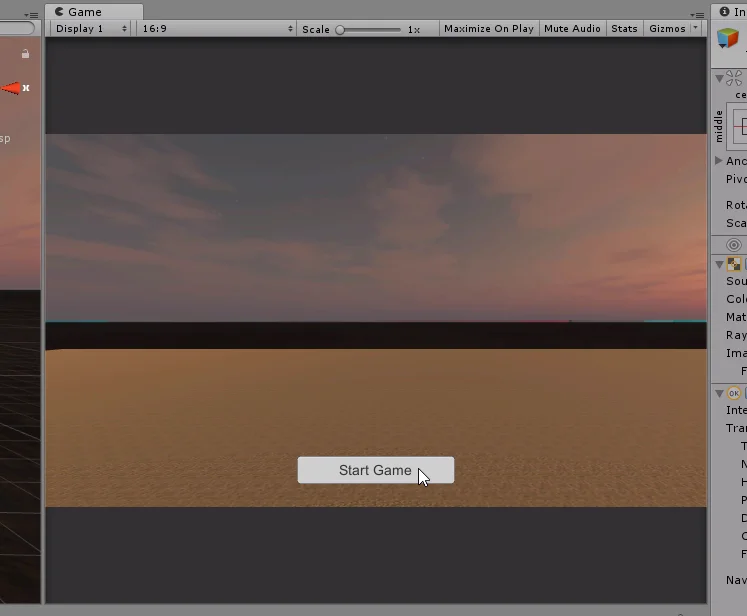
To see our graphical interface, in the tab “Game” we will select an aspect ratio 16:9.


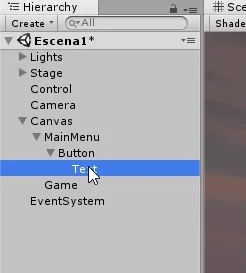
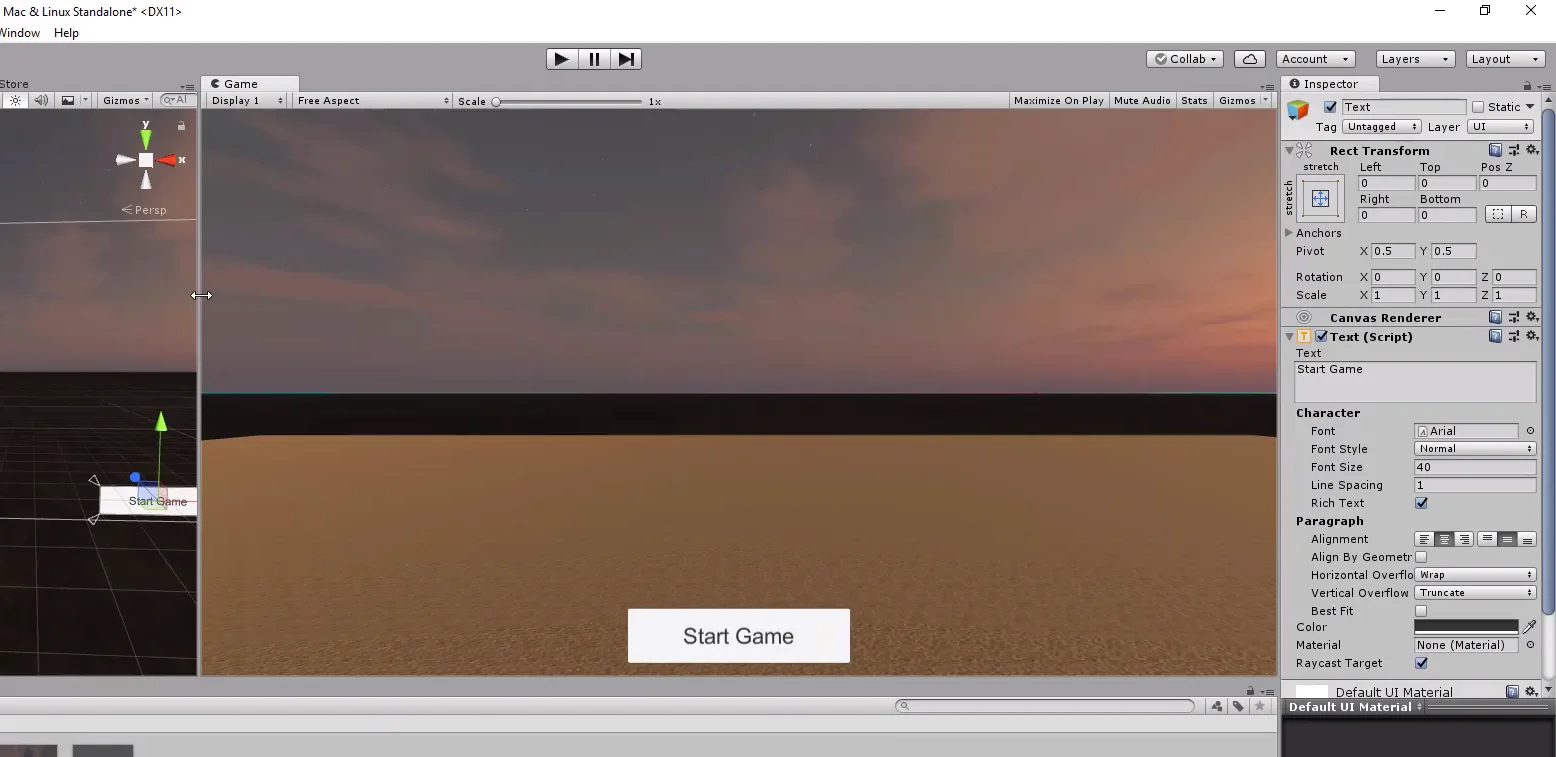
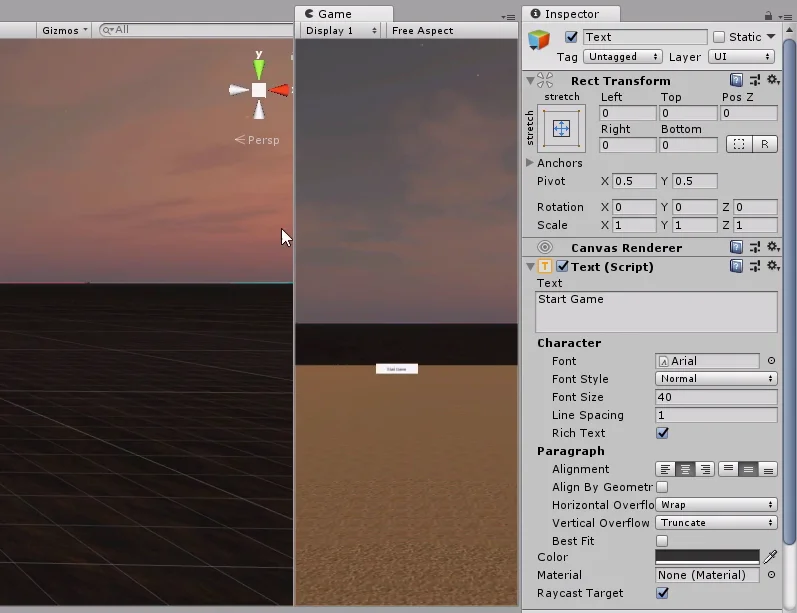
Inside the button we have like son a GameObject type text, we are going to select it to modify it in the inspector.

Type “Start Game” in the text field shown in figure 13 on the right.


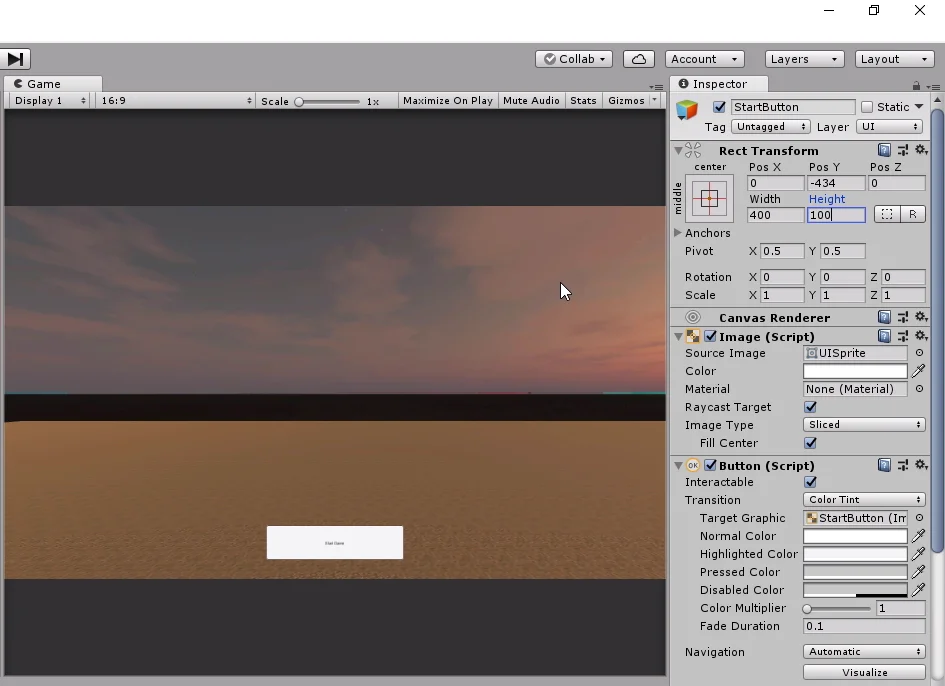
Using the basic tools we can position the button on the screen.

When entering the game mode we see that the button has an animation when you press it, but of course it still does not perform any action.

Let’s give the button the name “StartButton” to easily identify it in the hierarchy.


The next thing we do is create a text type GameObject, this time as a child of the “Game” object.


In the inspector we write any value with the time format, only to visualize it on screen. Later we will modify the text using C# code.


In addition to writing the text we can do other actions such as center, change the size of the font, font type, color and so on.

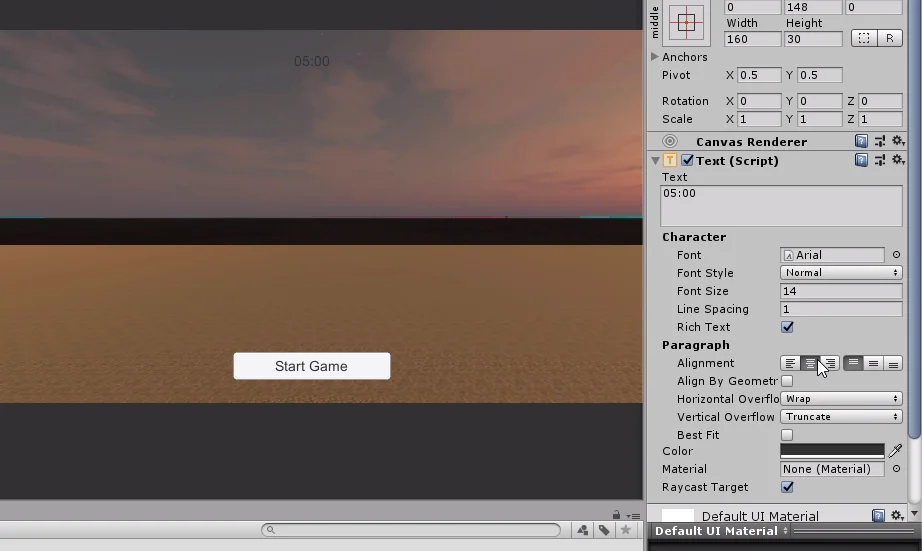
We choose a font size that fits the button well.


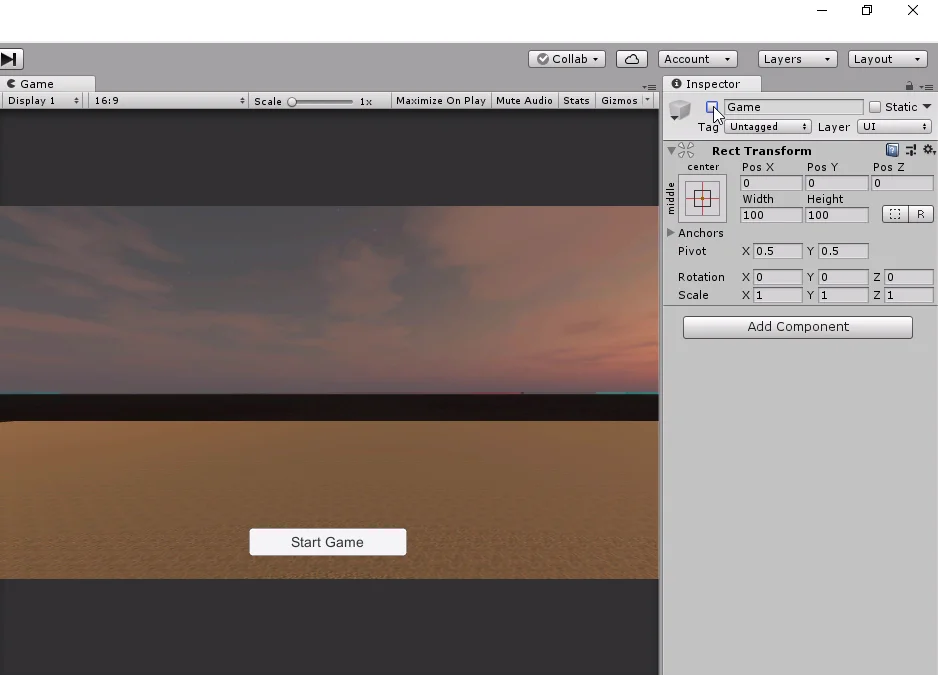
With the GameObject “Game” selected, at the top of the inspector we have a button that allows you to enable and disable it (figure 21), this makes it show or not in the graphical interface.
We will use this property from the C# script to program the behavior of the GUI.

Adaptation to different screen resolutions
How to make our game look good in any screen resolution is not a minor problem.
There are several ways to approach this issue, for example we could create a different user interface for each resolution, then using a c# script we could detect what type of resolution the device has and show the appropriate graphical interface.
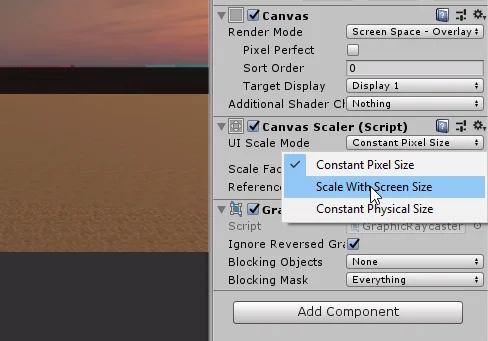
In this video we use a component that is assigned to the Canvas and is called “Canvas Scaler”, canvas climber.
This component will make the graphical interface bigger or smaller depending on the screen resolution. For the moment this will help us.

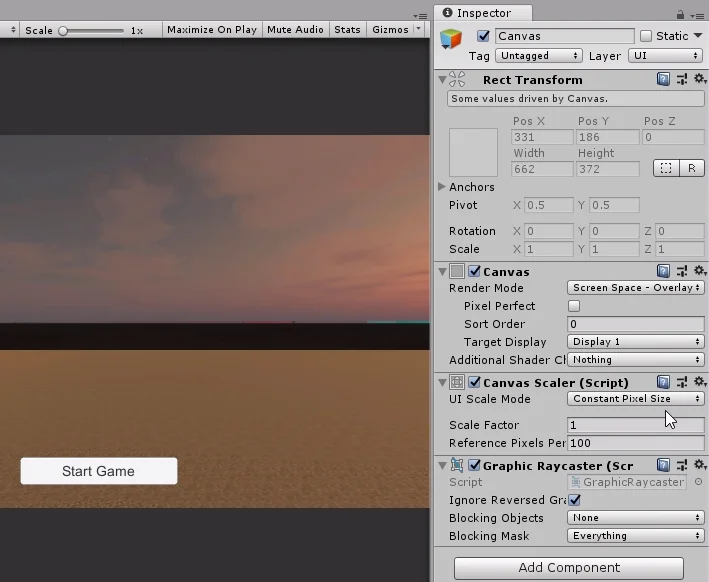
Display the “UI Scale Mode” menu which by default is in “Constant Pixel Size” and select the “Scale With Screen Size” option.

Then we set a reference resolution, in my case I’m going to use 1920×1080, as shown in figure 24.

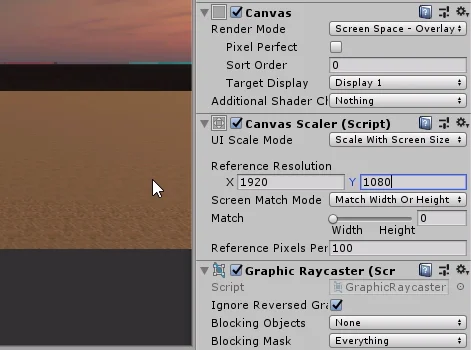
We must now adjust all the elements so that they look good for that reference resolution.


Adjusting the canvas scaler is something that would have been better to do from the beginning, but in this labyrinth series we’re showing all the elements we count on to make a game in Unity, it didn’t make sense to show the canvas scaler before showing the canvas and its elements first.


Once we have adjusted the elements to the new reference resolution, we can observe the behavior of the Canvas Scaler, selecting Free Aspect for the aspect ratio, using the drop-down menu we use in figure 1.
Then making the window wider or narrower we observe in figures 28 and 29 that the button becomes proportionally larger or smaller.


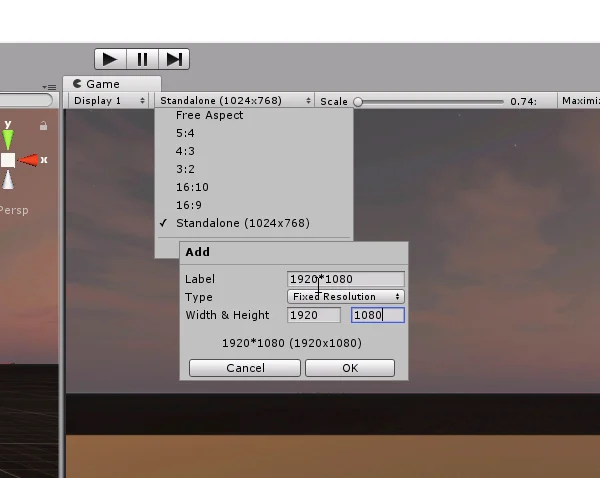
The last thing we do is create a new resolution for the game window. FullHD 1920×1080.
This resolution is only for viewing in the editor, it has nothing to do with the resolution that the executable game will have.

Conclusion
In this article we have reviewed the key points to create a simple graphical user interface, i.e. the minimum necessary elements that the player needs to see to use the game.
The basic element of the graphical interface in Unity is the Canvas, inside the other elements will be placed.
The “Canvas Scaler” provides us with a simple solution for adapting the graphical interface to different resolutions.
As the project has not yet advanced much, the game still does not have more functionality than placing the character on the stage. Later on we’ll have to include more elements in the interface and probably create more screens.