

Introduction – What is the Skybox in Unity?
The skybox in Unity serves as a distant backdrop that completely encompasses your scene, creating the illusion of a far-off environment that always remains out of reach regardless of camera movement. Functioning as the horizon of your game world, skyboxes can be customized with different textures to dramatically transform your scene’s atmosphere. In this guide, we’ll walk through the process of changing Unity’s default skybox, allowing you to create a personalized environmental backdrop that enhances your game’s visual identity and mood.
For a visual breakdown of this subject, you may find my video discussion helpful:

First Step – Get an HDR Texture to use as Skybox
Customizing your Unity skybox requires specific texture types, with HDR (High Dynamic Range) textures being particularly effective. Unlike standard textures, HDR formats contain expanded luminance data, allowing them to store a wider range of brightness values. This makes them ideal for scene illumination, as you can adjust their intensity while maintaining realistic light behavior and proper exposure across both bright and dark areas. When implemented as skyboxes, HDR textures can significantly enhance your scene’s lighting quality and overall visual fidelity.
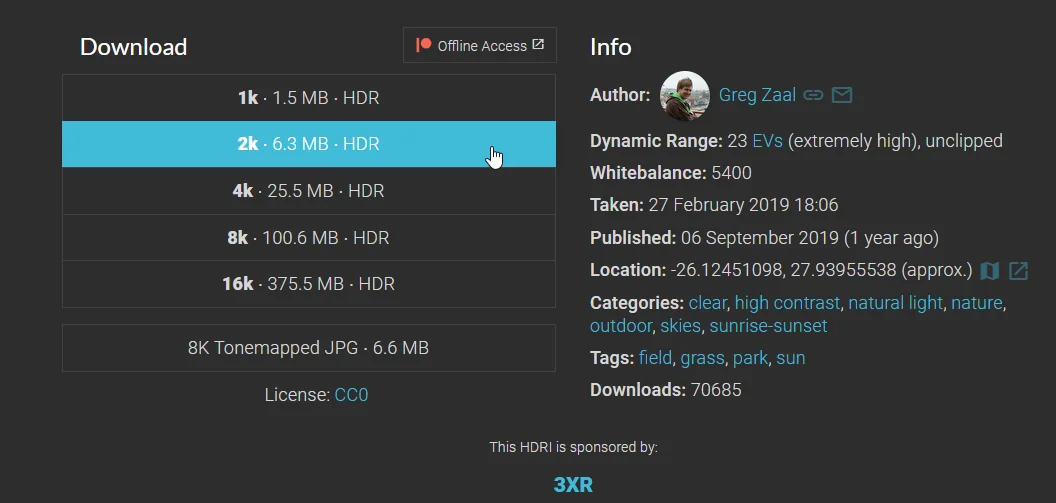
“For high-quality HDR textures, Polyhaven offers an extensive gallery of free environmental images perfect for Unity skyboxes. Their collection features diverse scenes ranging from natural landscapes to urban environments, all available in multiple resolution options from 1K to 8K. This flexibility allows you to balance visual quality against performance requirements for your specific project, as demonstrated in Figure 2. These professionally captured HDR images provide both realistic backgrounds and accurate lighting information in a single asset.
Poly Haven


How to change the Skybox in Unity – Step by Step
Before showing the complete process I will put a list of steps to summarize the process, if you already have experience with Unity you may find it useful.
1. Import the HDR texture into Unity and in the inspector set its “Texture Shape” parameter to “Cube”.
2. Create a new material and set the Shader type as Skybox > Cubemap.
3. Assign the HDR texture to the “Cubemap HDR” field of our material. With this we have the Skybox ready to use it.
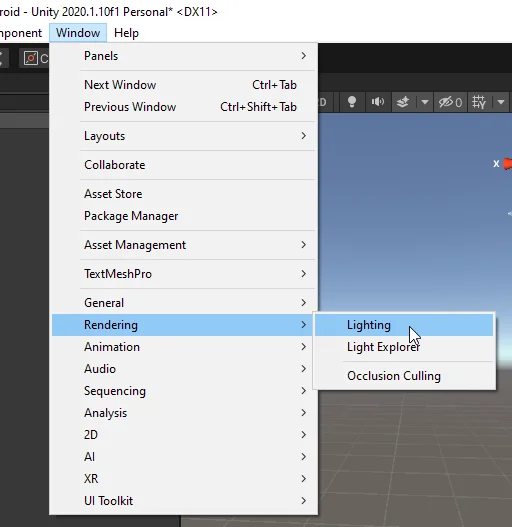
4. Go to the Window > Rendering > Lighting window, Environment section and in the Skybox field select the material you have configured in the previous step.
5. (Optional) If the texture does not have good quality, modify the compression format or download a higher resolution HDR texture.
Detailed procedure on how to change the Skybox in Unity
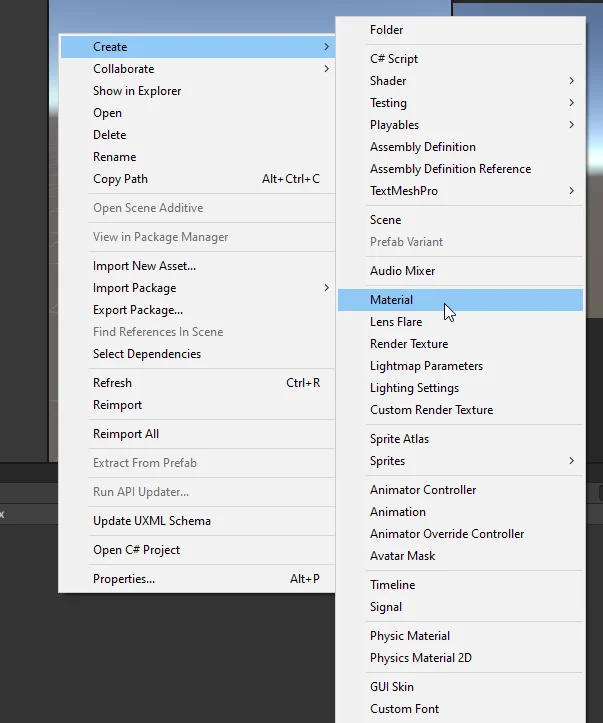
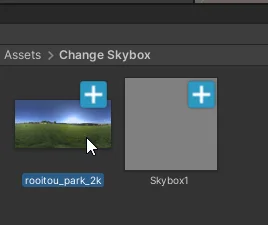
Once we import the HDR texture into Unity we will create a new material, in the Assets folder, right click, create and then select material.

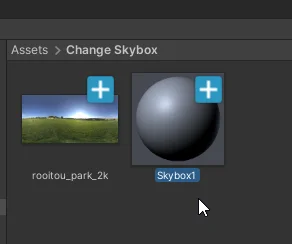
We give it a name and then select it to see its properties in the inspector.

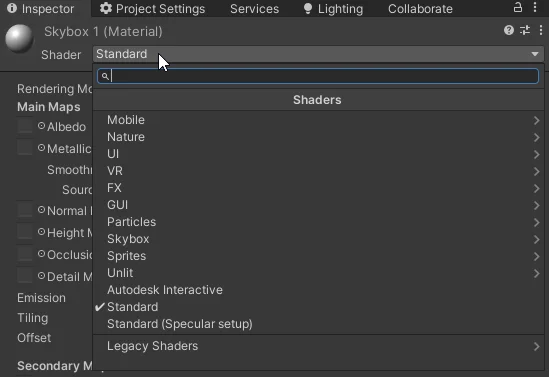
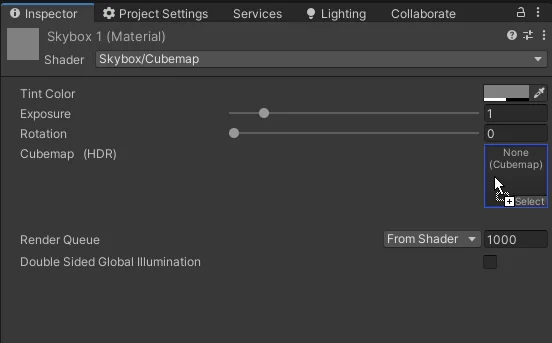
In the header of the inspector, we locate the field “Shader” which by default is set to “Standard” and change it to the type Shader “Skybox > Cubemap”, as shown in figures 5 and 6.


Now the inspector for this material will be shown with other parameters than before, as we see in figure 7.


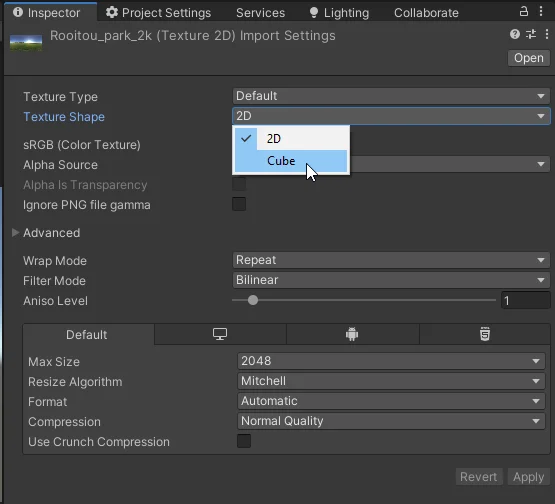
In principle we are interested in assigning our HDR texture to the “Cubemap HDR” field but first we have to make some adjustments to the image. We select the HDR texture that we have imported.

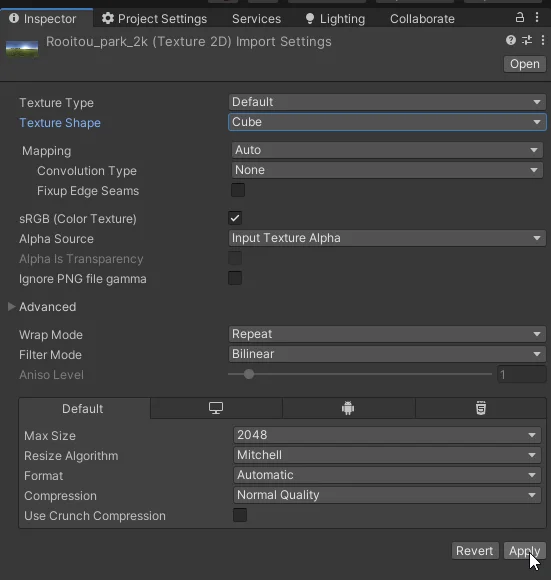
We changed the “Texture Shape” field to Cube and applied the changes


This will allow us to use the texture for the Skybox material, we can either drag the texture directly into the field or press the “Select” button and select it from the popup window.


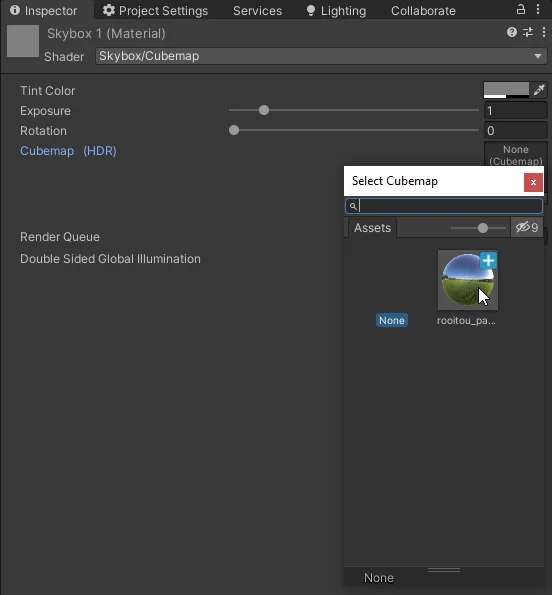
If everything goes well, you should see a result like the one in figure 13.


Now that we have the Skybox material set up, let’s apply it to the scene. For that we have to open the “Lighting” tab, in figure 14 you can see where that window is if you don’t have it open.

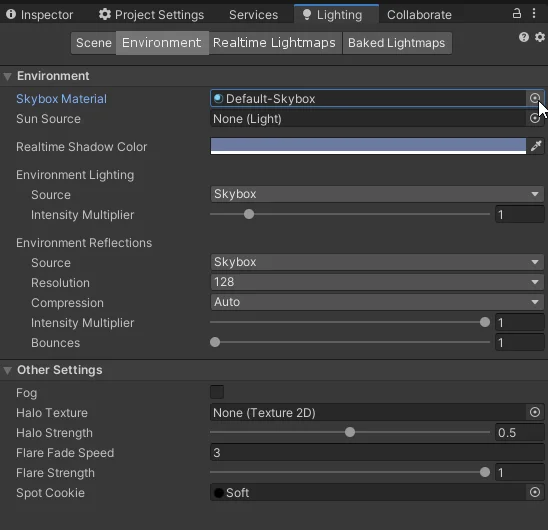
Inside the Lighting window we go to the “Environment” section and in the first field called “Skybox Material” we assign the Skybox material that we have previously configured.


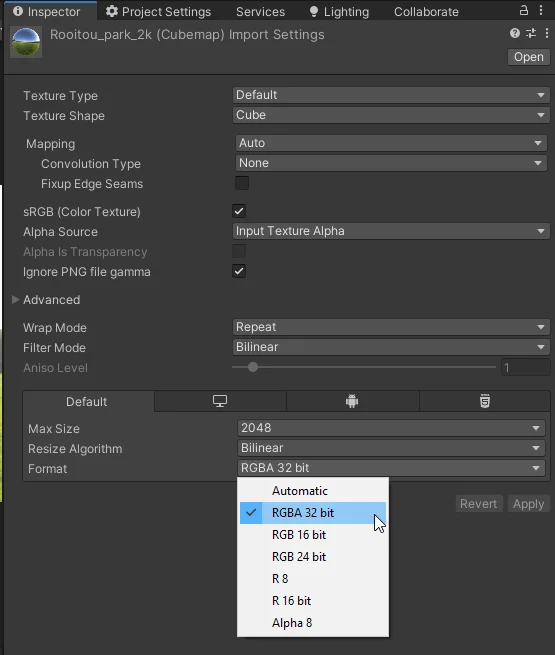
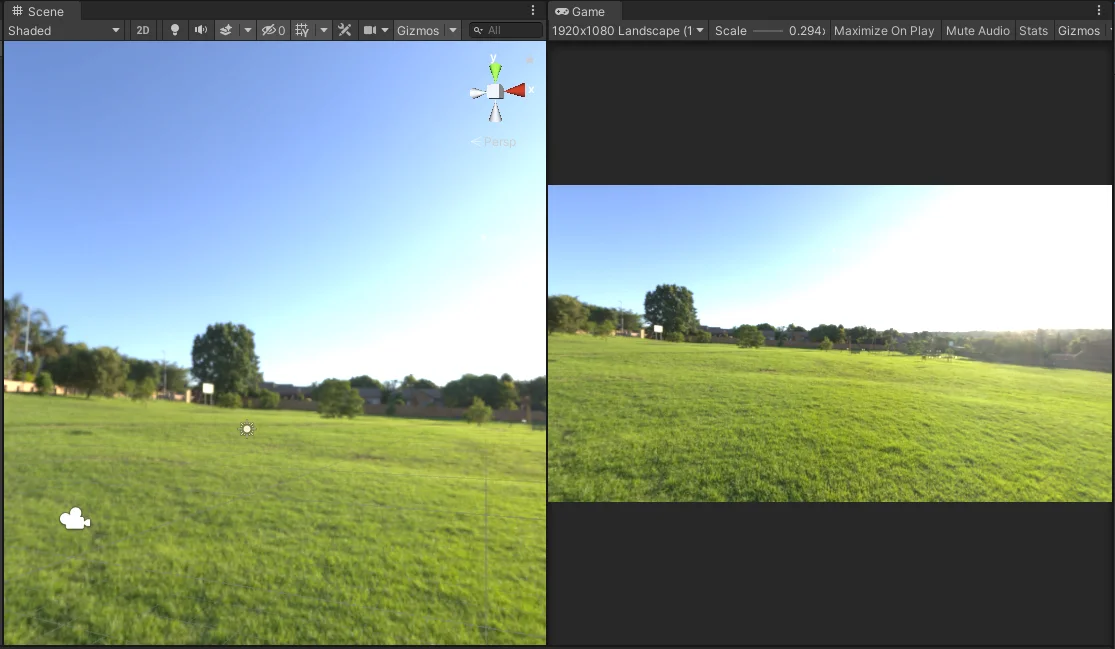
In figure 17 you can see the first result of doing this, the texture does not look good at all due to the type of compression.


We can select it and in the inspector change the compression to “RGB 16”, “RGB 24” or “RGBA 32”, this will bring an increase in the quality but also in the weight of the image. You can try downloading different qualities of HDR texture and try different formats to find a balance between quality and performance.

In figure 19 we see the final result that I have reached. Now that we have changed the new Skybox in the scene, we will be able to do lighting bakes to get better results.

You have reach the end of the article, if it was useful consider subscribing to the channel!