Introduction – Circuit and Ohm’s Law
The purpouse of this entry is to show a very simple example of application in Unity, an electrical circuit with a DC source connected to a resistor.
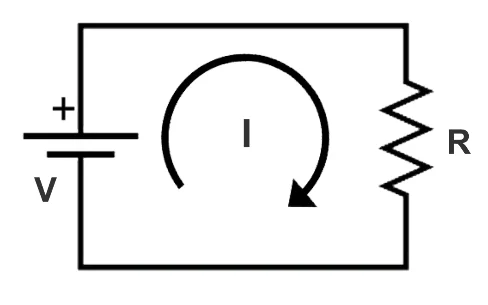
The DC source provides a constant voltage over time and the resistor is a passive electrical component that is characterized by offering resistance to the flow of electric current. When these two components are connected as shown in Figure 1, a current is established that will be proportional to the voltage and inversely proportional to the resistance, according to Ohm’s Law:
I = V / R

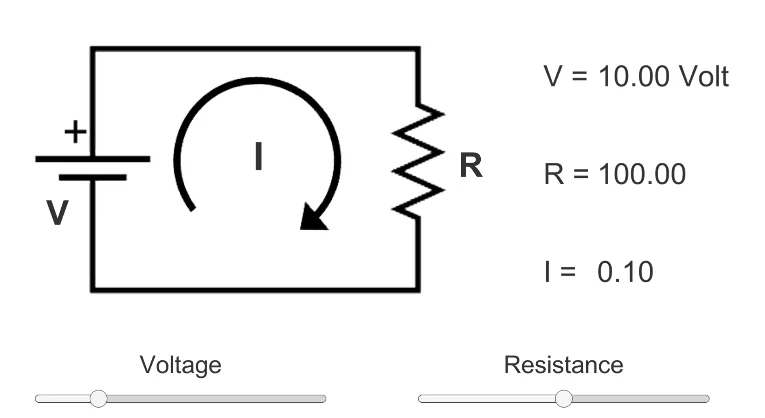
Screenshots of the program running
Figures 2 and 3 show the program running, the circuit diagram is a representative image, the three values on the right are the actual values of the system, the voltage and resistance are variable parameters that can be changed using the sliders at the bottom and the current is calculated as a result of these values.


Analysis of the Script that controls the system
The script responsible for controlling the system and displaying the information on the screen is analyzed below.
System variables
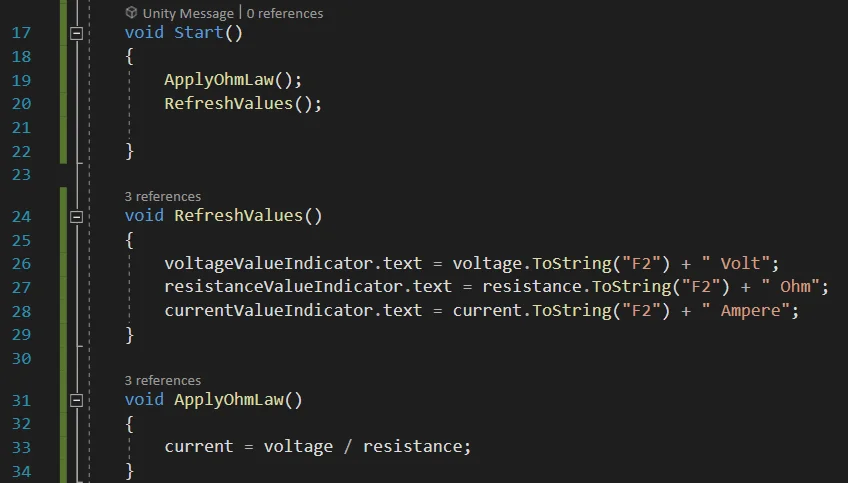
Figure 4 shows the variables defined in the Script, in lines 9, 10 and 11 we have some references for the Text components that are responsible for displaying the values in the graphical interface. To see in detail how to write texts on screen dynamically in Unity see this video.
Then, three float variables are defined for the voltage, resistance and current of the circuit (lines 13, 14 and 15).


Start function, value update on the screen and Ohm’s Law calculation
In figure 5 there are three functions belonging to the system. Start is a function that Unity executes automatically after pressing the Play button and before the first frame of the application is displayed, within this function Ohm’s Law is applied with the initial values that are defined and the values are refreshed on screen, this occurs in the execution of the methods of lines 19 and 20 respectively.
The “RefreshValues” method is responsible for writing the voltage, resistance and current values to the Text components of the graphical interface.
The “ApplyOhmLaw” method performs the calculation of the current as a function of the voltage and the resistance, here you could have an indeterminacy if the resistance (the denominator) is null, if this happens there is no error at run time, but Unity detects this situation and solves it by assigning the value “Infinity”, which serves as an indicator that there is an indeterminacy.

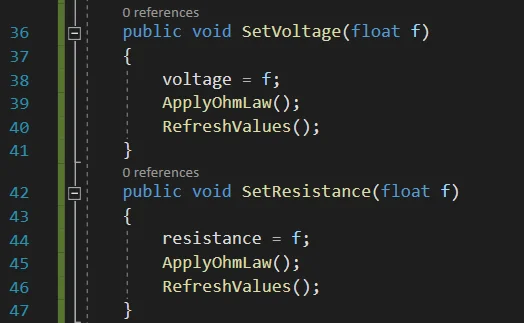
Functions for modifying values from the graphical interface
In order for the Sliders of the graphic interface to be able to modify values within a Script, they must do it through public methods, the methods shown in figure 6 fulfill this purpose, the top one allows to modify the voltage value and the bottom one the resistance value. Note that not only the values are modified but also Ohm’s Law is recalculated and the values are refreshed on the screen.